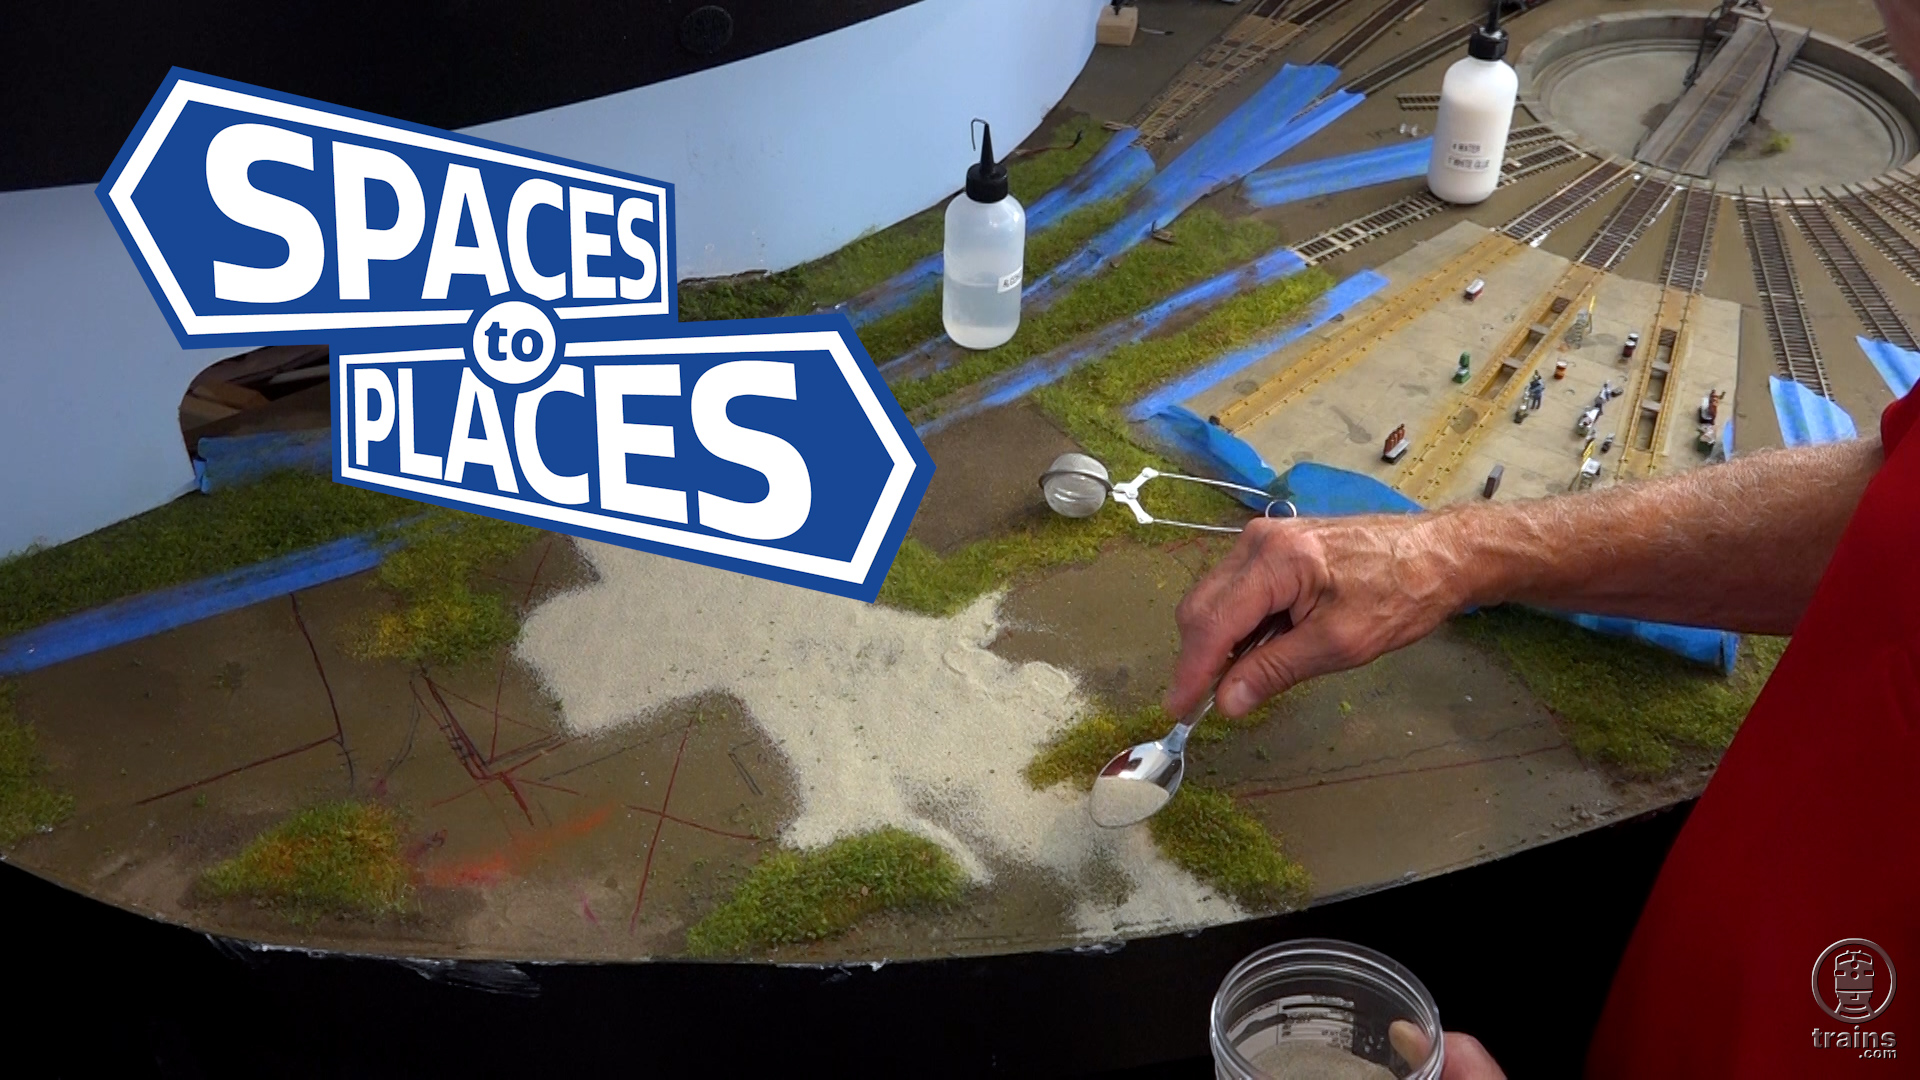
In this episode, Gerry Leone tackles another forgotten structure that will now fit right into his efforts to complete the classification yard and locomotive servicing area on his HO scale (1:87.1) Bona Vista model railroad. The focus of his attention is a previously assembled three-stall roundhouse that’s ripe for interior illumination and additional details. As we’ve come to expect from our beloved host and NMRA Master Model Railroader® there are plenty of tips, tricks, and yes, failures to following here!
Want to see more of Gerry’s work on a classic, familiar format? Look for his Turning Spaces into Places Vol. 1: Rural Scenery DVD, available from the Trains.com Store!
I have been looking at back issues of Model Railroader and noticed Aug 1953 fad an article about powering doors to open and close.
I also have become hooked on building paper models and found a company in England (with OO scale) offering a roundhouse with interior as a free download. Wordsworth Model Railway kits can then be printed at your desired scale (approximately 82 percent). Paper models make decent background scenery or the parts can be used as templets for something more serious.
Bob Neill
Nice project. Scope creep eh Jerry? Good modeling tips. I built the same kit in N scale. I decided to use microscope slide covers for the window glazing. It looks great but was difficult( I have the scared fingers to prove it.
Scope creep indeed, Stephen! I still have a stockpile of slide covers myself that I used back in the day, but I gave up using them for exactly the reason you cite. They DO look good though! I think almost every project in model railroading has a bit of scope creep…and that’s what keeps us busy and interested! Thanks for your comment!
I thought about putting a paper cutout from a roundhouse interior I saw online but so far I just added lamps. Not sure why the LEDs need a board for a simple sting of LEDs. In my own case I used a Menards string, but mine is O gauge. I do like the exterior lamps and enjoy watching the video for tips and look forward to seeing the pits added. Thanks, jkelty
Thanks for your comment, John! I believe the next episode is when I install the pits. As for the LEDs, a string of LEDs would have worked, but I wanted the LEDs in specific places with hanging lampshades for photographic reasons. The Ngineering N8102 board allows up to 16 LEDs with no resistors needed, so it simplified installation considerably.
Hats off to you for such detailed modifications. Far beyond my current abilities and shaky jands unfortunately. Loving this series.
Thanks a million, Andrew! As long as you’re having fun in this hobby that’s all that matters!
WOW! Very labor intensive Gerry. I had a similar situation with my Walther’s Milwaukee Road Everett St Station kit. I wanted to detail the interior end nearest the aisle as a Waiting Room. My kit sits perpendicular to the aisle so only that portion of the interior would be visible. In my case the kit wasn’t already built, so I didn’t have that issue as you did.
To create my template, I took the wall pieces and scanned them on my computer. Then I loaded the scans into Photoshop and created appropriate interior wall detail from internet reference pix. I printed them out on photo paper, trimmed out the window openings, and “voila”, instant interior walls complete with period correct wallpaper and wainscoting. I mounted the photo prints to the walls with double-sided tape. I did the same for the flooring. To separate the Waiting Room from the unfinished area I stole a front wall with columns from Walther’s Bailey Savings and Loan, painted it as an interior wall, added railroad themed posters/art and Woodland Scenics LED sconces. Benches, vending machines, phone booths and people completed the scene. As my roof would not be removable I was able to use several Woodland Scenics Just-Plug LED lights to illuminate the interior. The wiring for all the LED’s was behind the wall and out through the bottom of the kit.
The only flaw in my otherwise clever scheme was… the kit window glazing was a bit thicker than I’d anticipated. When all was said and done you CAN see the interior through the windows, when the lights are on, but not as well as I’d hoped. Oh well… good enough.
Wow, Jeffery — that’s quite a job! It’s too bad the interior isn’t as visible as you’d like, but still, when the lights are on there’s something to see. The idea of scanning the wall and creating wallpaper and wainscoting is GREAT! Actually, now that I think about it, that would have worked with my roundhouse, too, since you can’t get anywhere near close enough to the interior to notice that the bricks aren’t three-dimensional. Thanks for sharing your depot detail!
Thank you Gerry for showing us lesser mortals that even a Master Modeler can decide that things are “good enough.” As always you inspire me to take on challenges that I’m not sure I can finish.
Thanks, Albert! Don’t let the “Master Model Railroader” moniker fool you. It simply means we were able to pass seven “tests” of our skills. But as we both know, there are far more than seven tests when it comes to building models or a layout. Keep plugging away at your challenges — you’ll hit the finish line before you know it!
The roundhouse has now become a scenic delight, but I, for one, feel it is time for railroad action here. Such as 1) a yard loco picks up outbound cars from the local industries and places them on an outbound track. 2) A through freight arrives, drops cars for local delivery, picks up these outbounds and proceeds onward. And 3) the yard loco does any needed classification of the inbounds, e.g., leading vs trailing turnout deliveries, then moves cars to their designated recipient. So you have shifted from MODEL railroading to model RAILROADING.
Thanks, Roger. I’ve got an “operations” episode scheduled to be recorded sometime soon. However, there are a bunch of episodes already filmed and edited that will be “aired” before that one. So sit tight — there are more interesting layout projects to come.