Modeling Series Spaces To Places Spaces to Places VI | Fixing a wayward waterway, part 4

Spaces to Places VI | Fixing a wayward waterway, part 4

By Kent Johnson | October 15, 2024

Gerry works to revamp a river scene along the top deck of his layout.

Email Newsletter

Get the newest photos, videos, stories, and more from Trains.com brands. Sign-up for email today!

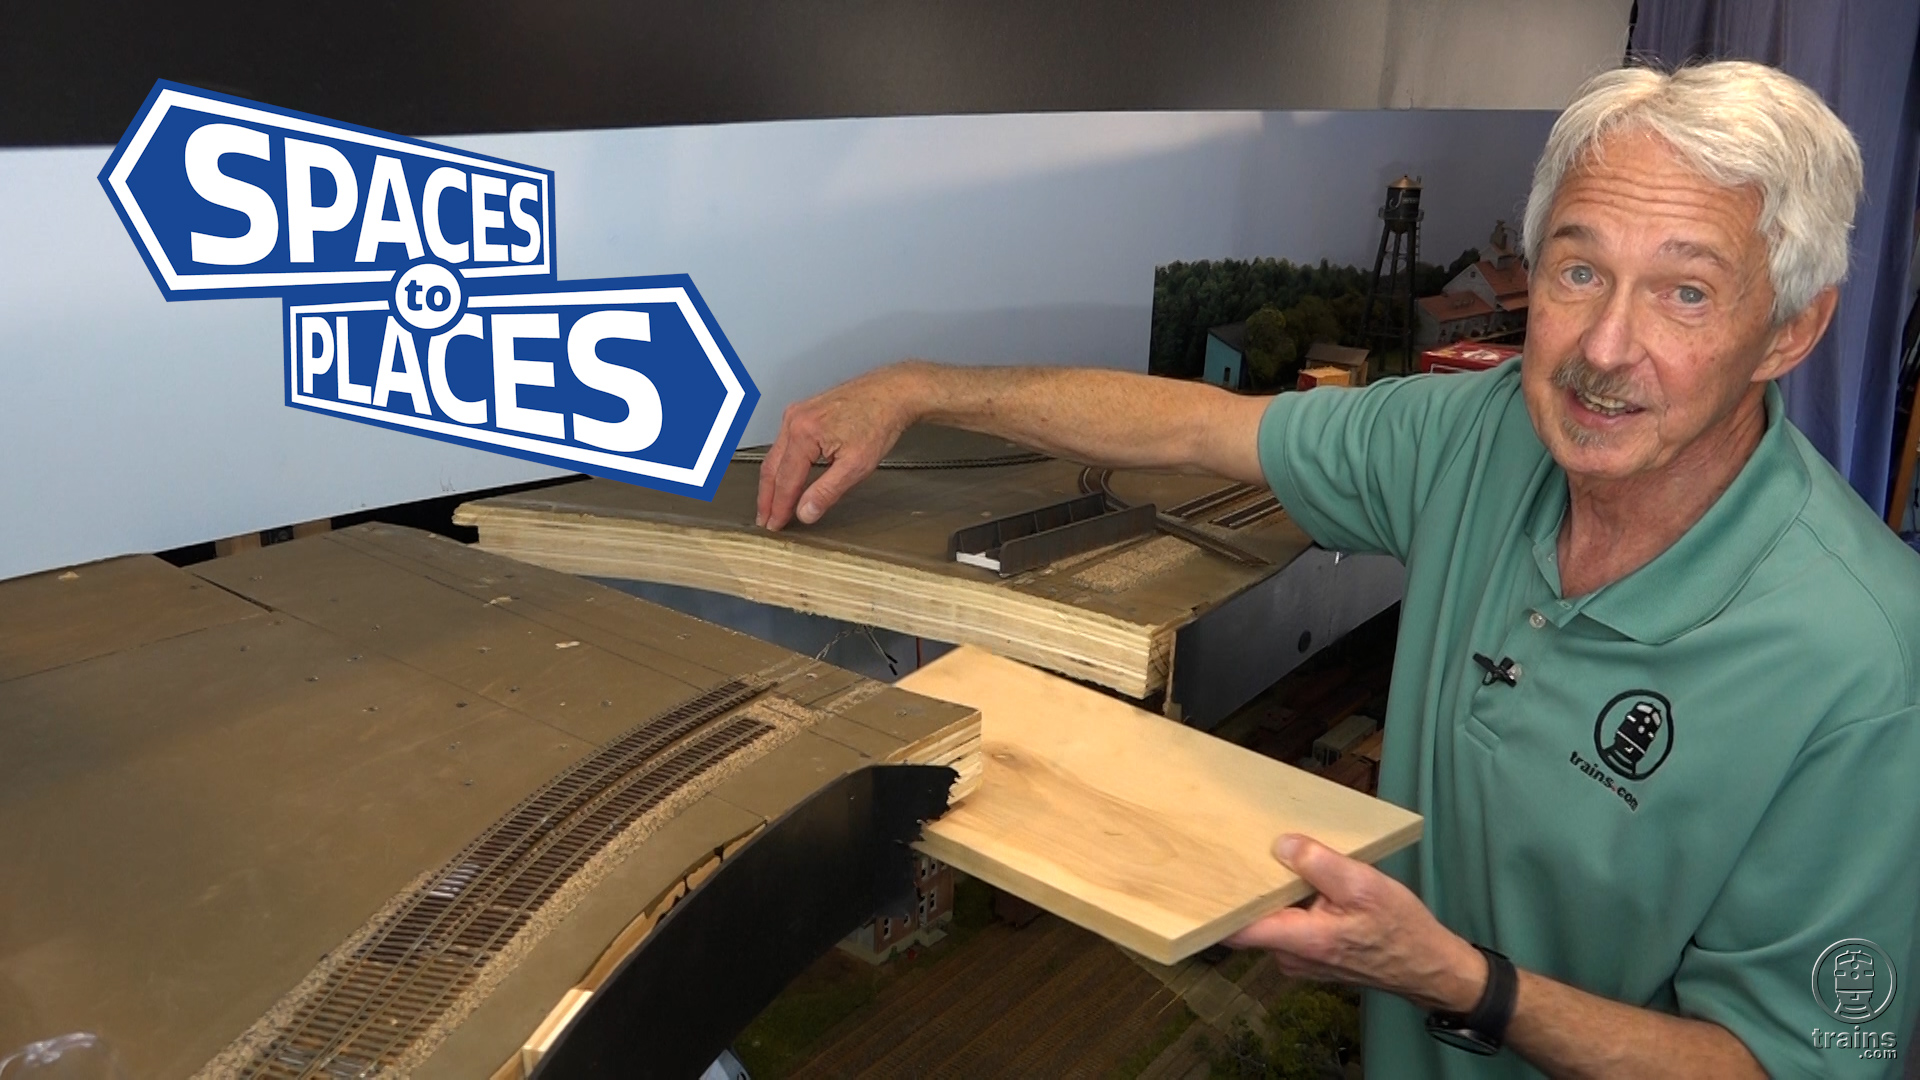
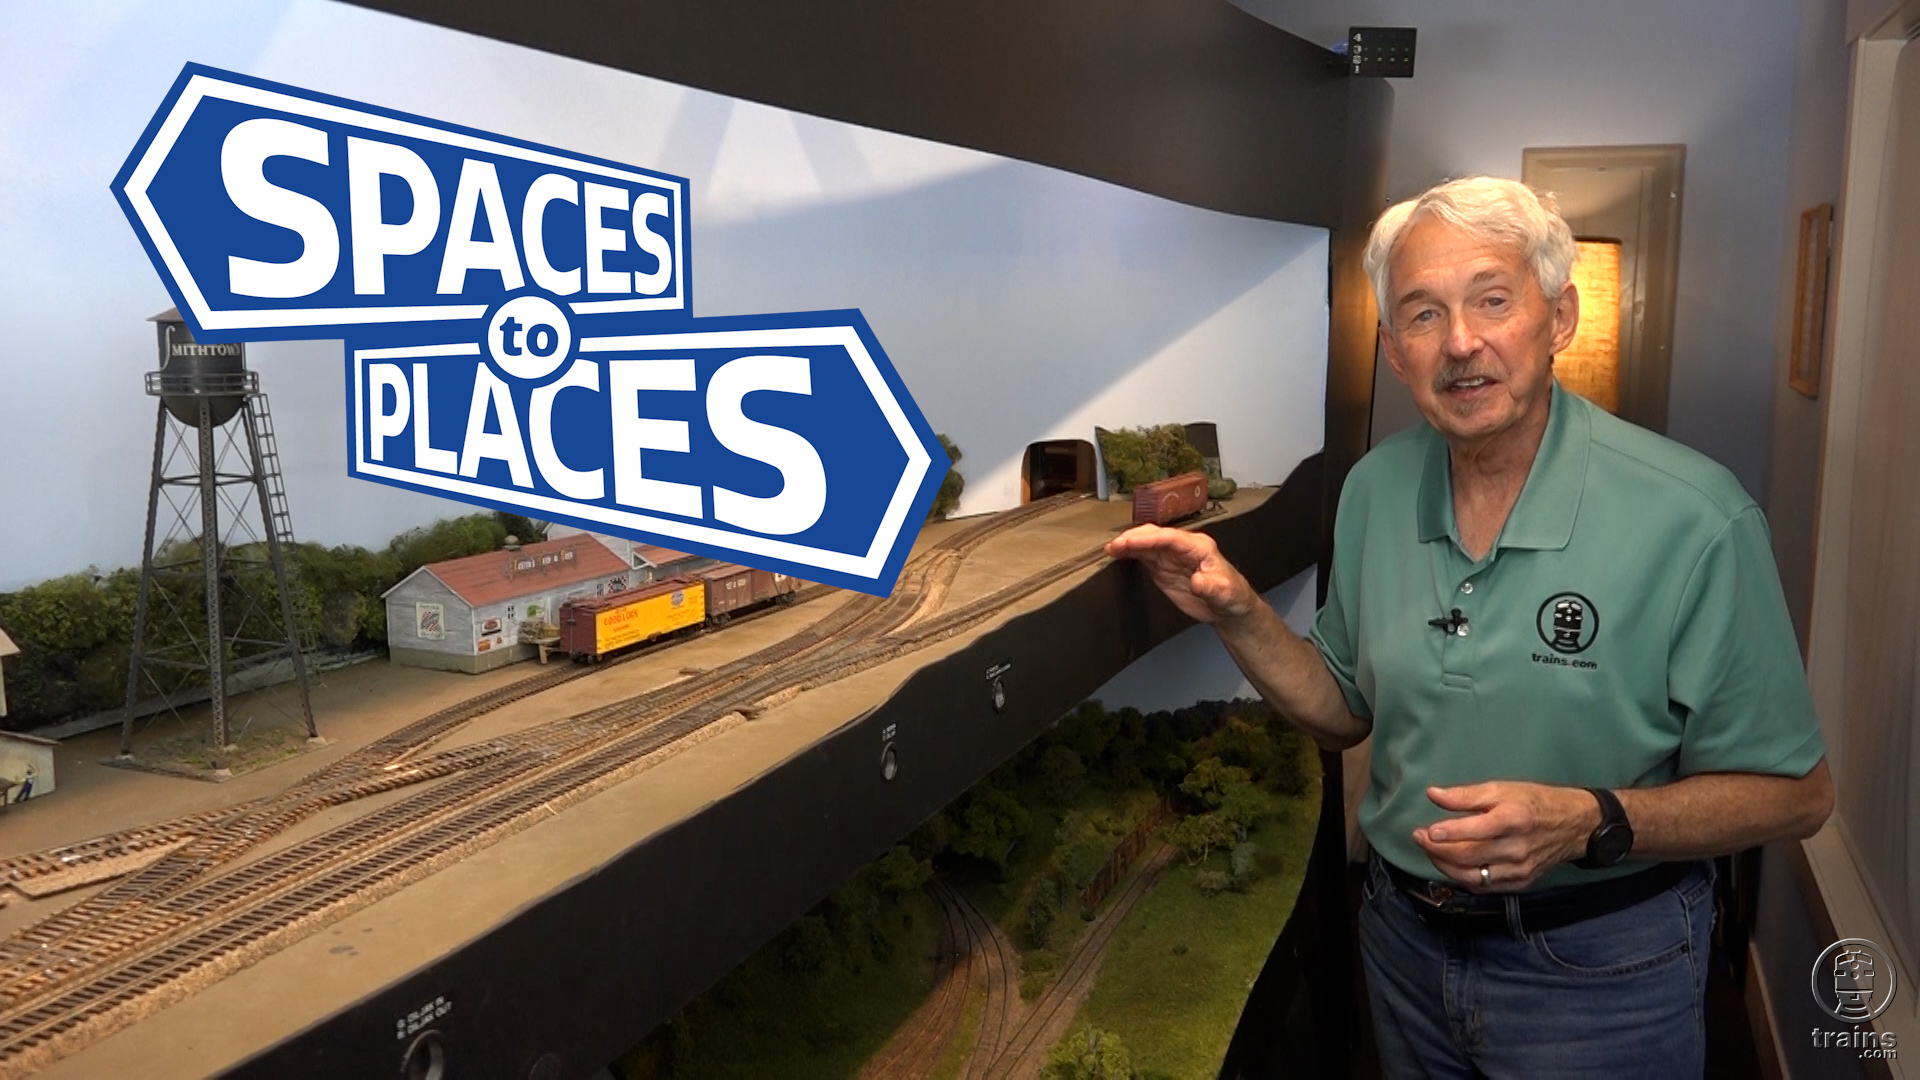
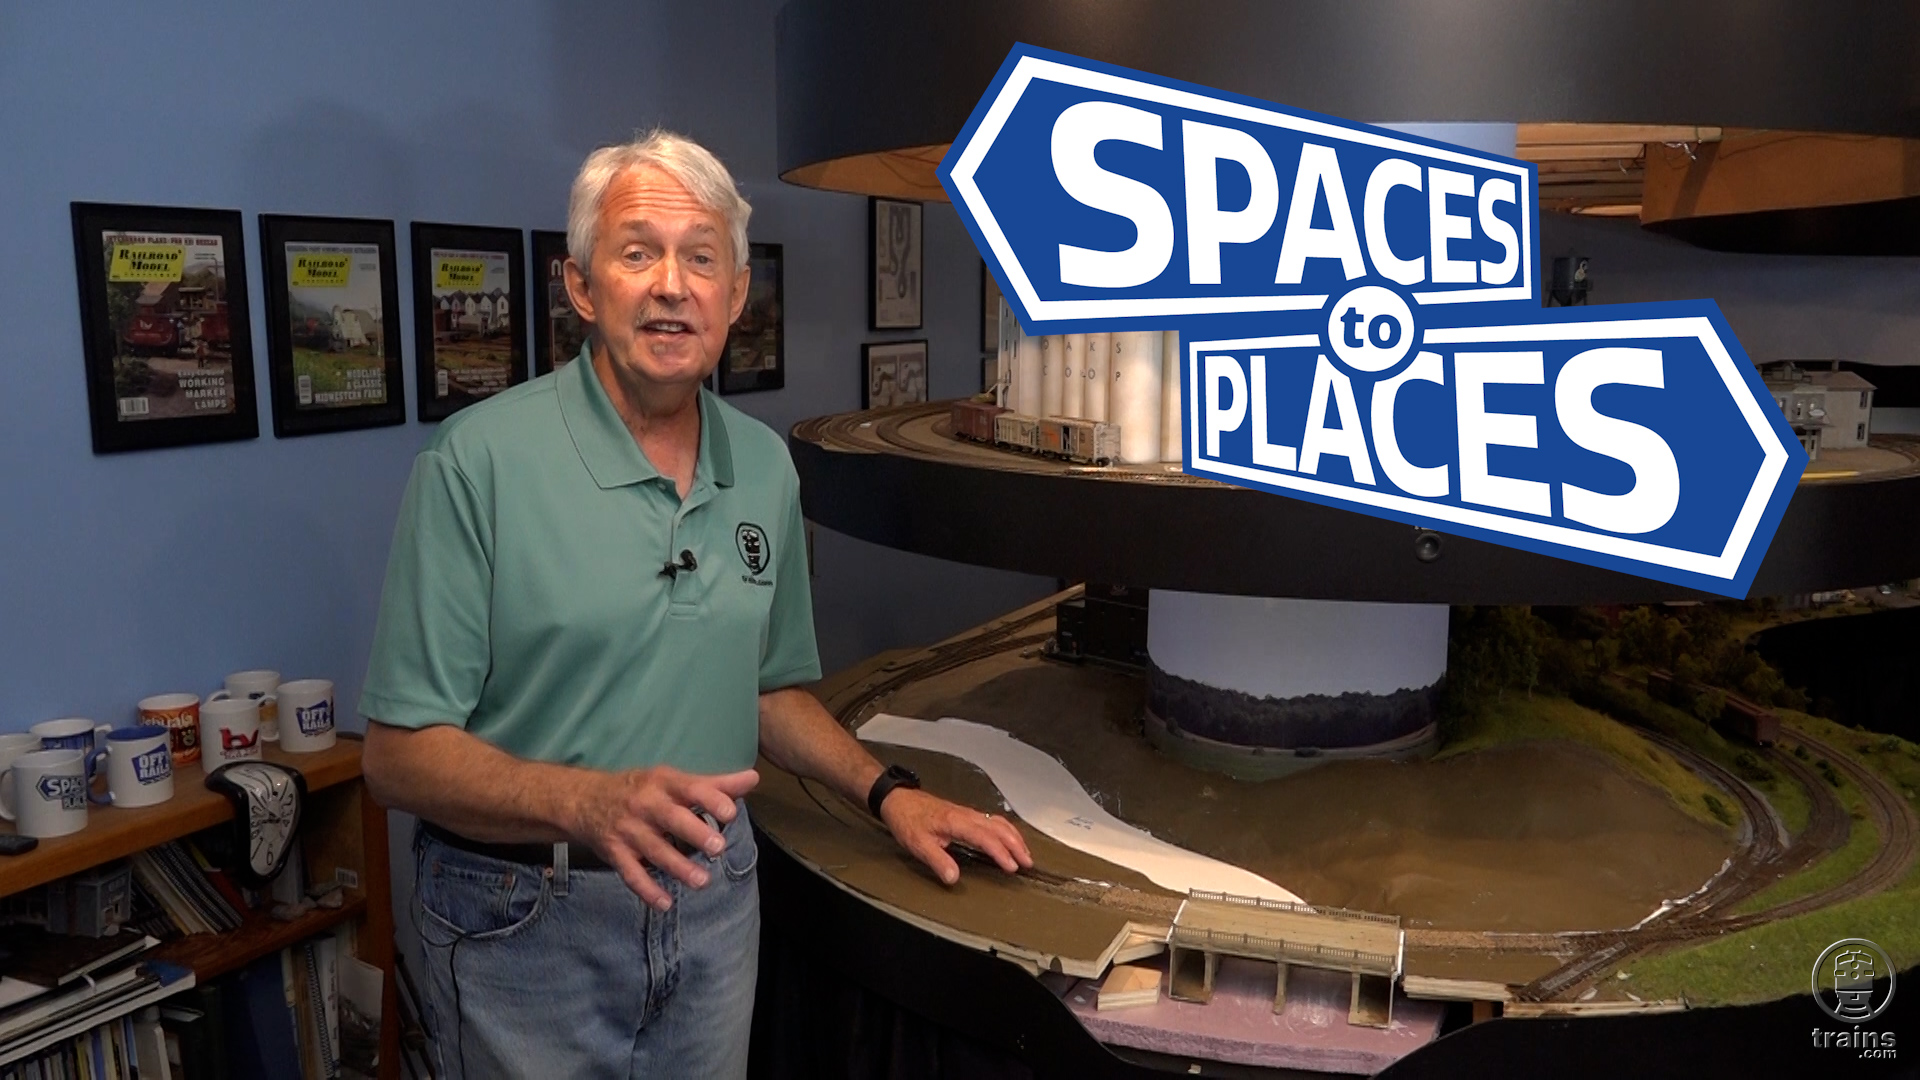
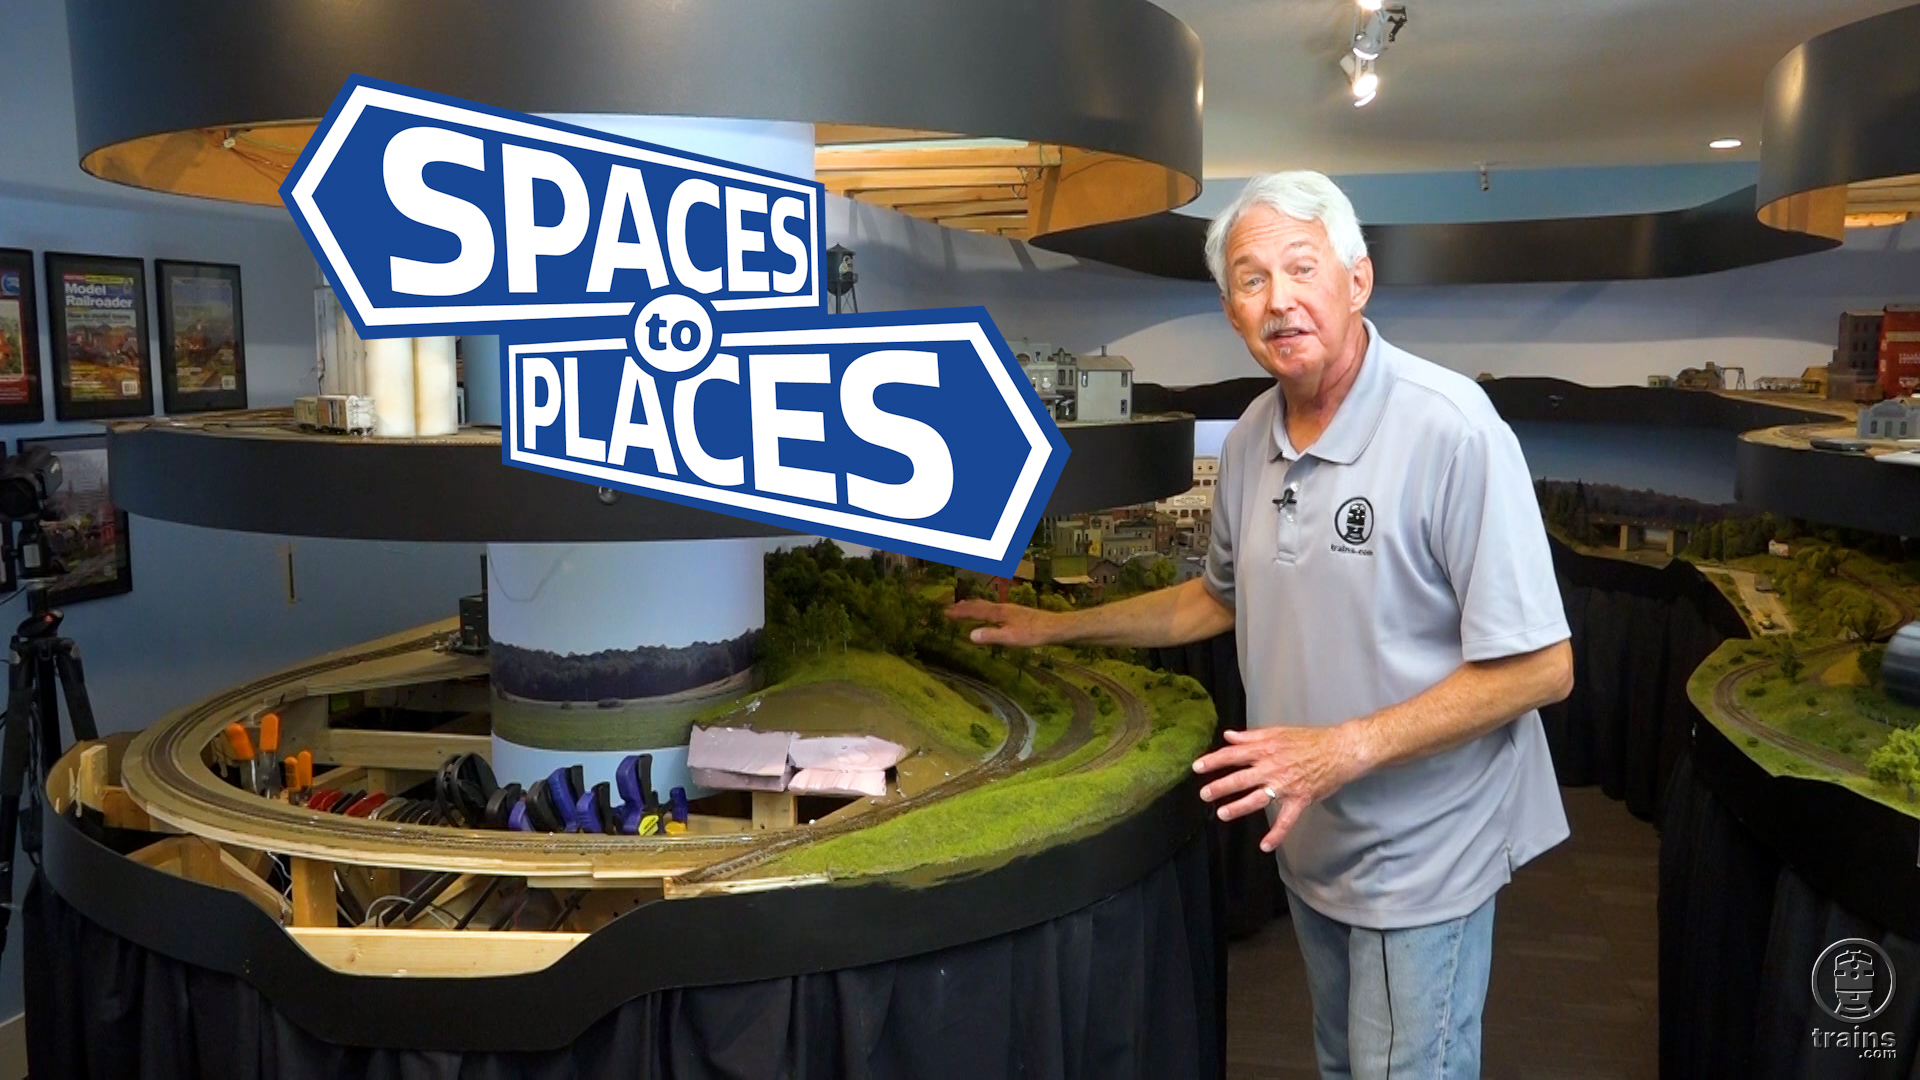
Watch as the river space quickly becomes a place, as Host Gerry Leone turns his attention to adding scenery along the newly created river scene of his HO scale Bona Vista HO scale double-deck model railroad. As always, you be sure to glean helpful tips and tricks you can easily mirror on your own layout!

Want to see more of Gerry’s work on a classic, familiar format? Look for his Turning Spaces into Places Vol. 1: Rural Scenery DVD, available from the Trains.com Store!

9 thoughts on “Spaces to Places VI | Fixing a wayward waterway, part 4

  1. Another great video Gerry. I always look forward to your “episodes”.
    I’m curious about your sequence of pouring the “water” first, and THEN adding the scenery. Resin wicking up into the scenery material along water features is often an issue. I’d guess doing it your way negates that problem? I know the guru’s at MR used to caution about doing scenery work after the water was poured. I believe it was a concern about certain liquid scenery materials being drawn under the edge of the resin water, or damaging the surface. Guessing you haven’t had that concern either?
    BTW, Woodland Scenics “Water Ripples” CW4515 gives some nice subtle moving water effects. Not better or worse than Gloss Gel Medium, just different, if you ever want to experiment a bit…
    Please keep up the great work!

    1. Thanks for your comments, Jeffrey! The “water first, then scenery” sequence is exactly what you thought: doing it scenery first gives the water (resin) something to wick up into. I’m not sure why my cohorts at MR would caution about doing it that way; I’ll have to ask David. I’ll have to give WS Water Ripples a try. Thanks!

  2. Gerry: Great use of the mirror and the half log and tree makes the mirror blend right into backdrop. I have tried to use mirrors and just didn’t get the effect you have. BTW way back you used small dental brushes to uncouple cars. One day my 13-year-old Granddaughter was looking at my layout and I saw her taking the dental brush that I added a long stick, spinning the brush and removing spider webs very easily and quickly. Pulling the webs off brush and repeat worked great. Just another use for dental brushes.
    Thanks for all your videos:
    I watch them 3 or 4 times, so I don’t miss any details.
    Bill

    1. Bill — Just make sure you’re using a front-silvered mirror. That’s the only thing that will give realistic results. And if I was still doing “Off the Rails,” I’d mention your granddaughter’s neat trick with the uncoupler!

You must login to submit a comment