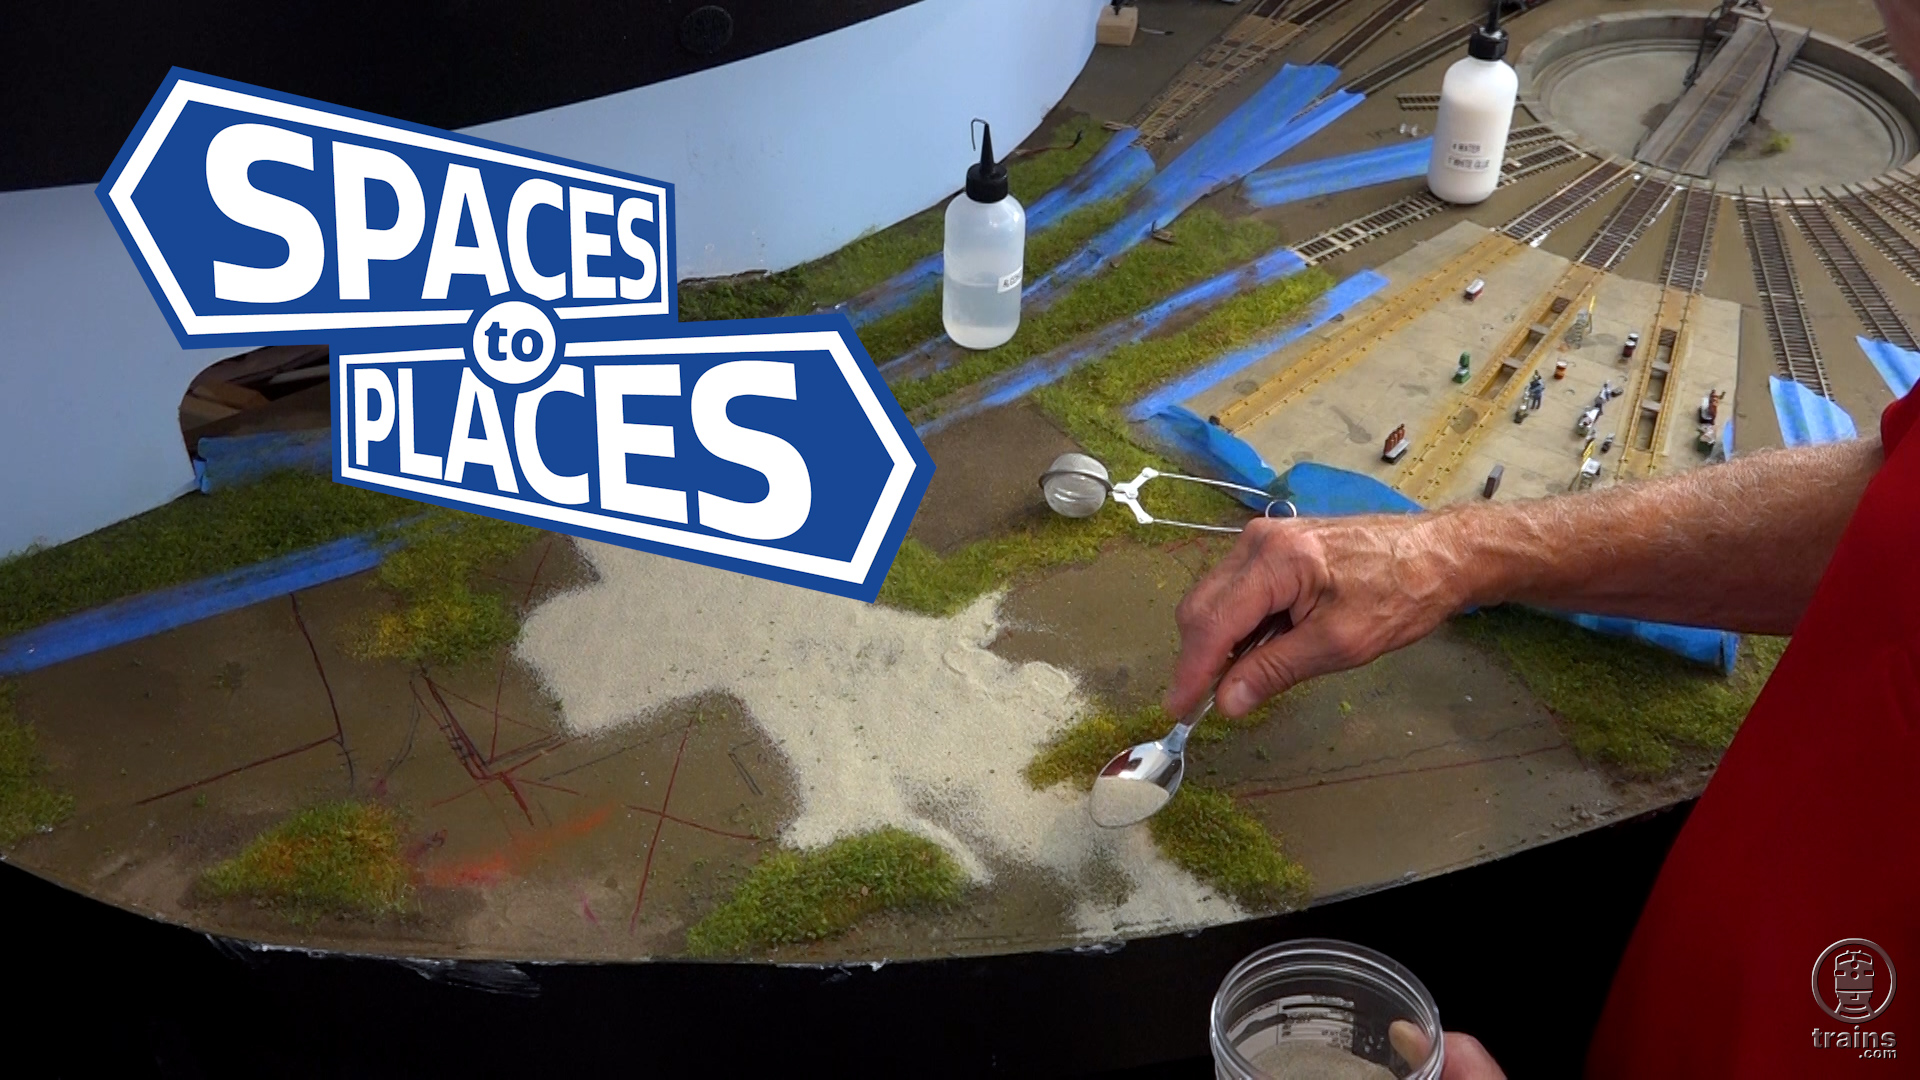
Gerry is back to reworking the river scene on his HO scale Bona Vista HO scale double-deck model railroad. As he heads for the homestretch, our host shares tips and tricks for making the new river bed easy to install (and remove); modifying bridge abutments; building the bridge itself; and then finally forming the river banks!
Want to see more of Gerry’s work on a classic, familiar format? Look for his Turning Spaces into Places Vol. 1: Rural Scenery DVD, available from the Trains.com Store!
I like the mirror idea but please show us the view you get from the fascia front side. I also agree with Artie Krass, why so high a mirror versus putting it at land height? There must have been a reason. And yes, that front silvered mirro stuff is hard to come by unless you buy it in large 4ft x 4ft sheets. Then you need to share it with MR friends.
You also mentioned the Shaper Sheets, then clay then another coat of plaster? You did not show us that portion in the video.
Hi, Andrew —
I’m not quite certain where everyone is getting this idea that the mirror is so high. It’s only about 4″ tall and the bottom of it sits on the riverbed, so only 2″ sticks up above the banks and that reflects the surrounding trees. You can see the side view of the mirror at 15:21.
As far as the shaper sheets, that’s in the video at about 14:53. Sculptamold (which I think you called “clay”) is at 15:34. I didn’t show the final thin coat of plaster because I thought that was self-explanatory.
Hope that helps!
The damn popups are covering the video.
James — just find the “X” and click on it. That’ll close the popup. Or you could adjust the settings of your browser to not allow popups.
I am a little confused. You mentioned scribing and cut the mirror, but the only view I’ve seen shows the top of the mirror well above the backdrop.
Now I’m confused, Donald. I’m not sure what you mean when you say you’re seeing the top of the mirror “well above the backdrop.” The mirror is about 4′ tall and the bottom of it is sitting on the base of the river, so only a couple of inches are showing above the top of the shore (the subroadbed). If you could give me a time code where you’re seeing that I could explain what you’re seeing. (Something like “13 minutes into the video” or whatever.)
Another informative and entertaining segment Gerry.
Reflecting on your use of the front silvered mirror and your caution about handling them because they can scratch easily – how did you scribe and cut them – did you scribe on the “back side” of the mirror so as not to mar the front silvered surface?
Thanks,
Artie
I think it was just the opposite, Artie. I handled them with cotton gloves (the kind they use in museums) and scribed the front side, so the break on the “good side” of the mirror would be straight. I even put the ruler that I scribed along on a cloth to keep it from scratching. You only need to scribe it once or twice (sort of like styrene) and then crack it over a straight corner of a table. I bought all my front silvered mirrors at a salvage store for next to nothing. I haven’t seen them in that store now for years, so I was lucky.
Still cannot get to videos since the IT update.
Love the videos, Gerry. Is that a drill bit holder on Ryobi?
—Dave
Thanks, David! It’s a screwdriver bit holder on the drill.