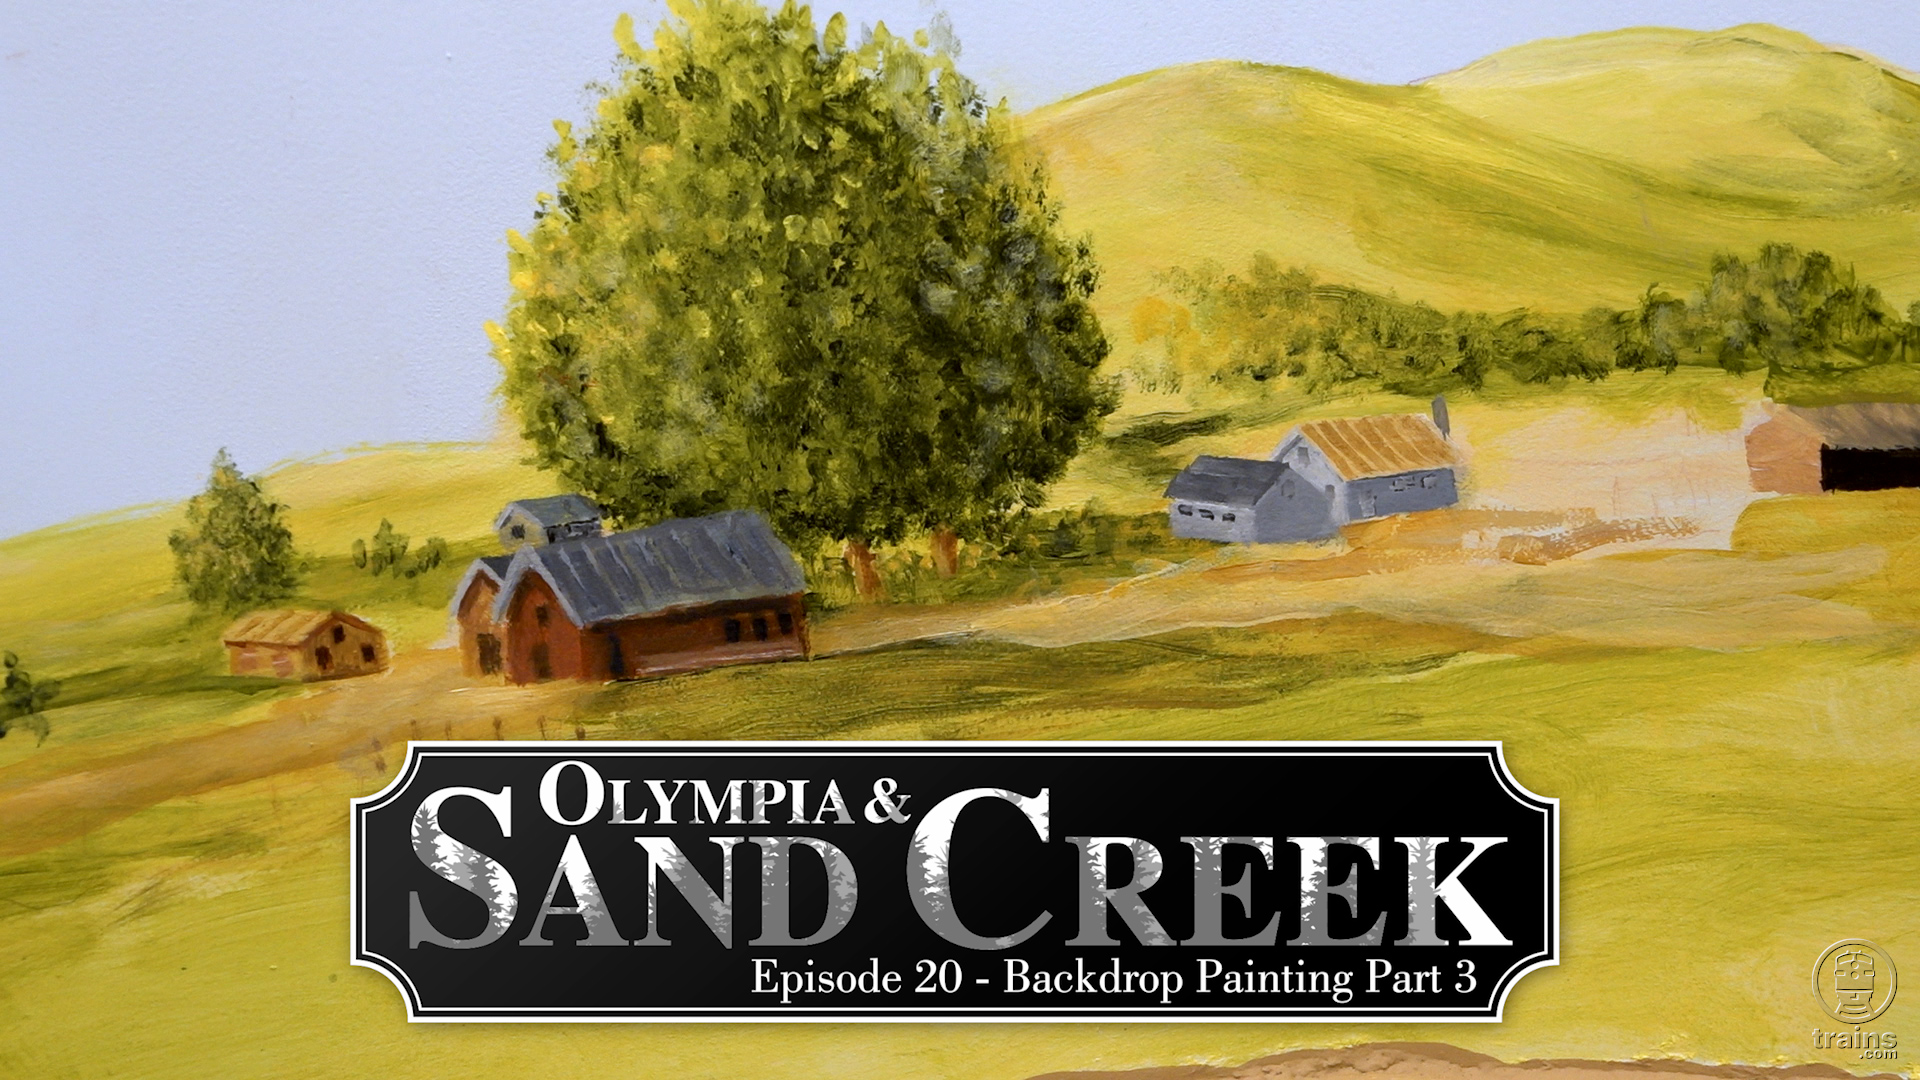
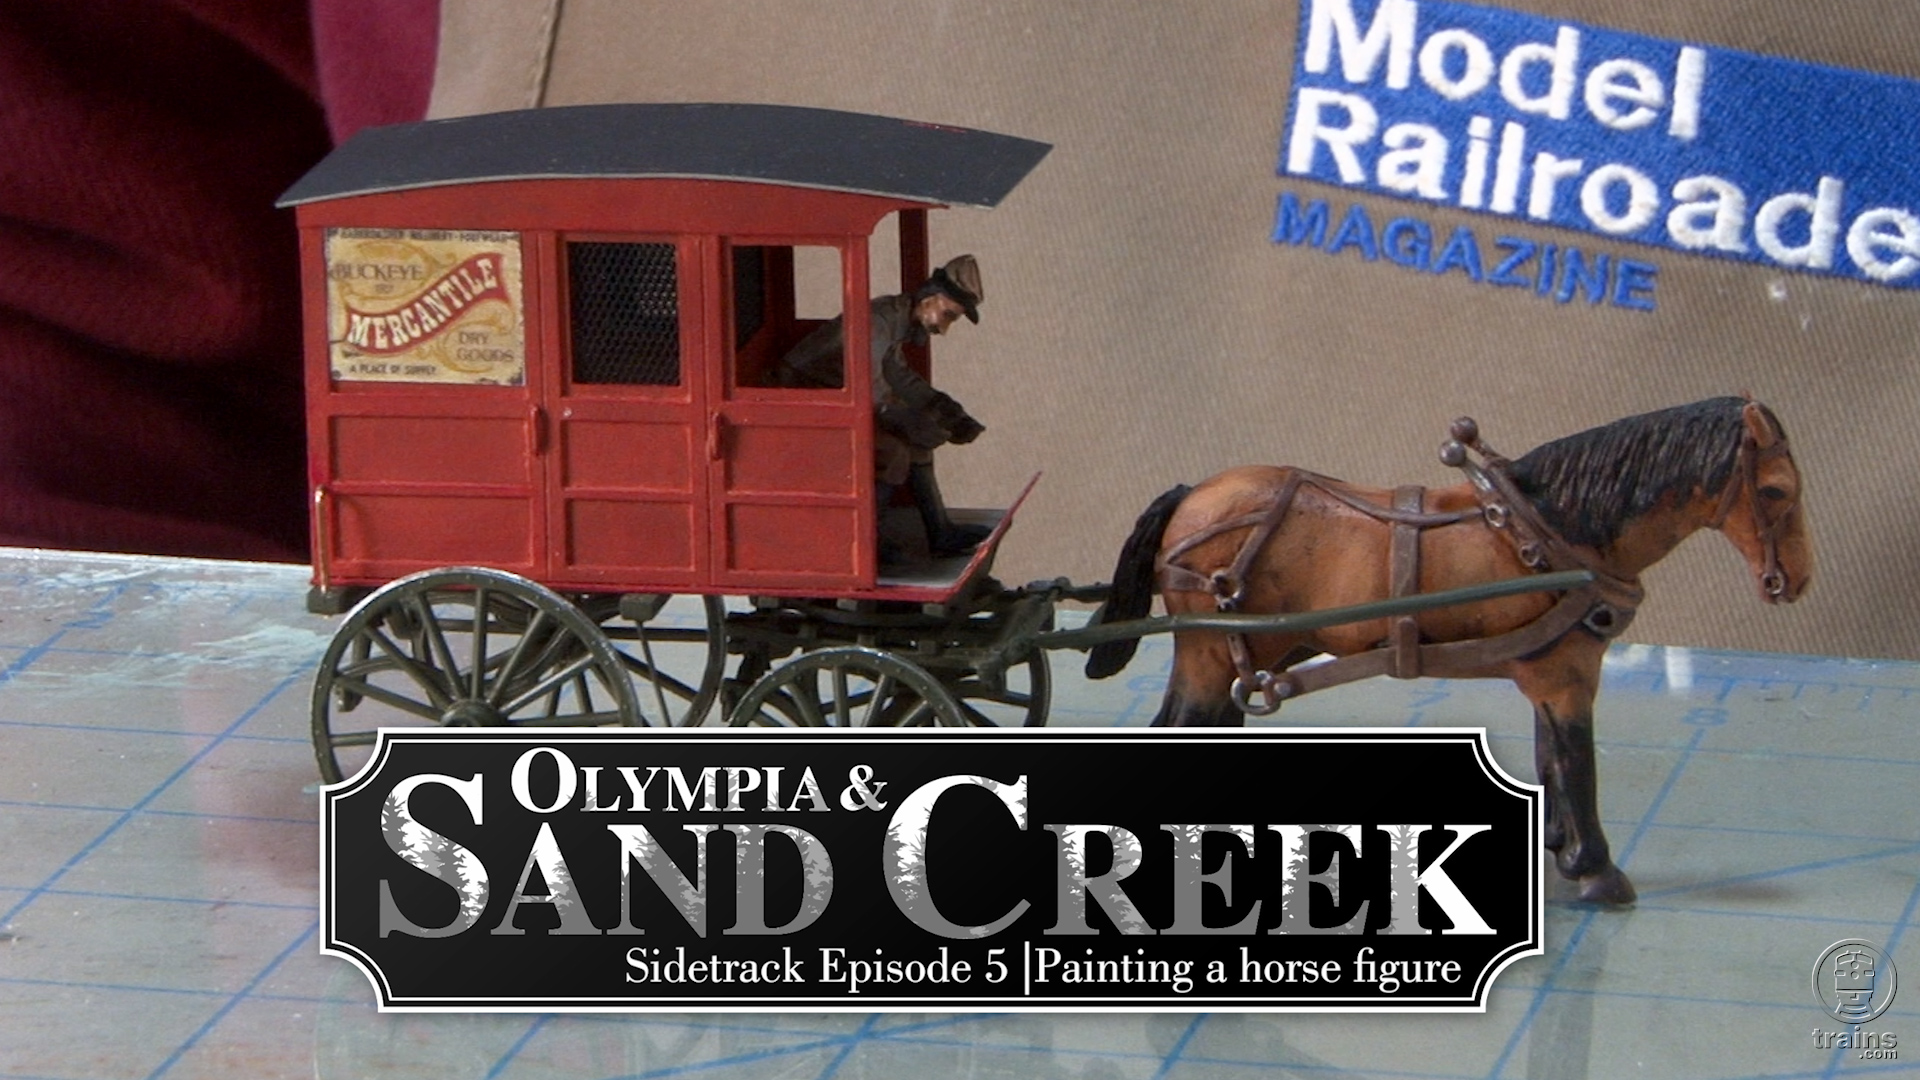
In this episode, our host intentionally works his way between a rock and a hard place! The tough stuff starts when he discovers a flaw in his operating scheme. With a remedy in place, David starts into the scenery. As he shares here, installing the foreground rock wall scenery is an easy lift when using lightweight and flexible foam material!
Be sure to explore the entire series, appearing exclusively on Trains.com Video!
Another great episode David! I really like how you break up the long rock wall with a stone retaining wall. That’s going to look great. One tip that I can give you for cutting those resin bridge abutment castings is to cut them on a power miter saw. It works very well and it is really easy to do. I learned by building the old resin Magnuson structure kits. Most of those kits have walls cast so that you end up with a non-square structure. I square everything up by just cutting the walls on a power miter saw. (Just don’t cut the ends of the walls with the detail).
The guy throwing one of your switches had better watch his step or he’ll end up in the river
Installing the added turnout control is actually more prototypic. These are hand-thrown turnouts, with a brakeman or conductor on the ground setting the turnout position with a simple switchstand. Having two turnouts being thrown simultaneously on a crossover is not at all likely. (OK, Joe. Ready to throw? Now!) So a problem solved has turned into an improvement to operating realism.
Great Job, David!
David, in the gully in front of the station, do you think a drainage pipe would be appropriate?
Yup. The drain pipe is coming, but I want to get the painting and other scenery finished first. Thanks for the suggestion!