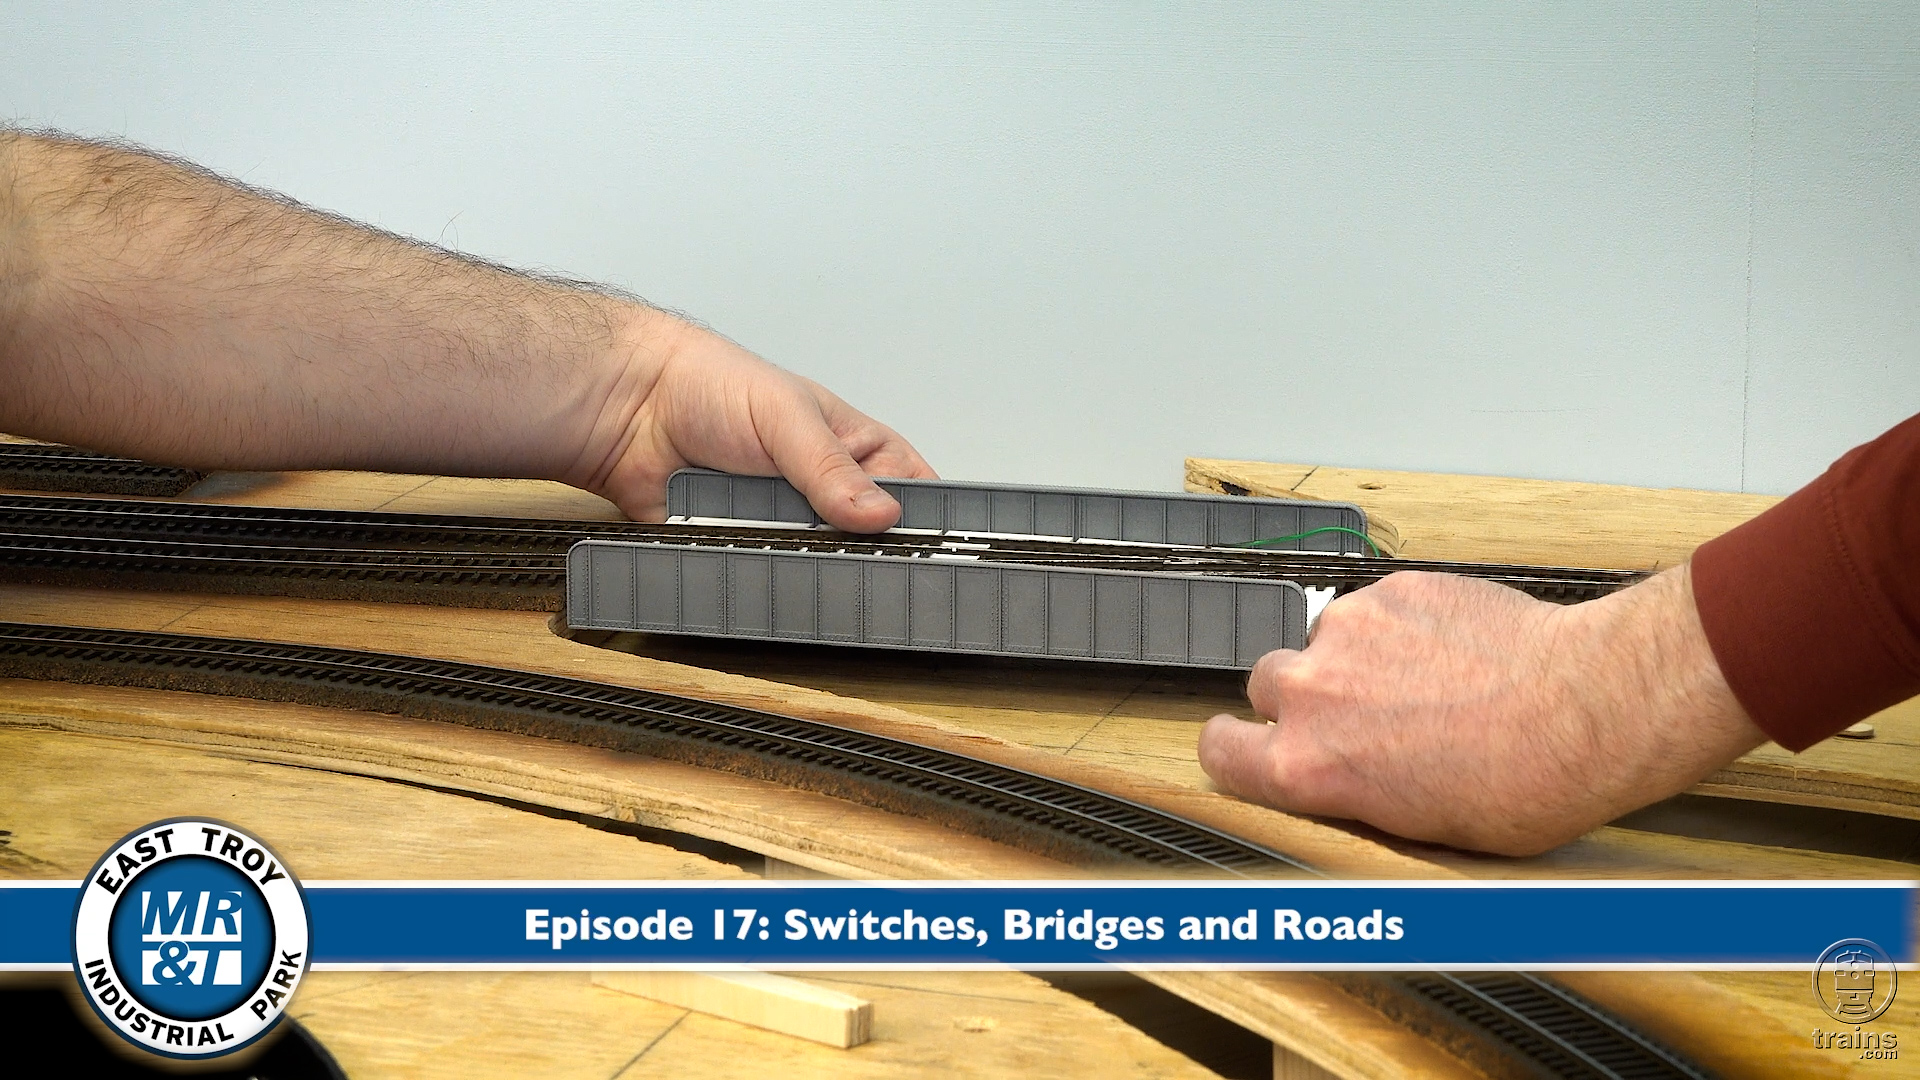
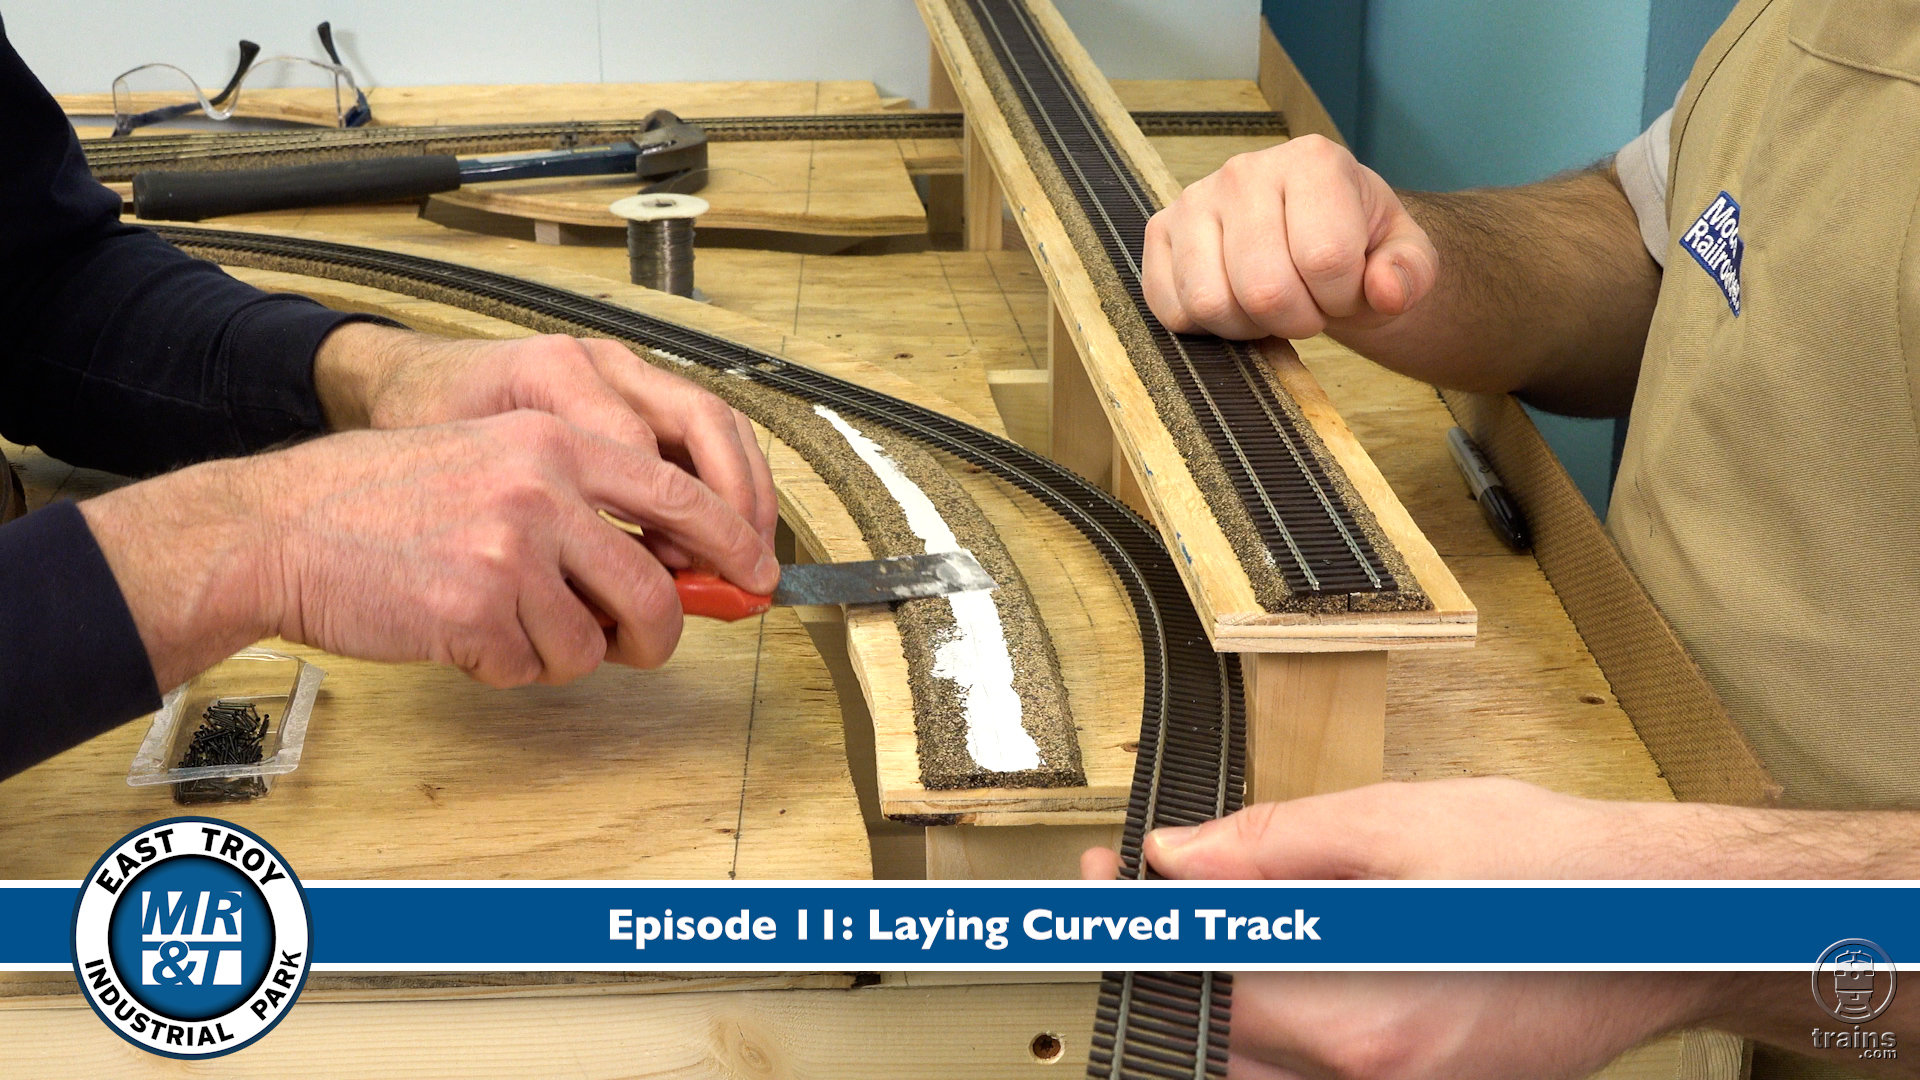
David and Bryson share the steps they used to install a complete Walthers Switch Machine system on the HO scale (1:87.1) East Troy Industrial Park project layout. To get things started, the pair first explains the features and function of each component. Then it’s straight to the task of installing the parts used to pivot points on a turnout…all at the push of a button!
Be sure to keep up with the construction progress by linking into the Trains.com Workshop Webcam (available 24/7), and the full series of helpful, instructional videos rolling out every month until the effort concludes. Even then, the fun will continue in frequent Trains.com articles/updates and Model Railroader print features, beginning with the January 2026 issue. You won’t want to miss the Expert Tips and Techniques the crew will share with you along the way, as they have a bit of fun bringing the ETIP into fruition!
Nice and clear on installation aside from adjusting the throw wire?
Would these be compatible with KATO switches in any way? At least as the control buttons vs using the switch machines?
Is it my imagination or did the transition line between sky colors on the backdrop move down since your last video? Still is not a gradual enough transition for my tastes.
You did a good job as to what has to be done, However, it sure is a lot easier to install when the layout is on its side. I just wonder how easy it would be for one person who has to do this under the table.
Interesting video and a long way from the days of atlas slide switches (guess those still exist?).
I’m not too impressed with the push button and installation required but the rest of circuitry looks great.
jkelty
Thanks for another interesting video. Two things that weren’t covered come to mind.
1. There was no mention of price. I know MSRP and real-world prices are often different, but it would be a useful guide to know approximately how much the various components cost. BTW I’m in Australia so that wouldn’t apply to me (I generally double advertised prices, which seems about right) but I thought your US based viewers/readers would benefit.
2. You didn’t talk about adjusting the amount of throw. I’m in N Scale, so the amount of throw is significantly less than for HO. And in my experience, every servo is a little bit different so needs to be adjusted individually.
Thanks
Another great video!! Are these motors compatible with other turnouts? I assume yes but not seeing any confirmation on the Walthers site. My layout has a mix of Peco and Micro Engineering turnouts and I will be soon looking for switch motors. The ease in which you installed these really sold me. One other question, on my layout, I have 1/2″ plywood and then 2″ foam board, so I’m going to have to have a rather long throw bar. Any suggestions on how that might work with these motors? THANKS
Now that the layout is operational one thing is missing and that would be tortoise, Atlas, and Walthers switch motors. You cannot have a layout without switch motors they control everything and allow trains to move to other tracks. Some of the turnouts you can go ahead and throw the switch and it’ll be set to the correct route but others that are in the background you need motors installed in order for them to work. This is why it is important to get those installed so trans can move smoothly across the layout.
If you add up all the costs for a full 8-turnout system, with a wall wart power supply, what is the cost per turnout? Assuming you don’t need more extension cables? How does this compare with other options, both powered and (my preference) manual under table products?
How much noise do these servo machines make? Noticeable or pretty quiet? Gather that another SPDT contact set is available for the frog power. Any more contacts?
Looks like the position LED lights up when the movement is complete, so you know that the points are actually thrown. Very good.