Videos & Photos Videos How To Track Planning Kitbashing a signature structure | Back on Track, Episode 22

Kitbashing a signature structure | Back on Track, Episode 22

By Gerry Leone | July 31, 2022

Email Newsletter

Get the newest photos, videos, stories, and more from Trains.com brands. Sign-up for email today!

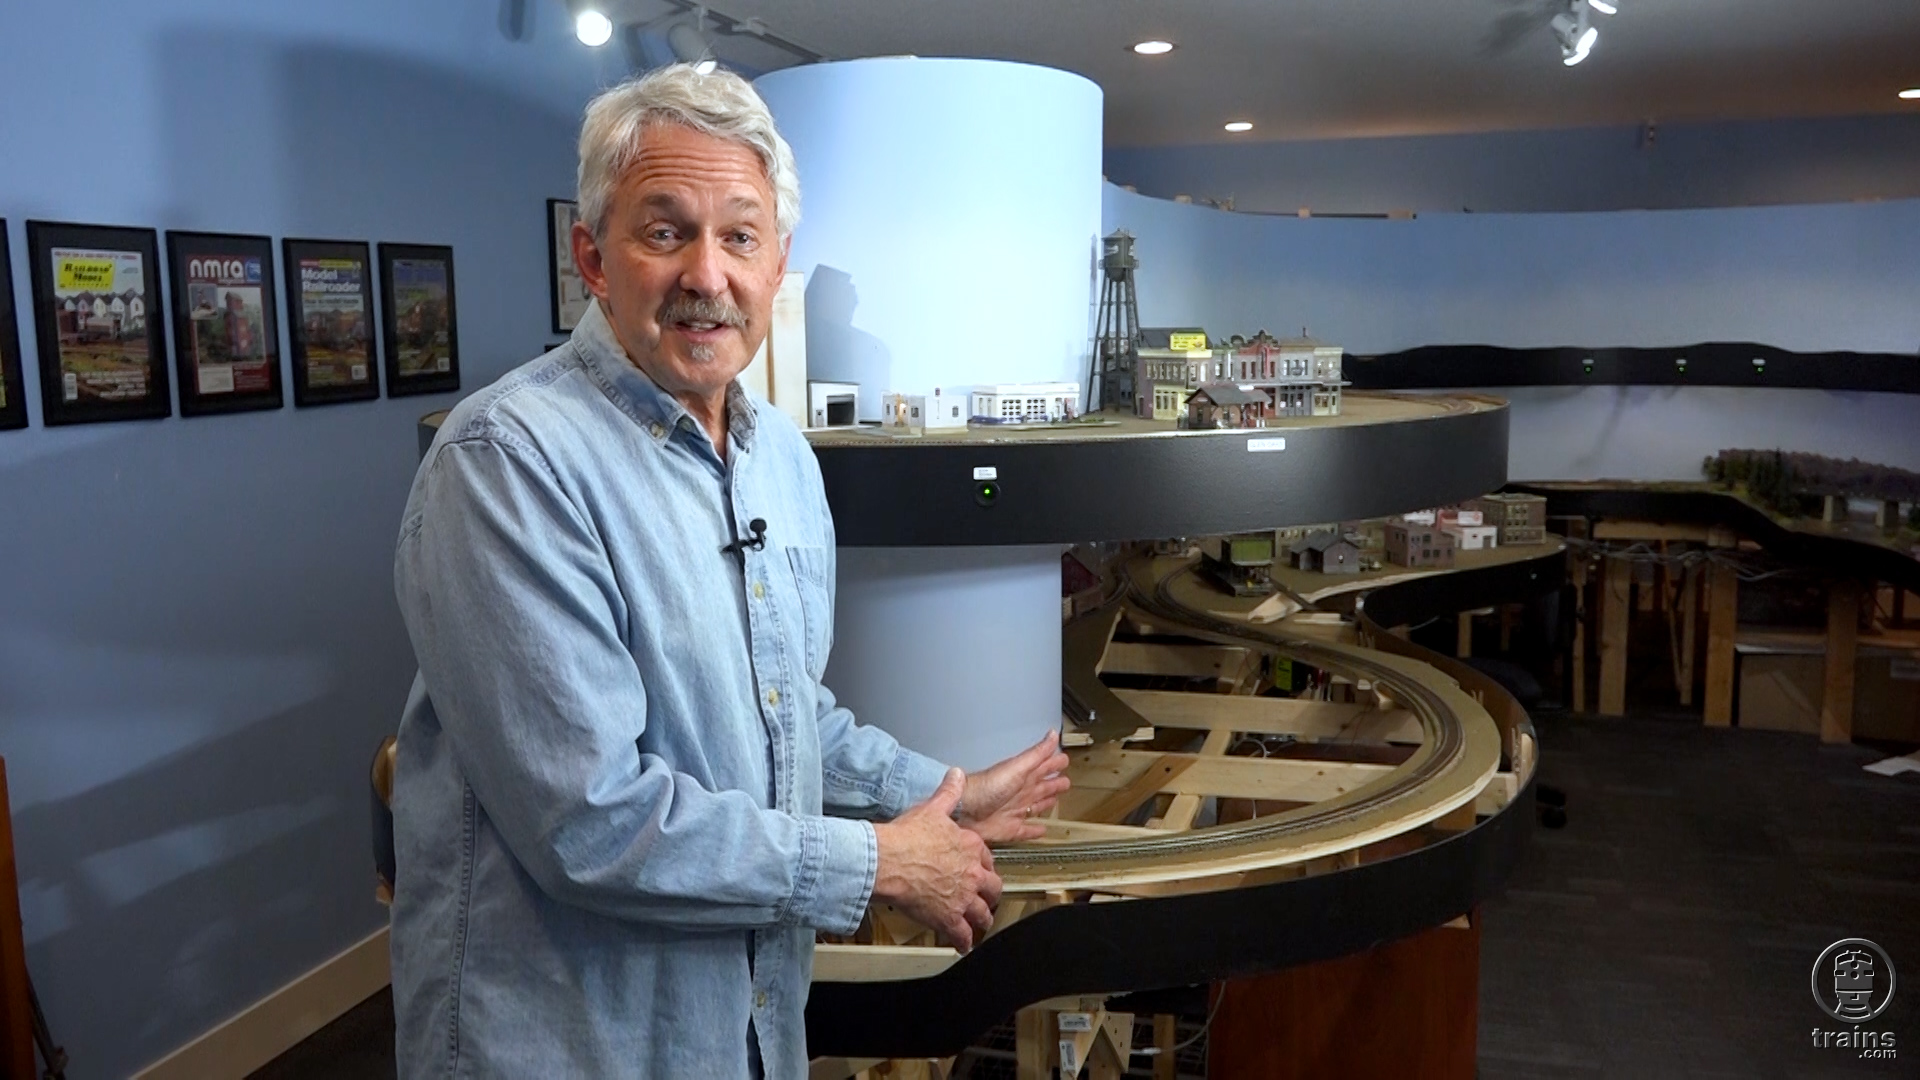
In this episode, Host Gerry Leone departs from work directly on the layout itself. Instead, he shares his techniques for customizing an HO scale Walthers grain elevator kit into much larger structure for a specific space.

Getting to know Gerry Leone

Back on Track host Gerry Leone is just as clever as he is comedic! But even better, he’s a masterful model railroader who’s knowledgeable in numerous areas of the hobby. In his MR Video Plus/Trains.com series Off the Rails, audiences enjoyed learning many of the helpful tips and techniques he used to assemble various layouts over the years. Exclusive Trains.com video highlights much of his previous Bona Vista Railroad HO scale layout, and even examines specific details of his scenery construction in his Spaces to Places series.

With so many of Gerry’s talents at hand, we wouldn’t want any of them to go to waste! You can be sure to find him lending assistance in the construction of several other Trains.com projects, including work on the O scale (1:48) Olympia Logging Co., the HO scale (1:87) Winston-Salem Southbound, and even the N scale (1:160) Canadian Canyons.

If you’re looking to find some of the tools and supplies Gerry uses in his path to modeling success, look no further than KalmbachHobbyStore.com. There, you’ll be able to further examine and directly purchase products he and other notable model railroaders frequently reference in Trains.com videos!

14 thoughts on “Kitbashing a signature structure | Back on Track, Episode 22

  1. Hey Gerry,
    I was reviewing this video prior to building my own Prairie Co-Op kit when I realized… you assembled the elevator side walls inside out! The long vertical reinforcing seams that mate to the curved end walls are supposed to be in the INSIDE of the elevator, not along the outside!
    Your method does eliminate the need to putty and sand those seams if the kit were assembled conventionally. Was that your intent, and could there be a prototype logical/acceptable explanation for those long, vertical concrete pilasters?

  2. Another great how-to video Gerry. Thanks! I too ended up using Pan Pastels when I built and weathered my ADM Elevator and silos. Something I discovered that works well for me is using Post-It notes to mask the horizontal “lines”. The Post-Its are low tack and easily curved to conform to the silo sides. I start at the silo top, one row at a time. Dragging the applicator from top to bottom creates a sharp edge that fades as the applicator is pulled down. Then remove the Post-It and reposition it down for the next “seam”. As you noted, less is more, and when the silo is completely “striped”, the pastels can be toned down easily enough if the look is too garish.

  3. Very nice work Gerry! I love grain elevators. Being from, and modeling, Nebraska, they are essential to my layout. You did some nice work. Earlier this year I had a “modeler’s surprise”. I ordered a 3D-printed model of our local elevator from jp3D in Salina, KS. The model is great, but the shock was the height. Walthers’ silos are about 65′ tall for selective compression. Real elevators are often much taller! I am now in the “imagineering” process to decide how I want to raise the Walthers model that will be close to my custom model.

    1. Hi, Eric — Thanks for the question. I use a Badger 360 airbrush and absolutely love it. In fact, I bought a second one so I could have one with a fine tip and needle on it permanently. The airbrush is called “360” because the cup rotates completely around. So it can be used as a gravity-feed airbrush by putting a dropper of paint in the cup. Or if you rotate the cup downward , it will accept the tube from a jar, making it a siphon-feed, which is great for larger paint jobs. Bought my first one in 2004 and have never looked back!

  4. Thanks, everyone! It was a fun project. One thing I realized later was that I had the elevator on the layout backwards — there was nowhere for the full cars to be pushed and the train had to move all the empties to get to the full one. So I reversed the elevator and now the train pulls out the full one and lines up the empty one behind it.

    Christopher — I got the saw at Harbor Freight for something like $30. It came with a regular “toothed” blade, and one with no teeth (probably a grinding blade). But as you saw, it works well on plastic. It does melt it as it cuts, but once it cools down it’s easy to just crack off.

  5. Gerry
    Looks great. Always interesting to watch how you come up with the ways to add the horizontal weathering.
    I saw someone that used oil paint covered with painters tape, then before the paint had setup pull the tape off. Kind of gave the lines that replicates the concrete setting up and each new pour going up the sides.

  6. Thanks. Been looking for a way to add horizontal lines to the cement silos. Adding a third color is a great idea also.

  7. Gerry, as always an entertaining and informative episode. I was impressed with your method for adding the color segments to the silos. I can’t wait for the next installment.

You must login to submit a comment