Videos & Photos Videos How To Track Planning Gerry walks a fine line | Back on Track, Episode 15

Gerry walks a fine line | Back on Track, Episode 15

By Gerry Leone | March 10, 2022

| Last updated on March 11, 2022


Email Newsletter

Get the newest photos, videos, stories, and more from Trains.com brands. Sign-up for email today!

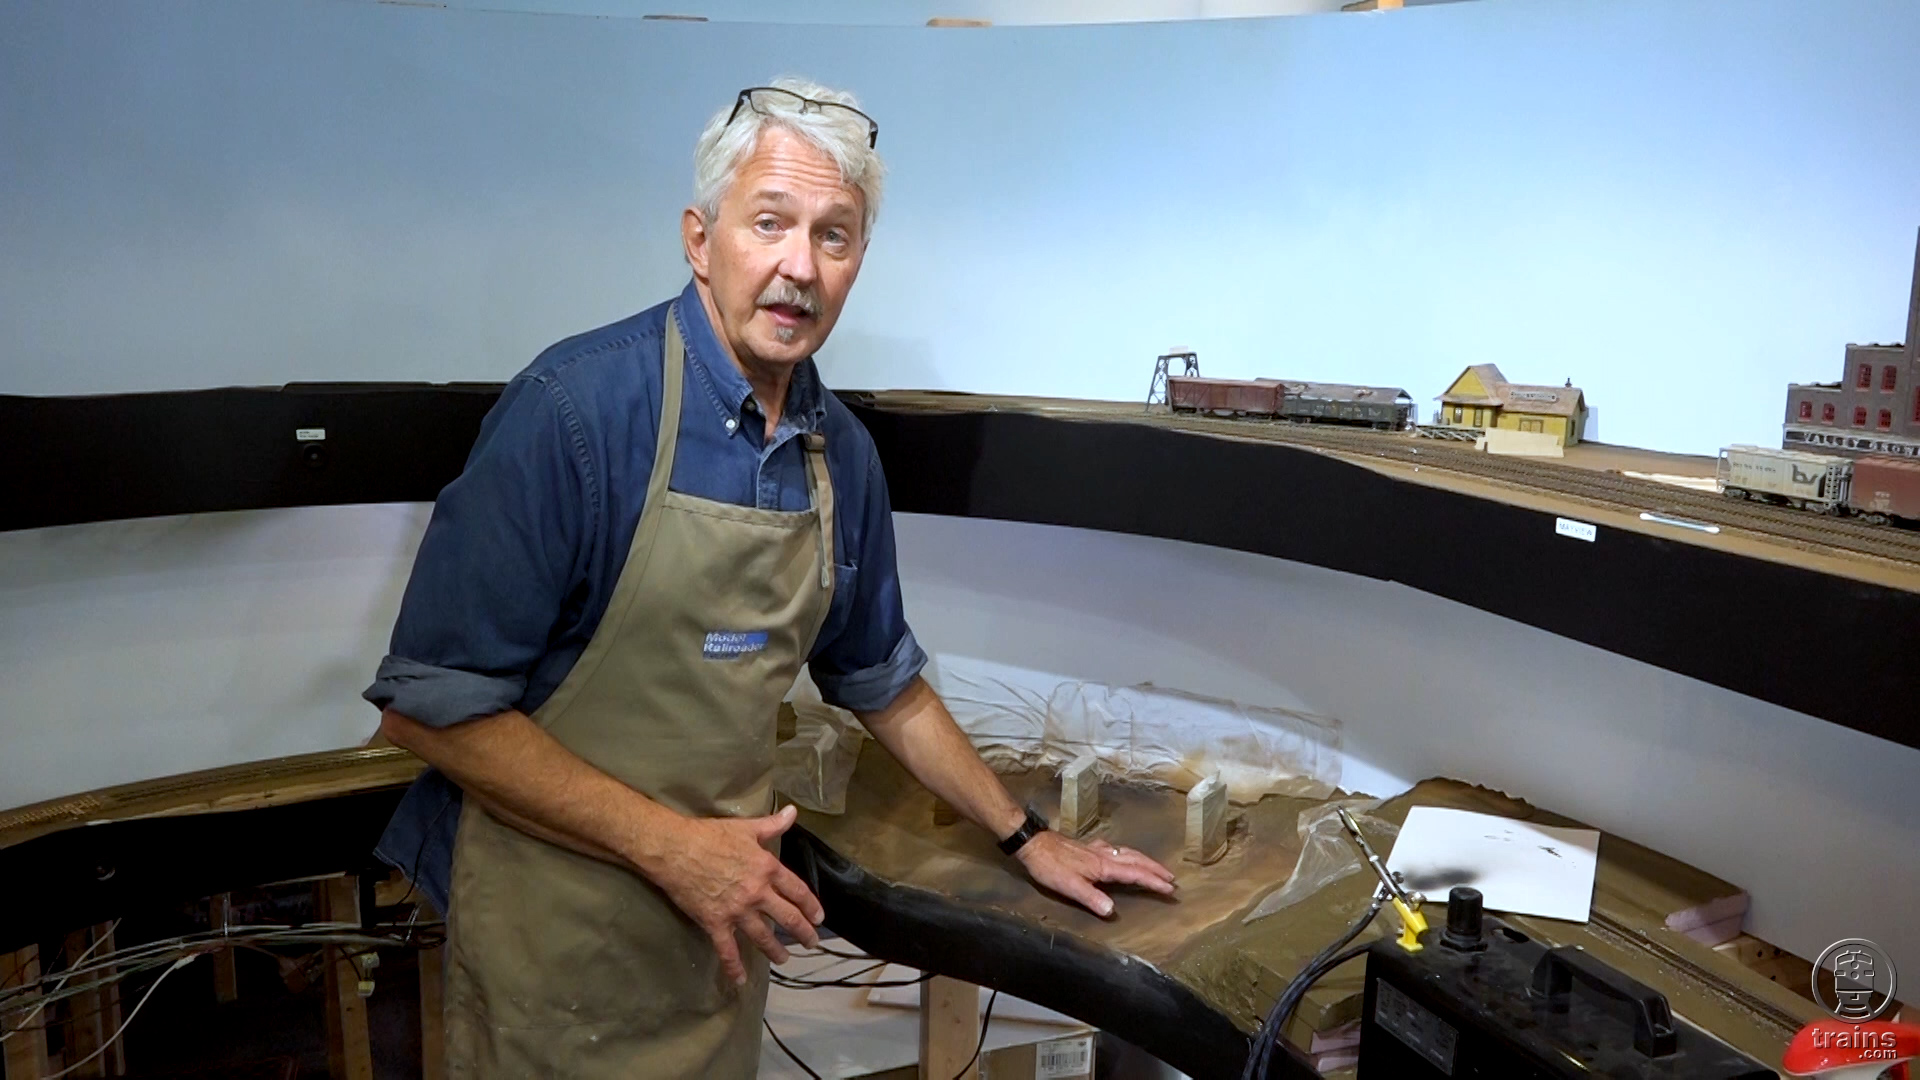
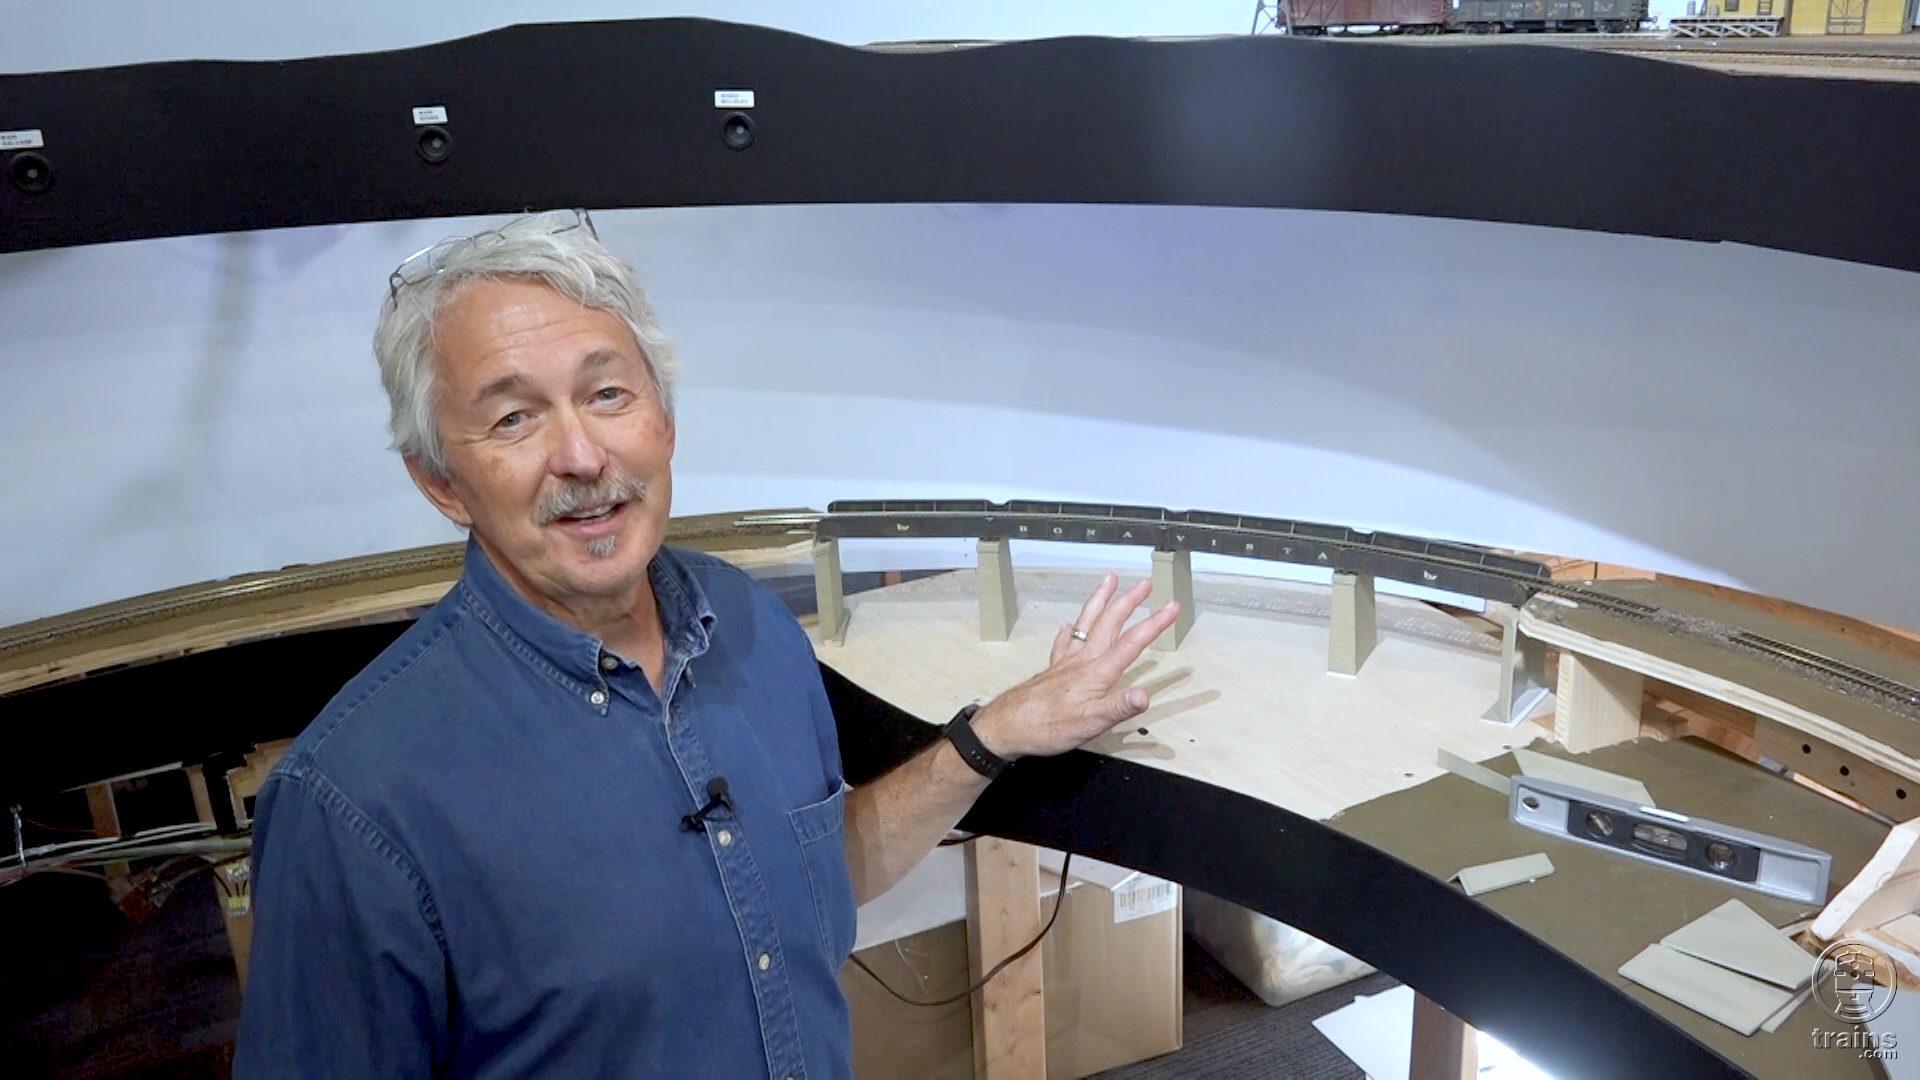
Gerry walks a fine line…the recently completed main line of his HO scale Bona Vista layout, that is! Our host, with assistance from his wife, has driven the Golden Spike into the trackwork of his double-deck model railroad. That’s a great time to take a walking tour of the construction progress. Following the tour, Gerry also shares several new Off the Rails tips he discovered or rediscovered while assembling the layout!

Getting to know Gerry

Back on Track host Gerry Leone is just as clever as he is comedic! But even better, he’s a masterful model railroader who’s knowledgeable in numerous areas of the hobby. In his MR Video Plus/Trains.com series Off the Rails, audiences enjoyed learning many of the helpful tips and techniques he used to assemble various layouts over the years. Exclusive Trains.com video highlights much of his previous Bona Vista Railroad HO scale layout, and even examines specific details of his scenery construction in his Spaces to Places series.

With so many of Gerry’s talents at hand, we wouldn’t want any of them to go to waste! You can be sure to find him lending assistance in the construction of several other Trains.com projects, including work on the O scale (1:48) Olympia Logging Co., the HO scale (1:87) Winston-Salem Southbound, and even the N scale (1:160) Canadian Canyons.

If you’re looking to find some of the tools and supplies Gerry uses in his path to modeling success, look no further than KalmbachHobbyStore.com. There, you’ll be able to further examine and directly purchase products he and other notable model railroaders frequently reference in Trains.com videos!

19 thoughts on “Gerry walks a fine line | Back on Track, Episode 15

  1. Gerry, could you comment on the canopy? glue you referenced in the video. brand, where available and qualities? You have a ton of assembled buildings to visualize with and I am a new modeler with no buildings. Doing a temporary build sounds like a solution to my problem.

  2. Excellent video Gerry! The layout looks terrific.

    Your idea for taking the curl out of newsprint rolls is genius! Why didn’t I think of it!? Oh yeah…

    During one of your episodes please share how you convinced your wife to allow you to build a unique “model railroad layout” room in your new home! Now that’s a trick worth knowing!

    Bill

  3. Around 50 years ago when we needed a portable drill on the airport we had a 12 volt drill but the batteries seldom would last long enough to do any jobs. Eventually the batteries died and wouldn’t take a charge anymore. So beings as how we were doing electronic work, we simply pulled the batteries out and carried a box that contained Jell cells that were 12 volts. They would last all day if charged overnight. A cable between the batteries and the drill was all it took. Did a similar thing with an old portable drill at home 35 years ago.
    Bill

  4. Keeping the track nails in a container with the magnet makes me wonder if the nails retain enough magnatism so when used they might effect the magnetic couplers?
    Was looking for the episode for building the turntable you mentioned back in episode 11 or 12. Got #13 ready to look at next. I really need to redo my turntable.
    Bill

  5. MR team or Gerry, could you please comment on the specific Rubbermaid shelf brackets being used and how the plywood is secured to them?

    1. I can do that, George. The Rubbermaid Brackets are off-the-shelf brackets I bought at Home Depot. They come in something like 5 lengths, from 6” to 24”. They have a “double hook” that attaches to a double-hook channel — also available at Home Depot — which gets screwed into the 2×4 uprights. You can see the brackets here: https://www.homedepot.com/p/Rubbermaid-11-5-in-White-Twin-Track-Bracket-for-Wood-or-Wire-Shelving-FG4C0502WHT/100067997 . The plywood gets attached to the brackets with a couple of screws from underneath — the brackets themselves have two holes in them for those screws. They’re very stable. This is the second layout I’ve used this system on. Hope that helps!

    2. Thank Gerry. I’m starting a double deck layout of my own and I liked the look of using the shelf brackets on your layout.

    3. Honestly, George, if I had it to do over again I’d just use the “stamped” shelf brackets for the upper deck. They’re much cheaper. I already had these from the BV4 so I used them. My original idea on the BV4 was that if I wanted to create a valley or river or other depression that went below grade, I could just move the shelf bracket down a notch or two in the track. Great idea, but the reality is that the shelf brackets have to be raised almost vertically before they come out of the track. Which means you’d have to remove the plywood subroadbed on the upper deck first. That said, the Rubbermaid brackets are sturdy as all get-out and easy to install.

  6. Thanks, everyone!

    Marc — This is by far the funniest comment ever. I laughed long and hard. Thanks (not by you-know-who)!

    William S. — Those are 110vAC outlets in the floor. Some are switched, so I have the layout plugged into one of them. The others I just use for the vacuum cleaner, soldering iron, etc.

    William F. — Great idea about marking the drill size on the container. I’ve never tried a RotoZip but it sounds like that would have been the ticket.

    1. One item I find is great for marking and holding a variety of drill sizes is to use old medication bottles – collect them from your friends, remove the labels and use the handy labeler. Mark the lids too. I use them all the time and they work great. No searching through the flat packs or trying to find where you left your drill bit sorter/holder which is on the other side of the layout or out in the garage….

  7. It’s great to see the progress and follow along as you describe your techniques and lessons learned. So generous of the museum to let you borrow the “Demonstration Station (by Circuitron)” ?

  8. great tips layout looking awsome i have one of those black and decker saws goin see iif i can do what you did

  9. Hi Gerry
    Great series so glad to see your progress and this month is a two fur ? I’m working on my fourth HO layout. It’s around the wall of my single car garage about 14’X14’. I’m trying to figure out how to wire several 110VAC power outlets. Most of my buildings are 4.5VDC so I’m going to have a 5VDC buss to limit the number of AC/DC bricks. I know you have some in your floor. Are you just use those or have you added others around your layout.
    By the way one of sons-in-law is a license electrician 🙂
    Thank for all your series on Trains.com and MR VP.

    Bill Skinner

  10. 2 additional suggestions complementing your “Off The Rails” presentation: When adding a drill bit to a nail/fastener container, mark the size of the bit on the container so that if the bit gets lost or broken you know immediately what the replacement size should be. As for a versatile cutting tool (like your mini-recip saw), a rotary saw like a RotoZip cuts without the shaking and extreme vibration action of a recip-type saw.

  11. Poor Gerry, Wally doesn’t look impressed at all and Renee looked like she was thinking “Why me again?”
    But honestly, Congratulations Gerry. It’s a great milestone to have behind you now!

  12. BonaVista 5, Wow, Over the last 35 years I have only built 1.25 layouts, How many have you built? Great job of narrating your build Gerry! Now that Covid is less of a threat, will Seth Puffer be helping you out?

    Mark DeSchane

  13. Great episode as always – say hi to Renee and Wally!
    Congratulations on the golden “aka brass” spike – can’t believe how many of those spikes you have driven!

You must login to submit a comment