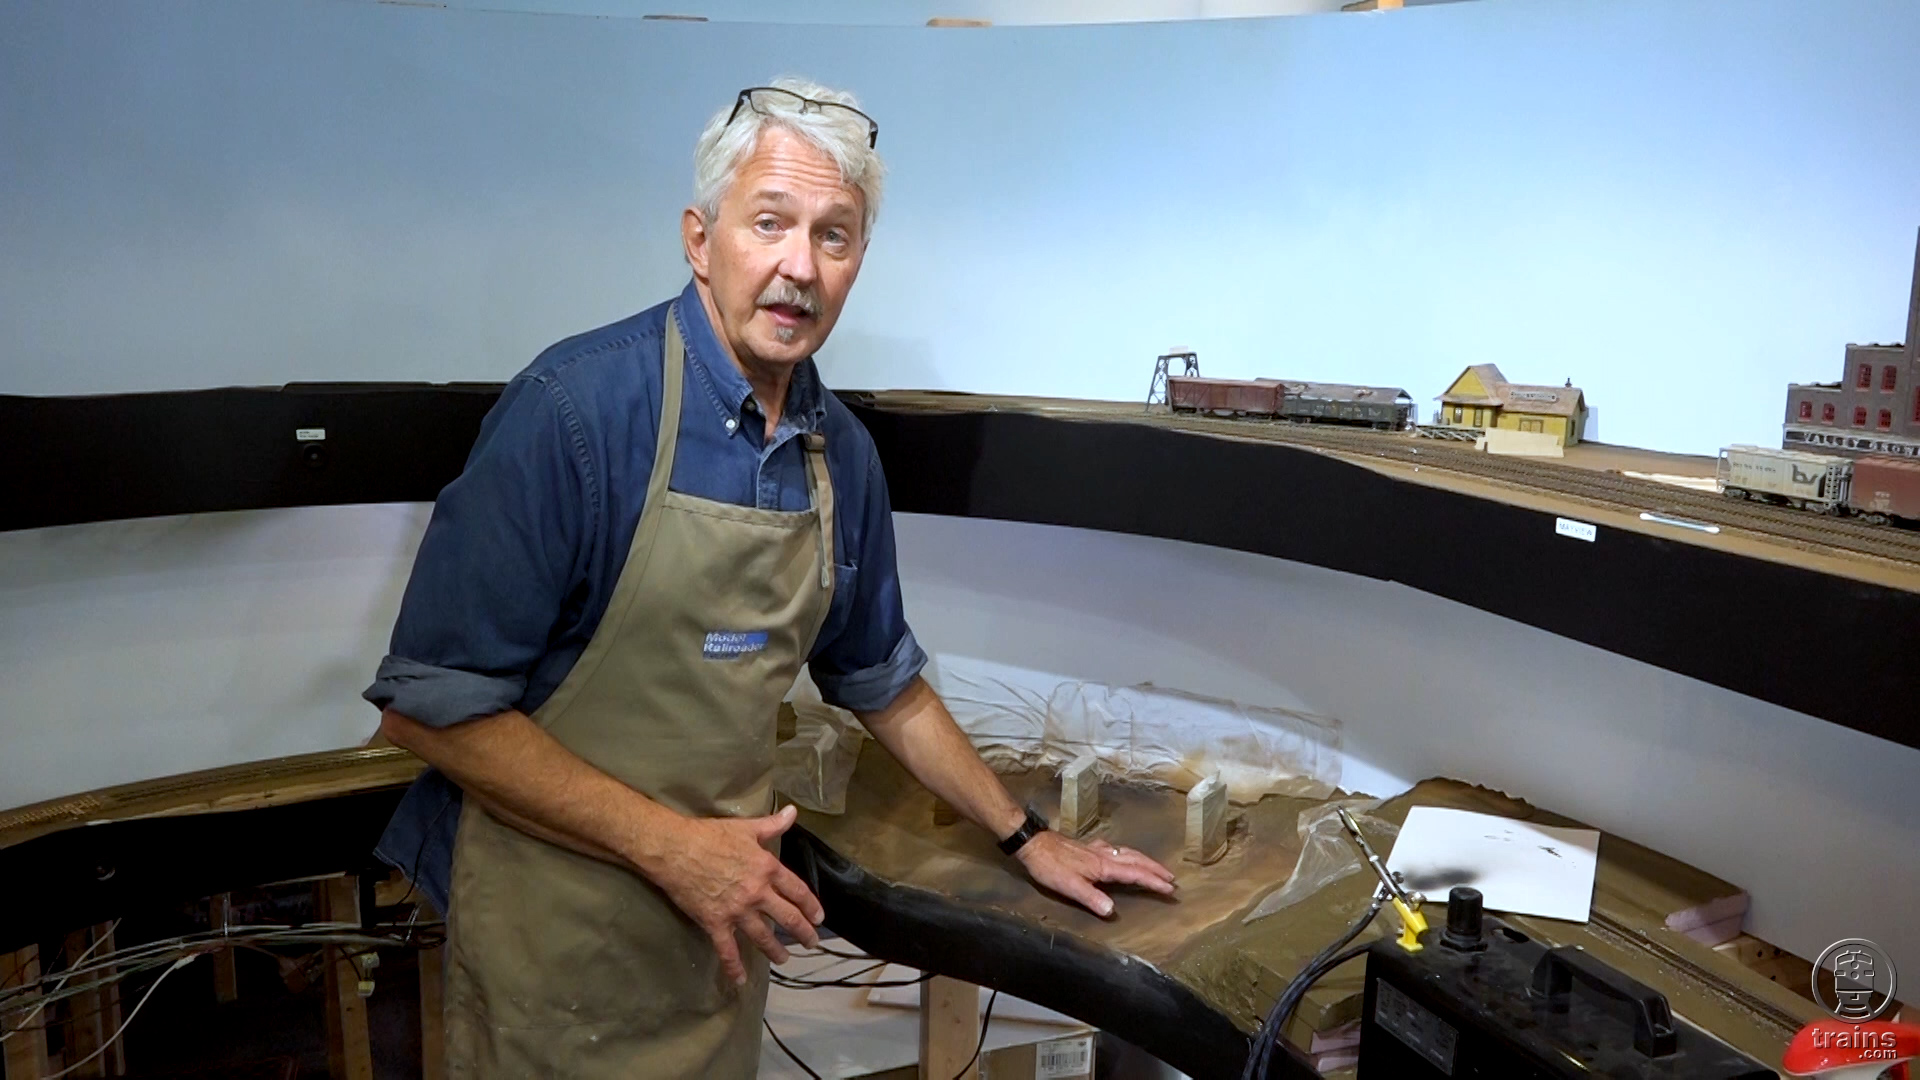
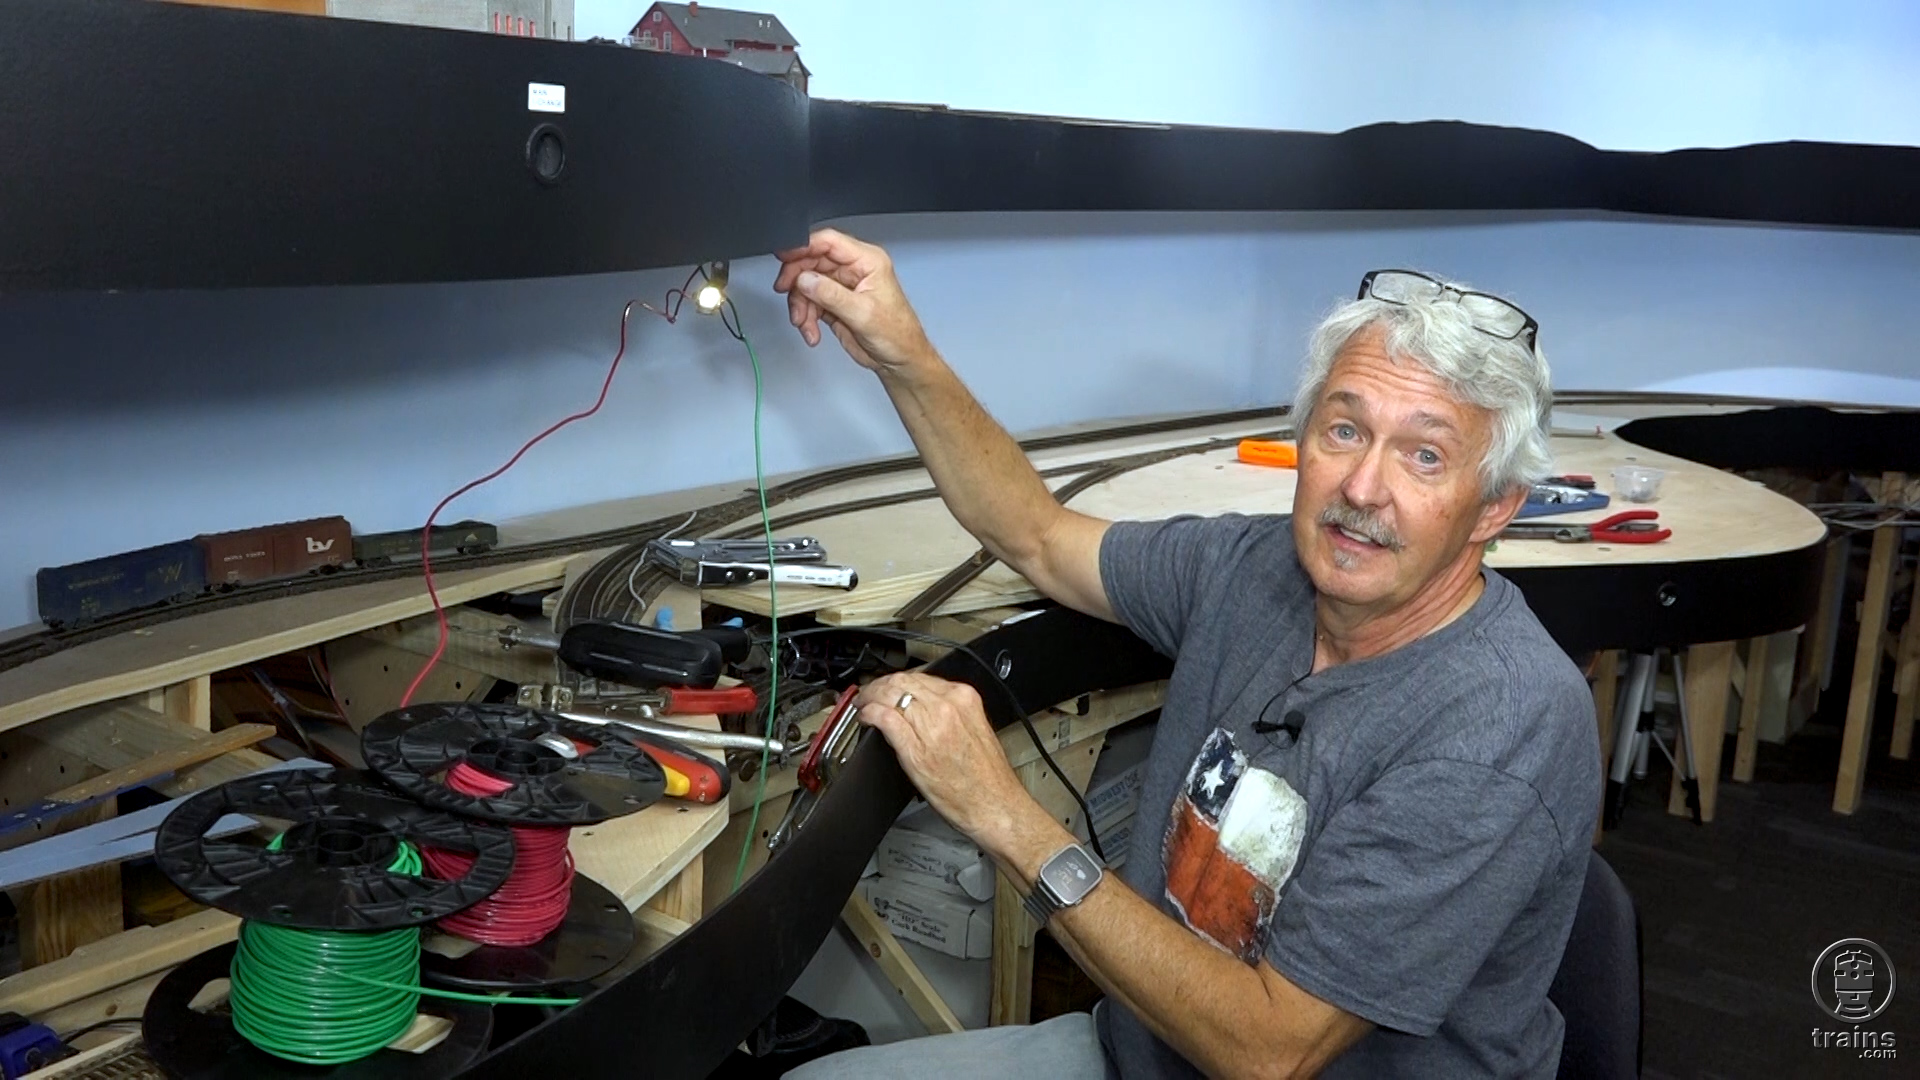
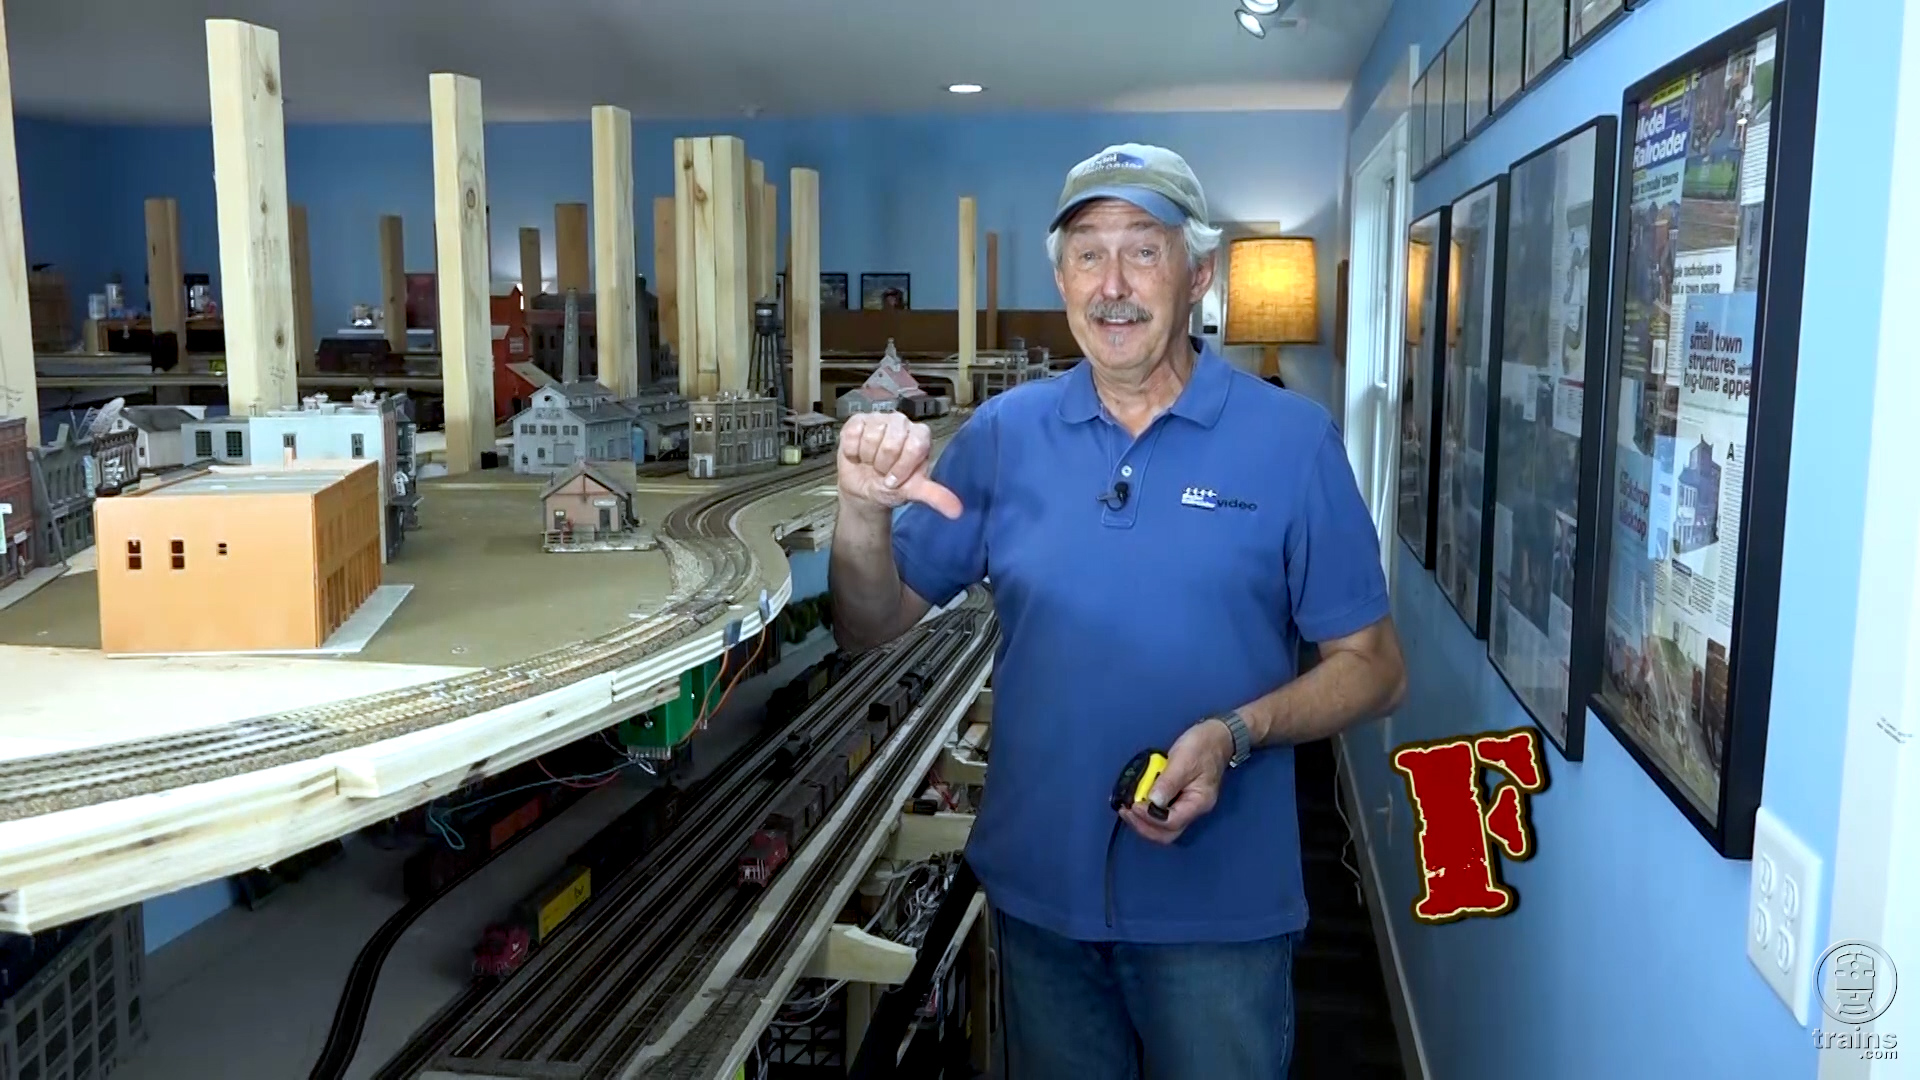
It’s a new year with new progress on Gerry Leone’s all-new HO scale layout. Of course, that means a new season of construction videos gets Back on Track right now! In this episode, you’ll see how our host made quick work of his hardboard fascia installation. While work on his upper deck isn’t quite as swift, Gerry shares how his penchant for persnickety planning is paying off!
Back on Track: Fascia and upper deck design, Episode 13
| Last updated on February 4, 2022
Gerry, How do you attach the vertical 2×4’s to the cross members on the lower deck and keep them strong enough to support the upper deck without bowing? I cannot see from the video exactly how you do it.
Thanks Gerry, Looking Forward to It.
Gerry, I’ve been trying to find out why I cannot find “Back On Track” listed as a Series in the Trains.com menu structure. Seems to me you are a valid series, and I should be able to select your program from the series menu under videos and photos. “Off the Rails” is there, but I have been unable to communicate my level of frustration, with whoever is in charge of the website for trans.com. Maybe if you complain this will happen.
Really glad to see you back on track!
Craig, For some reason on Trains.com very little is easy to find. I usually type “Back on Track” in the search box to find the series. Since #13 was posted 2/4, I have my fingers crossed that #14 will be up this Friday. We can only hope. I have been watching the old BV4 update series to get my Gerry Leone fix!
Sam — usually when those two words appear in one sentence, it’s “Fix Gerry Leone.” 🙂
Great to see you back in my monitor!!
I assume rails at the end of the spiral will be close to the inside, far away from the last shelf bracket. Otherwise, the video makes it look like only unloaded flat cars will be usable! That bracket gets pretty thick where it meets the downward/vertical part. Looks like a mistake *I* would make!! <|:-O
Thanks, Jim. Good to see you in MY monitor! The clearance in the helix is pretty tight all the way — I have about 1/2” between the tops of boxcars and the plywood above them. I did that to keep the grade in the helix down to 1.5%. However the shelf bracket is holding up the upper return loop, and there’s over 5” of clearance between the return loop and the upper turn of the helix. But needless to say, I won’t be running any double stacks on the layout!
Thanks again for comments, folks!
Rod — I’ve heard the new schedule may be more to your liking, but I can’t say much more because I may be wrong. 🙂
James — In this video the whole lower deck already has Touch Toggles installed on the turnouts. Do a “search” here on trains.com for “touch toggles” and look for the “Step-by-step: Installing Touch Toggles” video I did several years ago. I’m using those same Touch Toggles again for this layout. They work great, and because of the way I install them they blend right in with the fascia. Depending on what you’re doing, if I were you I’d install the controls first, since a drill bit or spade bit really chews up the Masonite. THEN I’d paint everything.
Everyone: THANKS for watching!
I have controls (e.g., for turnouts) that will be installed in the fascia. I haven’t figured out exactly how to do that. I’m thinking that I can simply drill holes into the fascia (which has been installed, but no paint yet). Should I paint the fascia before installing the controls? I’m thinking that’s what you did. I don’t see much in the way of controls on your fascia (yet), but I assume there will be some. It’s great to see your face again! I hope there will be other videos in our near future.
Great to see that MR has you back online!
Have you heard what the schedule will be for future installments of Back on Track? Since we got only one in the last 4-1/2 months, will they be monthly going forward? I sure hope so, I really look forward to see what you do each and every time. Keep up the great work and keep the videos coming!
Let’s hope Kalmback realizes how many of us enjoy your videos and can wait for each new one.
“and can wait for each new one.” – That was suppose to say ” and CAN”T wait for each new one.”
At least you’ve started with planning. Fewer tear outs that way.
Mine was put down with what fit where, then changed couple times later. Interesting to watch the way a professional does it!
Bill
The cup(ed) washer is known as finishing washer.
made them 60 years ago as a working dude.
walt
Thanks, everyone! I never stopped working on the layout or shooting video of it — you just haven’t seen it!
Christian — generally the way I’m planning towns in this series is the way I did it for the BV4 and part of the BV3. I pre-planned several towns on the BV3, but I discovered that what looks good on the computer screen doesn’t always look good in real life. Buildings would look too tall or too short, or were too close together, or there wasn’t really enough clearance for the tracks, etc. So near the end of building the BV3 I took to finding buildings I wanted on the layout first, temporarily putting them together, and testing them on the layout and building the tracks around them. Some buildings worked, some didn’t. But certainly that’s the way Westcott — the big town on the BV3 (see the March 2013 issue of MR) — was built.
Glad to see you back.
Gerry,
Its great to see your smiling face again! We’ve all been anxiously await the continuation of the BV5. Welcome back!
It’s about time they got you back on line. Nice job with the cardboard, I started using it myself on the layout I’m currently building.
Good job Gerry.
Hope we won’t have another interruption in this series…
Looking forward to the next episode!
After watching a lot about the BV 4 and now watching the BV 5, I am wondering how Gerry came to the idea of planning towns one at a time, as you go down the line. Was this the method for the BV 3 or was it more preplanned? Clearly Gerry likes the system, as he is doing it a second time (at least) with the BV 5, but are there any major drawbacks it has over a centralized trackplan to start out?
Finally, the next episode. Gerry nice to see your progress. Thanks.