Videos & Photos Videos How To Scenery Detailing a train depot scene — State Line Route in N scale, Episode 22

Detailing a train depot scene — State Line Route in N scale, Episode 22

By Jenny Freeland | April 22, 2022

Email Newsletter

Get the newest photos, videos, stories, and more from Trains.com brands. Sign-up for email today!

Detailing the train station scene on the N scale State Line Route is the focus of this video.

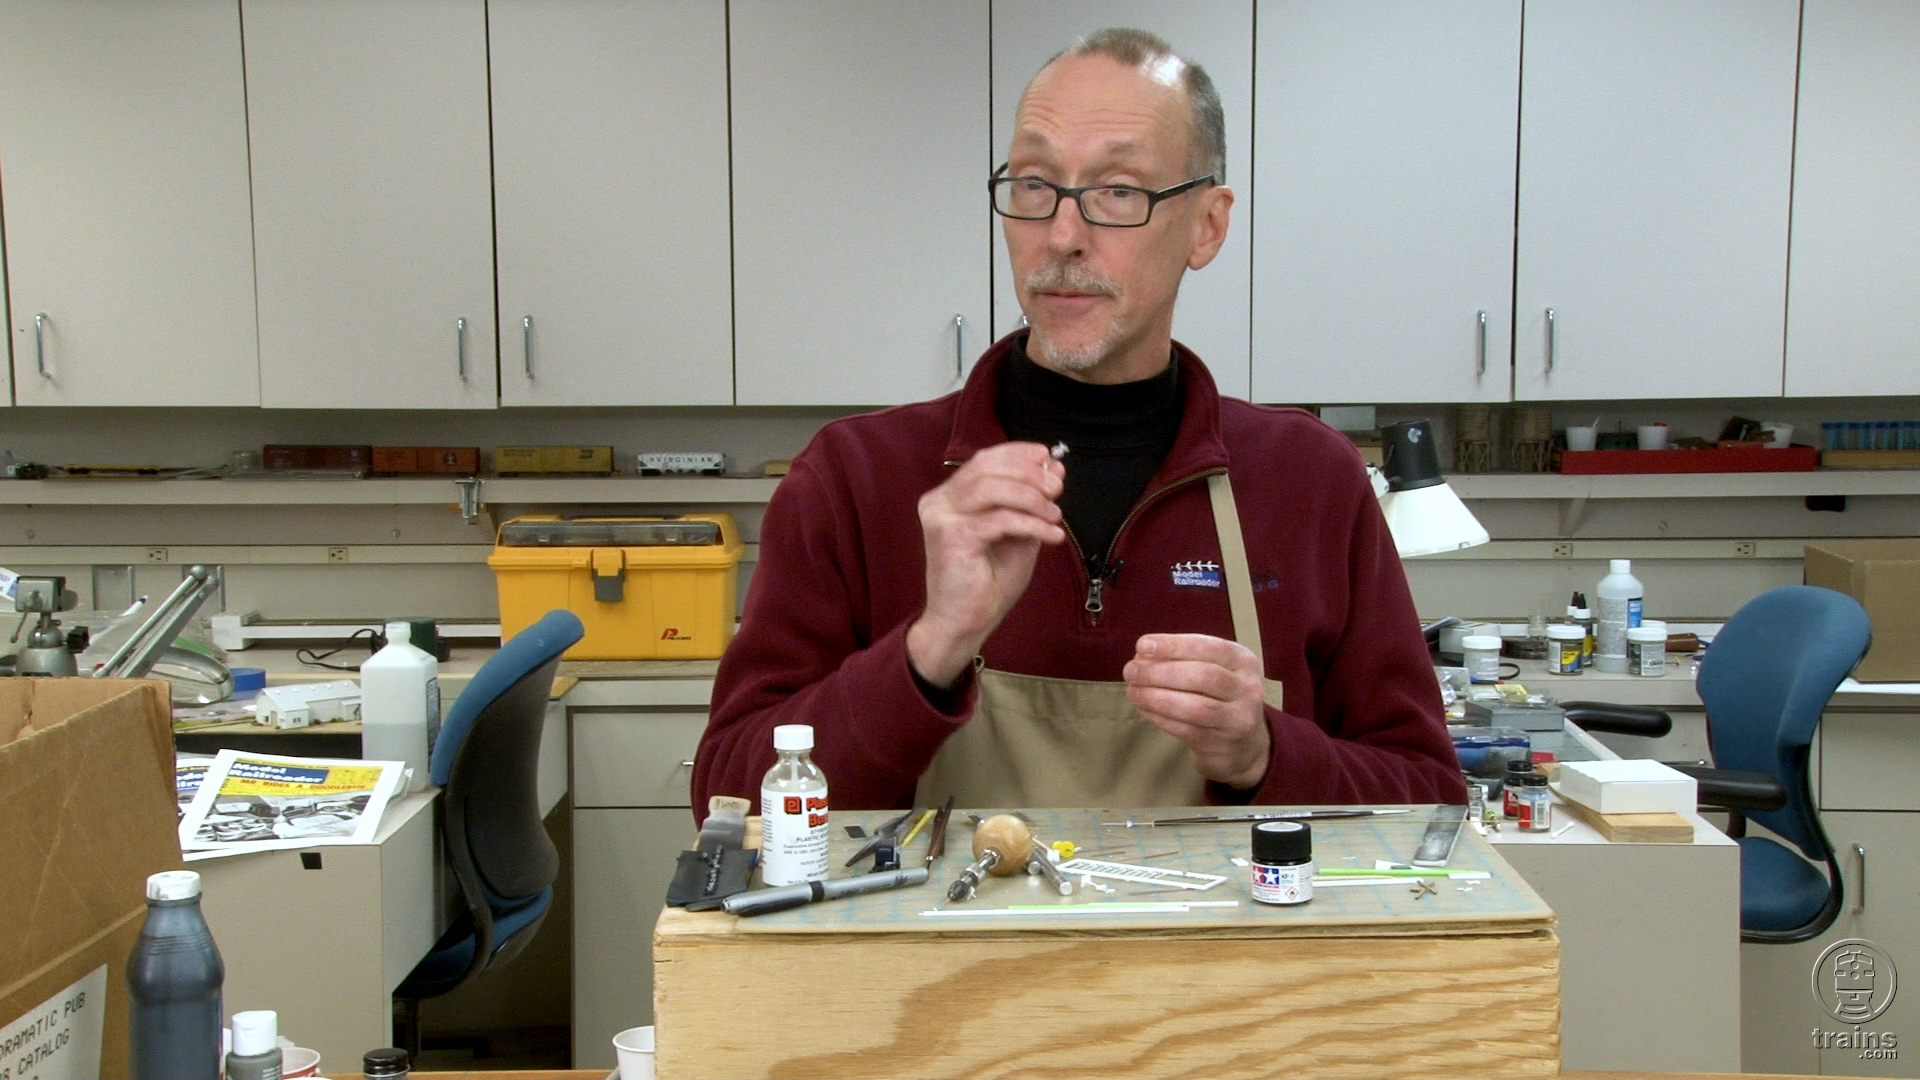
David Popp is ready to install the train depot on the layout, but there some small projects to complete. First, David shows he made an Amtrak sign for the train depot. Then he installs interior and exterior lighting on the station. Meanwhile, Cody Grivno is working on the station platform and parking lot. First, he shows how he expanded the station platform and scribed in expansion lines. Next, Cody paints a parking lot and adds decals and weathering. Lastly, David and Cody install the platform, station, parking lot, and street lamps.

Enjoying this coverage of our State Line Route project effort and how we’re detailing this depot scene ? Watch additional episodes exclusively on Trains.com streaming platform!

The State Line Route in N scale is a mid-sized stand-alone model railroad inspired by the legendary HO scale Milwaukee, Racine & Troy, a large-room layout built more than 20 years ago by Model Railroader staff and their friends. The series began on Trains.com in July 2021 and covers the construction process from initial overview and planning to building benchwork, scenery, and more.

Woodland Scenics Just Plug Lighting System products are available for your layout at the Kalmbach Hobby Store.

An N scale Amtrak depot with cars parked on each side and buildings in the background
Here’s the finished Amtrak depot on the N scale State Line Route. David and Cody added vehicles, working street lamps, parking stalls, and directional arrows to make a realistic scene.

7 thoughts on “Detailing a train depot scene — State Line Route in N scale, Episode 22

  1. Another very good episode! Thanks guys!! In order to prevent paint from wicking under your masking, apply another layer of your base coat color after you apply your masking in the desired areas. This base color will act as a masking sealer. Then apply your secondary color and you’ll get no wicking under the masking. In the case of the station platform, you would apply your initial camouflage spray, apply your blue painters tape, then hit the platform with another coat of camouflage color, and then paint the 24″ yellow stripe. No more wicking!

  2. Wow, episode 22 already. I’ve loved following them all during this neat project, learning something from each episode, and already dread the end coming in sight! Thank you for all your tip sharing and inspiration!

  3. A tip for making signs is to get the logos in SVG format. That way you can scale them to any size you want (up and down). Since SVG is a vector format, meaning coordinates instead of pixels, you will not have any loss in resolution when scaling.

    From your printed picture, it looked a bit “pixelated”, that will not happen with SVG. Wikipedia is a good source for SVG logos. The Amtrak logo mentioned is also on Wikipedia as an SVG.

  4. Great station site building project guys, really like that platform extension. Just a tip for all modelers doing parking lots, the last parking space on a single-ended lot usually has a short curved tail extension for that last car or pickup truck to back out of the space without ending up in the lawn or shrubbery. Awesome lighting, thanks.

  5. It’s also good to see that your no longer using Poly Scale; or Floquil paints as much anymore and are going to the paints that that we have available, now.

  6. Cody and David, I really like your layouts that allow easy expansion. Did this start with the Olympia/Olympia Sand Creek On30 layout or are there earlier layouts that allow for adding modules in between; or, at the ends? Great Idea, anyway!

You must login to submit a comment