Everything runs on Bluetooth these days, so why not your locomotives? BlueRailDCC from Tam Valley has a solution (BlueRailDCC).
This compact board (.57” x 1.5”) supports up to 2A of current, plenty for most HO scale installations. To connect, you’ll need to download the BlueRail Trains app to your Apple iPhone or iPad. Android support is coming, but not available yet.
What you need to install the BlueRailDCC board
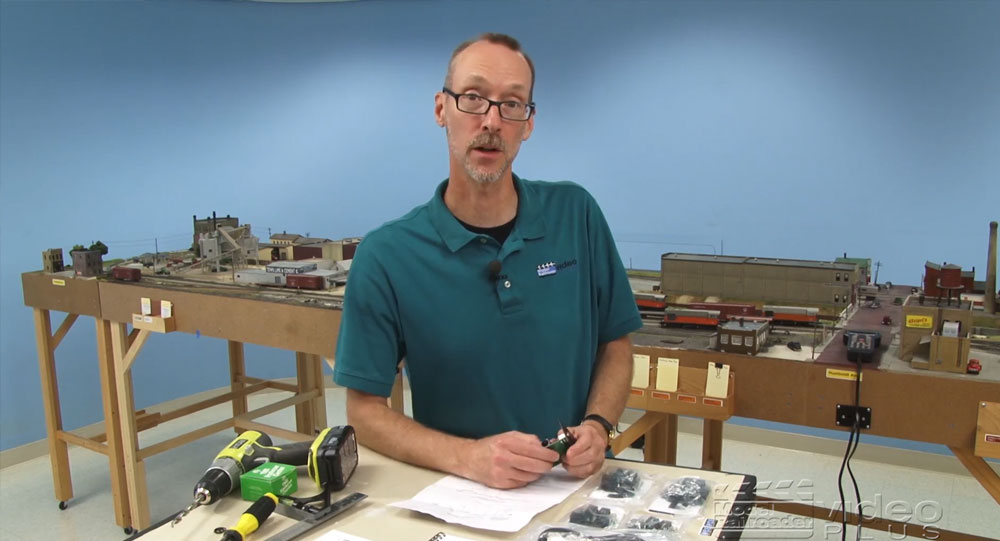
Installation is simple, but it does require cutting a few wires and some soldering. Gather together a 15W to 25W pencil-tipped soldering iron, some small-diameter rosin-core solder (I used .032” 60/40 rosin core solder I bought at Radio Shack years ago), some heat-shrink tubing, and maybe some scraps of small-diameter wire, depending on your installation. Don’t use acid-core solder or acid flux on electronic connections as it can create corrosion that will cause the joint to fail. You’ll also need a Digital Command Control- (DCC) equipped locomotive. Make sure the address is set to 3 (that’s the default address on any decoder). If you don’t use DCC, the BLueRail website explains how to set up the board to work on direct current.
Finding space for the BlueRailDCC board
The first thing I did was figure out where the board was going to go in the locomotive. The WalthersProto Fairbanks-Morse H10-44 I was using for the project had just enough room above the SoundTraxx decoder installed at the factory to accommodate the BlueRailDCC board.
The BlueRailDCC board has to be spliced into the track power wires coming from the trucks. It has a plug with red, black, yellow, and white wires coming out of it, as well as four soldering pads labeled PWR and OUT. I used the plug.
Cutting and soldering wires
I identified the wires coming from the trucks that were taking power to the SoundTraxx decoder board, then noticed the wires were plugged into the SoundTraxx board – bonus! I unplugged the wires from the board, then snipped them in two, leaving enough wire on the plugs to allow it to reach the plug connection for the BlueRail board.
The wires for the rear trucks needed to be extended to reach the new connection to the BlueRail board, so I scavenged some wire from the leftovers I’d cut off of DCC decoder installs in the past. Be sure to use heat-shrink tubing to insulate your connections.
I soldered the extended wires from the rear truck, and the wires from the front truck, to the red and black wires coming from the BlueRail connection plug. The yellow and white wires on the plug were soldered to the plugs I removed from the SoundTraxx decoder board. Make sure you keep your connections straight – all of the wires from the right side of the locomotive have to go to the same wire on the BlueRail connection. Same goes for the left side wires. I was fortunate the Walthers locomotive used red and black wires to make keeping the sides straight, but some models use all black wires, for example, so you may need to mark wires so they don’t get mixed up. Again, keep the connections to your DCC board organized. The SoundTraxx board had two plugs (front and back) so I used both of them again.
Testing the installation
With the soldering done, I plugged everything in and took the locomotive to the test track. I had the BlueRail app installed on an old iPhone. I opened the app, made sure Bluetooth was turned on, and waited for the app to find the locomotive. After a couple seconds, it popped up. You can name the locomotive in the app if you have more than one.
Once I was sure everything worked, I put some electrical tape over the SoundTraxx decoder board to protect it from shorting against the BlueRail board, then secured that on top of the decoder with another piece of tape.
This is a great solution for me on my small switching layout. I have an NCE PowerCab to operate the layout, and now I have a phone-controlled locomotive so my son and I can both run trains at the same time.