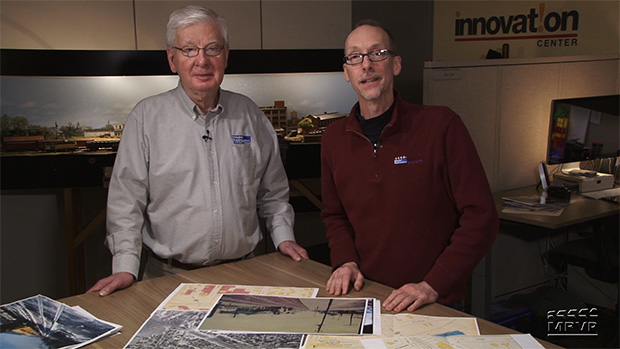
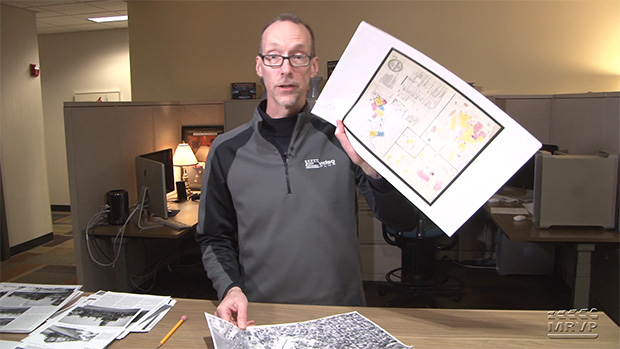
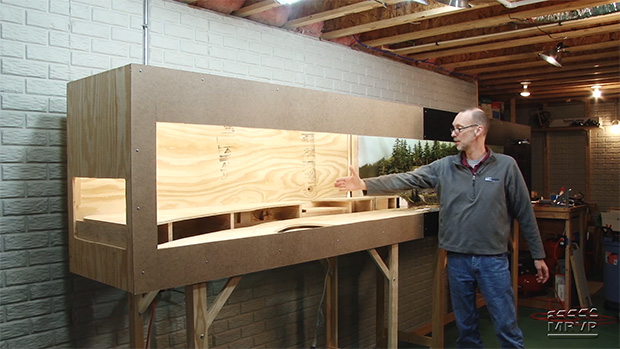
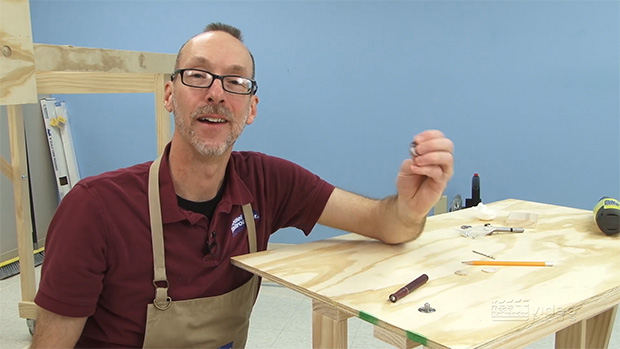
Construction on MRVP’s On30 display-style logging layout gets off to a fast start! MRVP’s David Popp introduces the sketched plans for the trackwork and diorama frame, before addressing the construction steps used to make the lower frame and leg assemblies. Also be sure to download the PDF of the Olympia benchwork specifications so you can follow along as we build!
Olympia Logging Series: Part 2 – assembling the lower benchwork
| Last updated on January 11, 2021


I need help reconstructing my layout in my living roomI’ve only got room 9 foot by 9 foot 2 building so I’m having a hard time please help
Hi, George — You didn't miss anything, …yet! We're workIng on closing out the Olympia Logging Co. video series this week. Part of this final push includes having our illustrators draw a downloadable track plan and sketches of benchwork, which might also spin into an article for Model Railroader magazine later this year. Stay tuned! — Kent, associate producer
Maybe I missed it but are there bench work drawings with dimensions for the placement of cross members, etc.? I would like to adapt this project to fit into my plans and a downloadable version of your drawings would be most helpful! Great series! Thanks for doing this in On30!
Great ideas for independently standing benchwork.
The series is great value, However, have you considered building a helix? I need one on my budding layout – and have no idea where to start?
Rob
Great video Norm, I mean Dave.
I really like these videos. Thanks for creating them. I have one question about the benchwork. If you put a fascia over the carriage screws that are holding the angle braces, do you have to take the fascia off when you transport it somewhere other than your shop/studio?
David: I like to use bees wax on wood screws. It lowers the torque requirement and and reduces the likelihood of splitting the wood. I also am a big fan of pocket hole jigs and Robertson (square drive) screws.
David, your how to videos are all excellent and a real help to get me going on things I have never done before. I particularly like the detail you demonstrate and the various techniques you use that i would never have known about. The videos are likely the best aspect of MR.
David/Ken, what size LEDs were in the string you bought? I have two strings of 5050s and they produce a great amount of light for my lower tier.
You didn't put in anything for leveling, how are you getting this done?
David, you don't hire out as a carpenter in your spare time, do you? I really enjoy your sessions on bench work, thanks for your attention to using good quality woods and the correct fasteners.
David, I am sure you know. This but using a bar of hand soap or a bar of wax to drag your screw will make it go in much easier
David, you"ve become the Tom Silva of model railroading carpentry.
Hello David,
Originally, we were a bit concerned about the stability of the layout as well, but I can report that after working on it for several months now, tipping is not a factor. It moves around the shop and other locations in the building here (photo studio, mostly) on its own wheels and has proven to be very stable when being transported. Even when we lean on the benchwork while working on the railroad (we're deep into the scenery stages by now), it has given no indication that it wants to tip over.
Probably the best reason is that there is just 2" of overhang on the sides, meaning most all of the weight runs straight down the legs, making for a firm base.
Thanks for your interest in the project, and you can thank our assistant editor Ben Lake for the new-improved graphics on this video.
Enjoy the series, there are a lot more videos to come!
David Popp
Put some soap on them screws. I know some peole use wax on wood screws too. Rub on a bar of irish spring soap will help the screws drive in and remove the nose and cut down on splitting.
Two compliments on the graphics in this video: The measurement numbers and highlighted sections of the benchwork, and also the beautiful 3D effect in the opening sequence. Keep up the good work!
Oh my, I have a serious case of lumber envy — nice looking stuff, clear as a bell, straight, clean edges. I guess I must not get to that aisle at Loewes or Home Depot or Menards. I remember the video of Kent and David doing the shopping but this really brings the quality home.
I liked the effective use of modern video technology to shade the two framed areas as David P described them: the layout proper and the traverser/sector plate area. It added clarity to an already clear narrative.
I do have to say however that even with the strong and sturdy base that has been created, I myself would be leary about a large heavy "box" on the top and legs only 22" apart (actually a little less). David alluded to someone leaning on the layout and maybe the leaners I know are heavier and less agile. I have visions of the whole thing getting rather tippy.