I know of two ways to install decoders yourself. The first way – the old-fashioned way – is to hard-wire them. The second – much preferable – is to install drop-in (also called plug-and-play) decoders.
In the old days, hard-wiring was the only way, but nowadays my advice is to avoid it like spotted ticks. I’m still doing it because I still have some 20-year-old locomotives that I’m just now getting around to converting, but I’d much prefer not to.
Doing it the hard way. The only advantage to hard-wiring that I can think of is cost savings. Quality wired motor decoders go for about $20 each, whereas drop-in types run about $35. For me, eliminating the frustration of hard-wiring is worth a lot more than $15.
In the early days, the toughest part about hard-wiring was finding a place in the locomotive frame to install the device. This meant milling, if you knew how and had the equipment, or hogging away with a file. Then came complete disassembly. Eventually, Aztec Manufacturing Co. made all this easier by milling our frames for $10, or $20 for sound decoders, and mailing them back to us. (Aztec Manufacturing Co. is no longer in business – Ed.)
If you have an older engine you want to hard-wire, I have two recommendations: The first is to use the two-piece decoder made by Train Control Systems. One piece plugs in where the front light board goes; the other replaces the board at the rear. You don’t need to modify the frame. The lights are already on the new boards, and you have only five solder connections to make. It’s a beautiful thing.
My other recommendation: don’t pull the brush caps off the motor so you can solder the motor wires to them. When doing so you risk having the brush springs pop out, and trying to find them is pure misery. Instead, clip the brush contacts off to about 1⁄8″ long and solder the decoder’s motor leads to them.
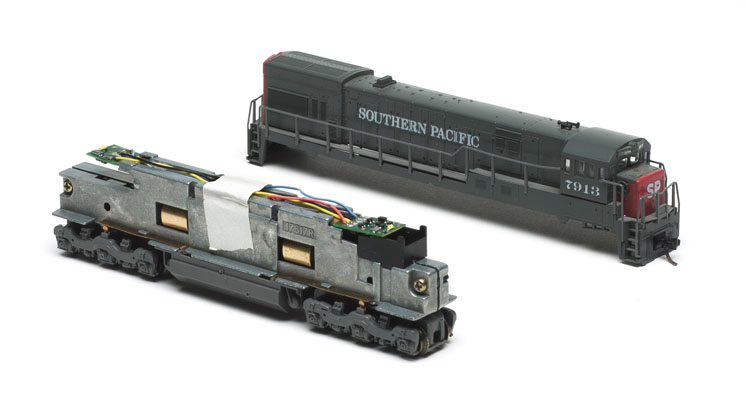
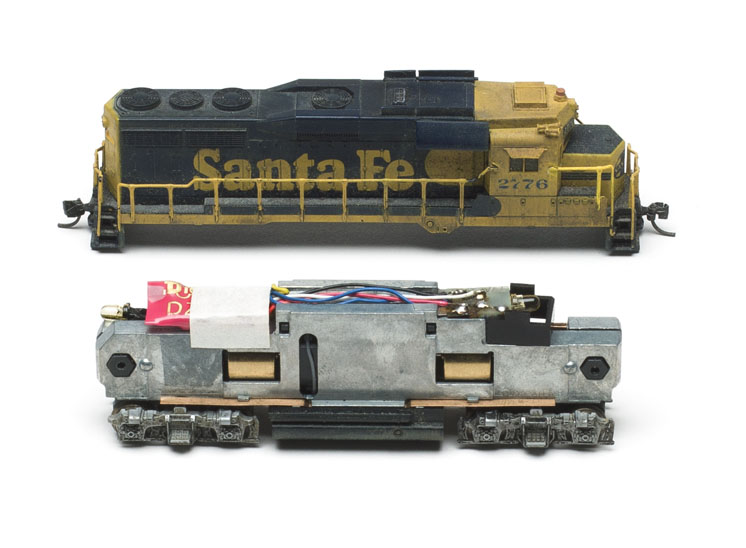
Drop-in decoders. Should I ever meet the person who realized you could build a decoder on a replacement light board, I will very happily treat them to lunch.
In theory at least, this development turned a 2- to 3-hour job into one that took only five minutes and was much more likely to end in success. Here are a few tips I’d like to pass along: If you must loosen the screws holding the frame together to remove the light board, don’t do it any more then necessary. One of the advantages of drop-in decoders is you don’t have to disassemble the locomotive, but if the locomotive falls apart on you, that advantage is gone.
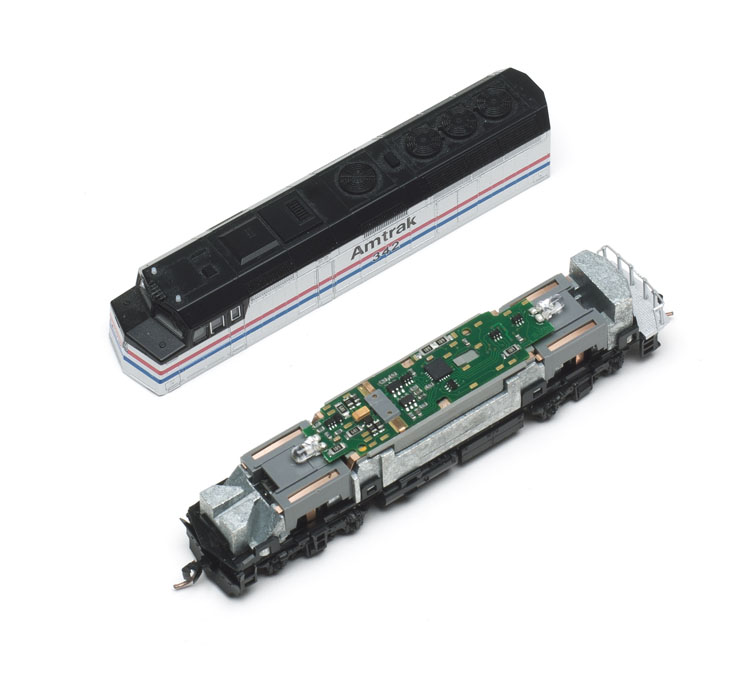
Make sure the tabs that contact the decoder pads are properly lined up and doing their job. Often I’ve completed installations and found the lights worked, but the motor didn’t. This is a pretty sure indication that the motor leads and decoder aren’t making proper contact.
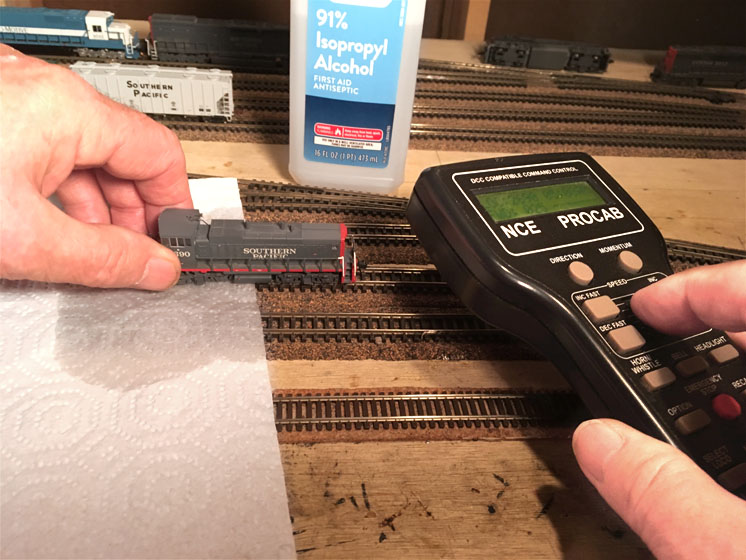
After muttering a few curse words, I take the decoder back out, clean the contact pads with a pencil eraser, and am in business. It would make a lot of sense to clean these before beginning the installation, but that seems to never occur to me.
It also makes a whole lot of sense to make sure the engine runs well on DC before starting the conversion, but I usually don’t think of that either.
As I said at the beginning, the easiest solution to DCC installation is to let the factory do it, and my experience with ready-to-run DCC has been very good. These are some things I’ve learned, and I hope you’ll find a helpful hint or two to make your N scale DCC life even happier.