Recently, CTT received a box of rolling stock review samples from Ready Made Toys (RMT). Though, there was something about the ore car that caught my attention. The color of the simulated ore reminded me of the glow-in-the-dark acrylic paint you can purchase in craft stores. Wouldn’t it be neat to have a string of glowing cars on your layout? Thus, a “Weekend workshop” project was born!
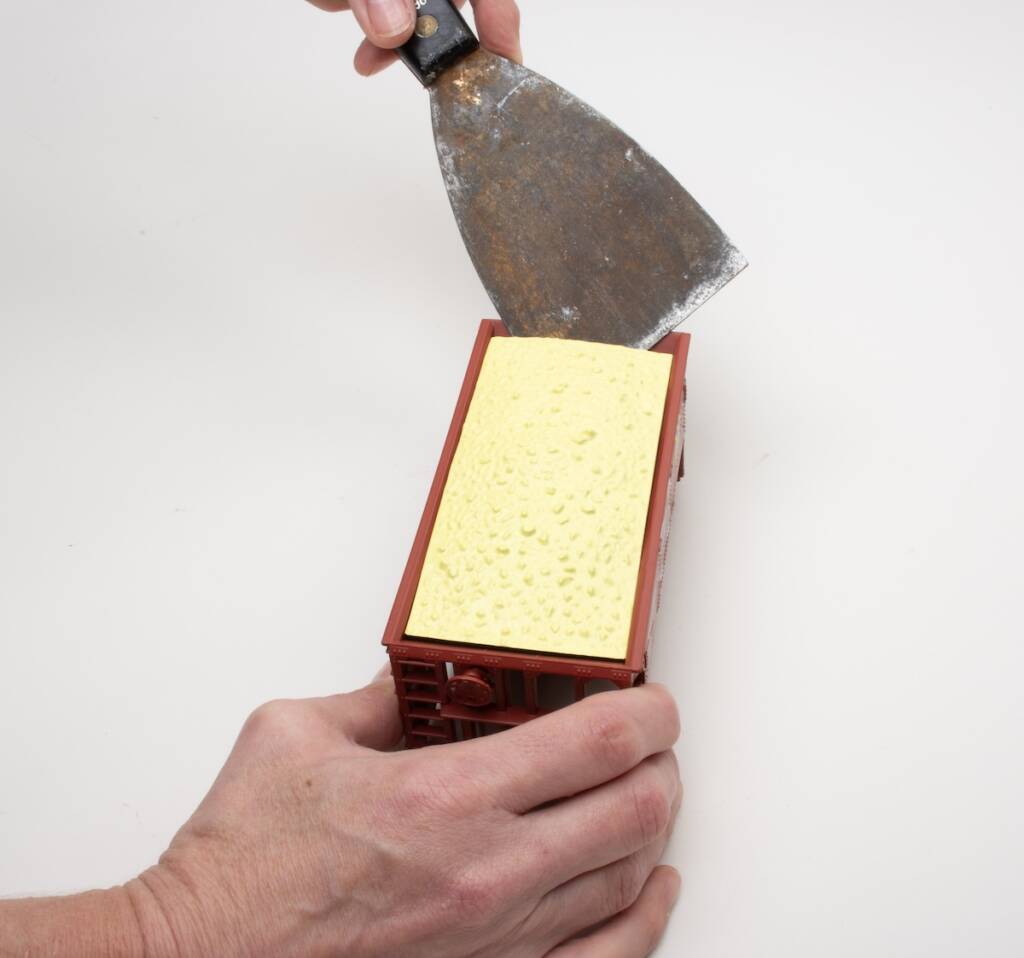
You’ll need an RMT Atomic Energy Commission (AEC) ore car, or any ore car with a press-fit ore load. Use the edge of a small putty knife to remove the ore load from the car. At each of the four corners, there are four tabs that snap into what could be called roping staples. Use the same putty knife to separate the body from the frame by gently applying pressure to that roping staple. Once you get one loose, the rest should come apart quite easily. (Note: I omitted this step and regretted it later when I spray painted the body. Save yourself the trouble of masking the trucks by doing this step!)
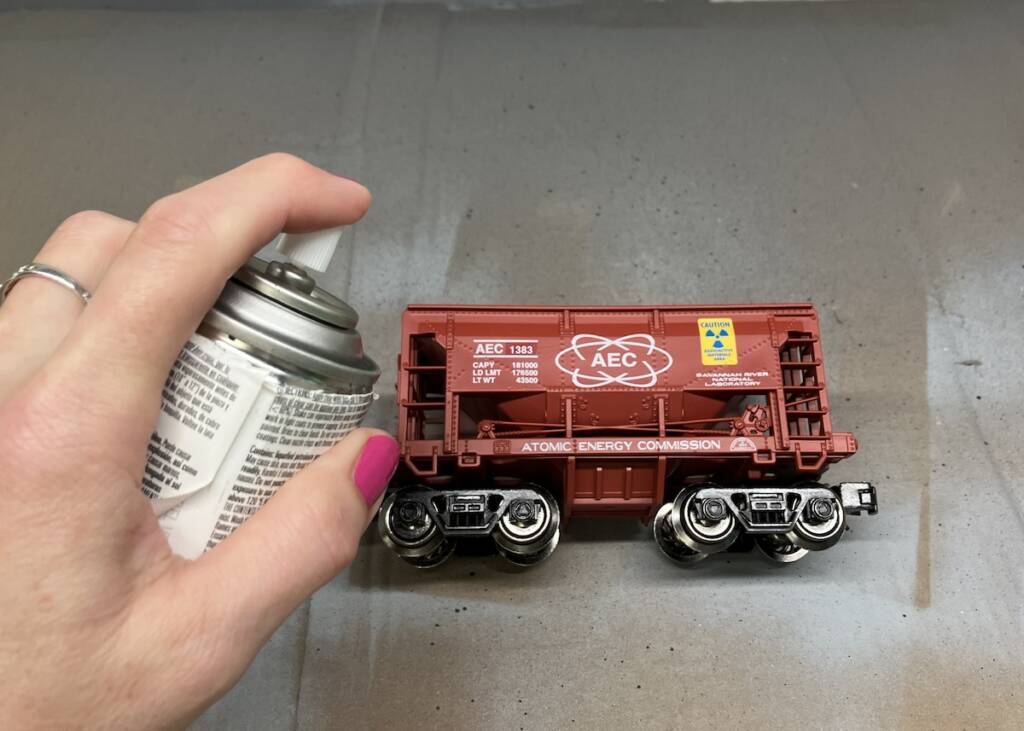
There was a shiny spot on the side where the car number decal stood out from the rest of the model. I sprayed the entire body with some Testor’s Dullcote to even out the finish. It worked great! Be sure to use a mask and proper ventilation while using spray paints.
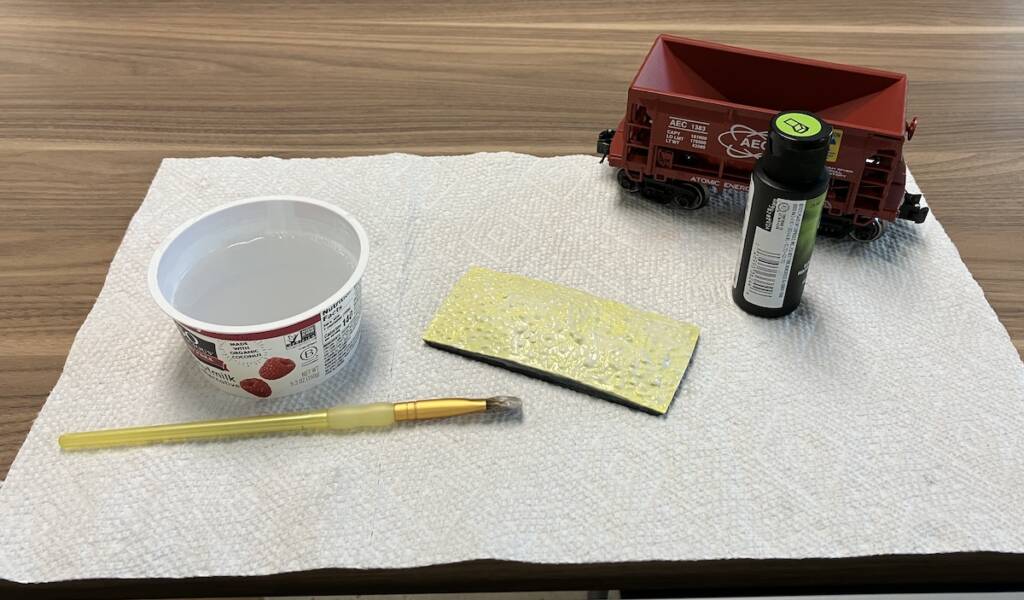
Glow-in-the-dark craft paint is available in a spray can or squeeze bottle. The bottle version is less expensive, but you’ll need to apply additional coats to get a nice glow. I added four coats. Be aware that this paint takes a bit longer to dry than other acrylic paints.
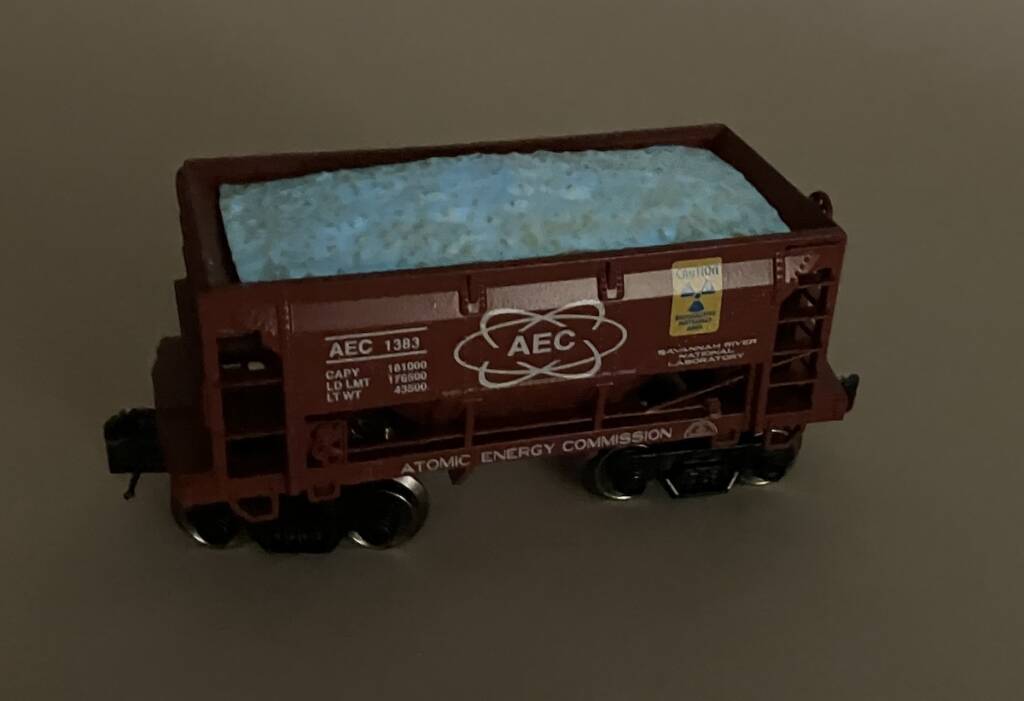
After everything is fully dry, reassemble the car. Now it’s time for the fun part! Expose the car to bright light for at least 10 minutes. Then take it to your layout, set it on the tracks, turn off the lights, and enjoy your new glowing car!
Supplies
RMT ore car (RMT-967093)
Small putty knife
Glow-in-the-dark craft paint
Paint brush
Testor’s Dullcote spray paint


