Videos & Photos Videos Layouts Project Layouts Building a 5 x 8 harbor railroad part 9

Building a 5 x 8 harbor railroad part 9

By Angela Cotey | March 19, 2014

| Last updated on January 11, 2021


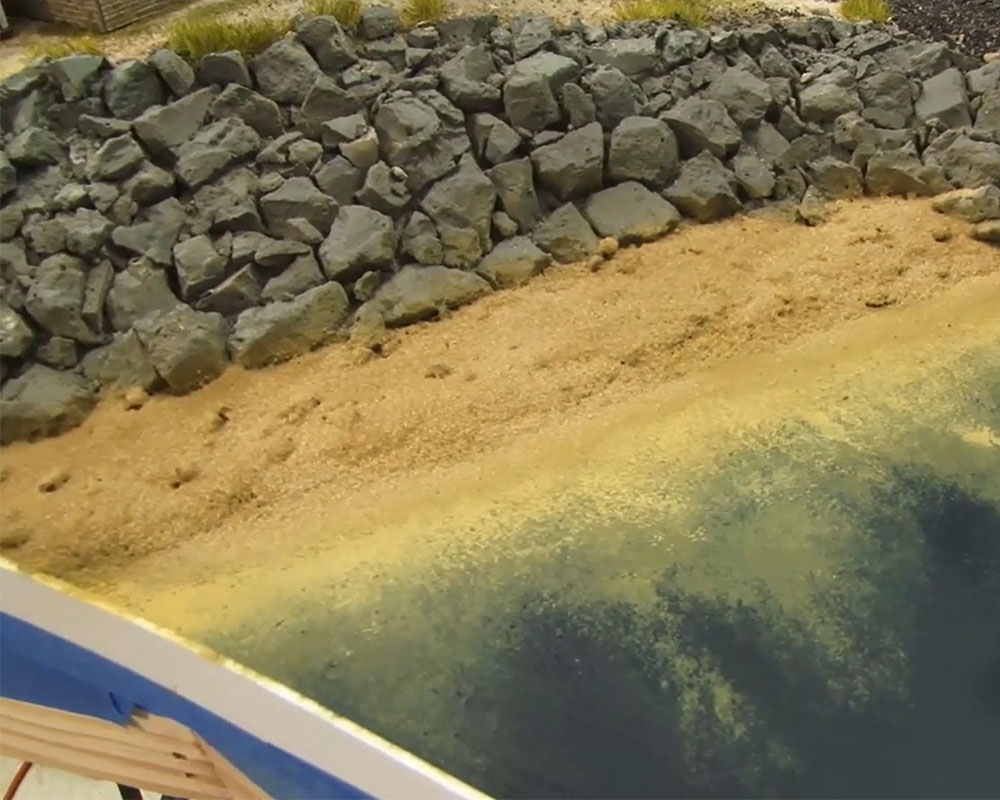
Painting the harbor bottom and other waterfront scenery details

Email Newsletter

Get the newest photos, videos, stories, and more from Trains.com brands. Sign-up for email today!

With most of the structures and ground cover in place, all that’s left to do is finish up the waterfront on Rice Harbor. Associate editor Cody Grivno describes some of the painting techniques that he used to add depth to the harbor bottom. He’ll also talk about some of the other scenic details around the car float and apron. It’s almost time to wrap up work on the Model Railroader staff’s 5 x 8 harbor project.

13 thoughts on “Building a 5 x 8 harbor railroad part 9

  1. I agree that this video showS absotutely nothing. If you are going to have a video show something, like how to put up the water barrier and how to mix and pour the water. "We will show you what happens AFTER we pour the water…" WHY NOT SHOW US!!!! Also when to do one or more pours for a given area of water. Missed it on this one.

  2. This might be called nit picking but I noticed that your beach (with shallow water) is located very close to the lift bridge which implies a shipping channel with deep water. I think it would be more realistic to have the beach on the opposite side of the bay. Still, a very nice layout.

  3. This video should have shown the water being poured. I also would like to know how sheet styrene pressed against would is necessarily a tight seal, and why wouldn't the resin stick to the styrene?

  4. Sounds great guys, but It would be great if we could SEE you building something rather than just talking about it. I'd like to watch Cody mix and pour the water, very much. Thanks a bunch.

  5. Others have said this before but these videos could be broadcast on the radio with almost no loss of info. And yes, I COULD do it better myself. The cameras are there, the guys are there and the layout is there. Close up inserts can be edited in, video only, in post. I know this one is already in the can but next time put more video in the video, if you see what I mean.

  6. Another excellent project railroad. You guys have great imaginations!
    An observation: I've noticed (wrongly or rightly) that you appear to be forsaking powered frog turnouts and now use mostly insulated frog ones. is there a reason for this change? Are pickups so good on locomotives nowadays that they don't stall on insulated frog turnouts? What about short wheelbase ones like the Bachman 70 tonners? Do you use powered frog turnouts only in selected locations now?

  7. Regarding the comments about the water color in the harbor and coloring of the typical white beach sand, many times bays and inlets (where some small harbors are located) will be at the juncture between ocean salt water and brackish water. Brackish water is frequently tinged by decaying vegetation in coastal estuaries and is a dark brown color resulting in the beach sands, vessel hulls, and sometimes new pilings taking on that brownish color over time.

  8. You should stress that not just the layout, but especially the bottom of the water feature has to be absolutely level. May have to shim up the legs etc. Since you will be pouring about only 1/8" you could wind up with hardly anything on one end with most of it on the other end.

  9. The layout is really coming together guys and the water will provide the final scenic element to "seal" the deal. Will there be any pelicans sitting on those pilings at the end? Sweet layout, thanks.

  10. Those were some good comments and suggestions about the prep work needed to get a good "water" surface with the resin materials. Looking forward to the next installment.

  11. Cody and Crew

    I've recently installed the N-Scale version of the Walthers Built-Up Turntable .. works great. I was wondering if you could give us a close up of the turntable in your Rice Harbor layout. I'm specifically looking for the techniques you used to weather and detail the turntable to blend it into the scene. Also, seeing how you detailed and weathered the bottom of the turntable pit (knowing you have to be extremely careful around the pivot point for the bridge and the rail. Hope to see some info in a future episode of Cody's Office.

    Thanks for your help.

    Mike
    N-Scaler from Cape Cod, MA

You must login to submit a comment