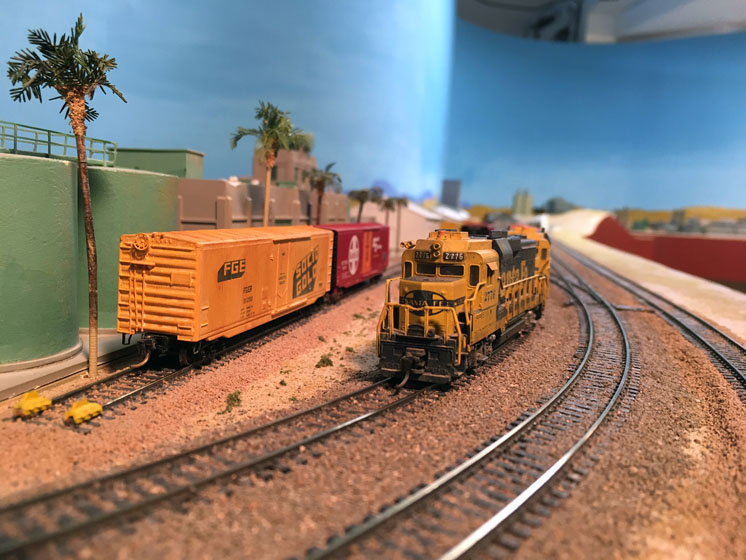
One way to differentiate tracks is by ballast color, say using a light gray for the main line and a darker gray or brown for the sidings and spurs. I think this is an excellent idea, as in towns and yards it can be difficult to distinguish between tracks, and it’ll help your operators to recognize the main.
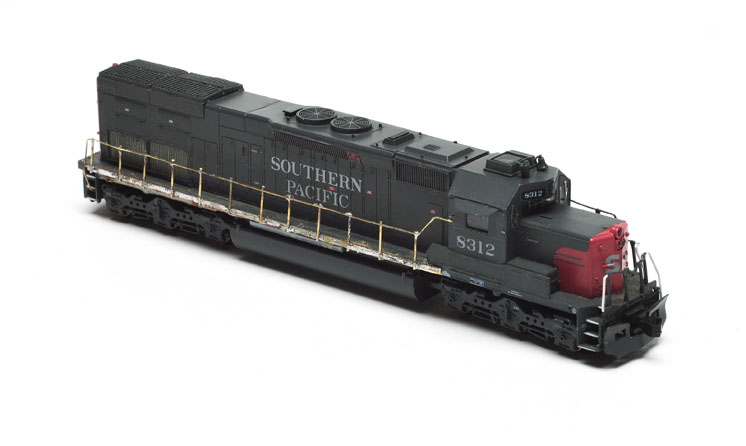
The one problem I have with this idea is that while the Woodland Scenics fine gray ballast I use looks correct for my Southern Pacific prototype, I don’t favor the look of any of the tan, buff, and brown I’ve used on the spurs. I airbrush them with Earth to weather them, and then I think they look pretty good.
Sidings on modern lines
The SP’s route up Tehachapi Pass is a vital link on a heavily trafficked transcontinental railroad. The company would’ve double-tracked it if the terrain hadn’t been so challenging that the cost would’ve been prohibitive. Therefore, the line is single-tracked with frequent and long passing sidings built to the same high standards as the main. I think you’ll find the situation the same on most modern heavily trafficked main lines.
Spurs are a different story, depending on how old they are and the types of customers they serve. Before the 1970s, railroads had many more branches and far more small customers that shipped or received a few cars a day or less. Spurs were often built of lighter rail, received less maintenance, and didn’t generate much revenue. Much as they might want to, the railroads couldn’t drop these customers or increase their rates without approval from the Interstate Commerce Commission.
That changed with deregulatory actions in the 1970s. Many money-losing branches were abandoned, which in some cases led to them being taken over by shortline railroads. (And some became bike paths, making your author quite happy.)
Today, most railroad customers are large and ship and receive many cars a day. Examples are western coal or petroleum producers, steel mills, auto plants, power plants, and a host of others. These large modern facilities need dependable, high-volume trackwork that’s basically built to mainline standards.
Laying spur tracks
To differentiate them from the main line, I laid my spurs on shallower roadbed. The cork roadbed I used for mains is 1⁄8″ high. Half that height is 1⁄16″, and so I searched for cork that thick. I found such cork in rolled sheets at Michael’s craft stores and cut it into 7⁄8″ strips for roadbed, using scissors. For turnout roadbed, I traced around the actual turnout and cut out the shape. Where I needed to curve the cork, I cut kerfs halfway across and spaced about 1⁄2″ apart so the strip would bend. (You could also just cut a curved piece from your cork sheet.)
The craft store cork worked OK, but I’ve found something better since: head gasket cork, which I bought at an auto parts store. The craft store cork tore easily, but this gasket cork is tough stuff indeed. It’s made of a thin strip of rubber sandwiched between two thin layers of cork.
Was it worth it?
I’d like to end on a triumphant note, but when I look at the spurs adjacent to the mainline tracks, I find it hard to see the height difference. Also, as some of my friends can attest, sanding the transition from the 1⁄8″ mainline cork to the 1⁄16″ spur cork is no easy matter.
Another way to emphasize differences between main lines and spurs is with smaller rail size track. On my layout I used Atlas code 55 throughout, so I could’ve used code 40 on spurs and maybe achieved a more dramatic result. Also, I could’ve just cemented the spur track directly to the sub-roadbed. If I were to do it again I’d experiment first, so I’ll leave you with that suggestion.