Q: I am working on a track plan for my first real layout. I have looked through various layout plans in the database and see where elevations have been labeled along the routes. How does one go from a two-dimensional drawing to a three-dimensional layout? — Jesse Brinson
A: I asked Model Railroader Consulting Editor Tony Koester to assist with your question. Here is his reply:
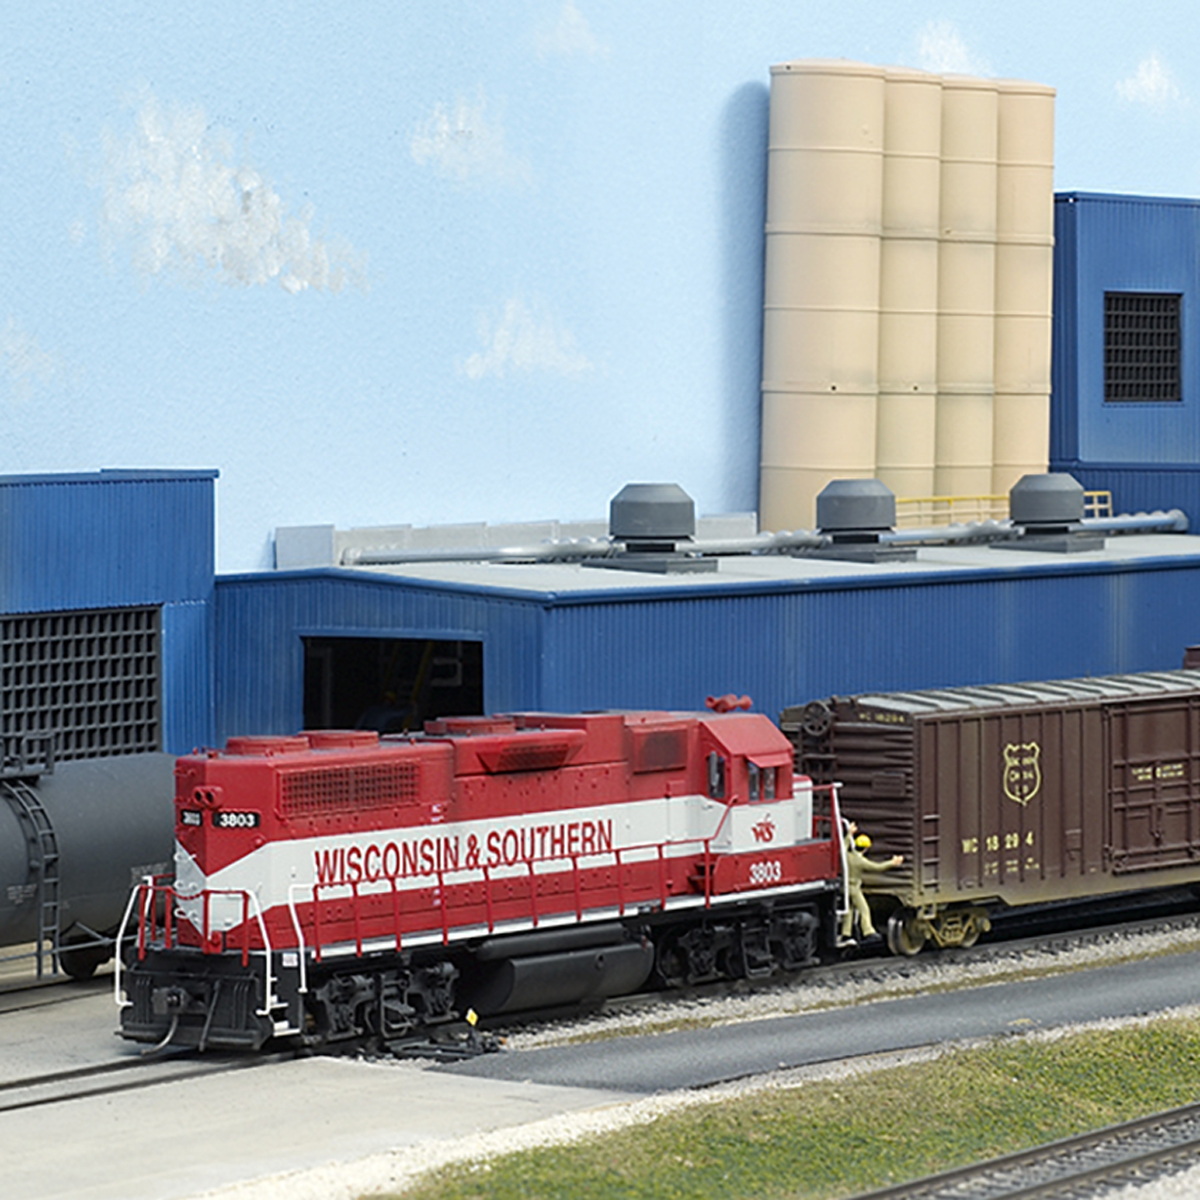
Jesse, since this is your first layout, I think it would be worthwhile to enlarge the track plan to 1.5″ scale (1/8″ = 1 foot), print it out, use spray glue to attach the plan to a sheet of cardstock, cut it out, and build a model of your proposed layout. Then you can adjust the various areas of the plan to represent the elevations shown on the original plan. This should allow you to visualize how the actual layout will look. Frank Hodina built a cardstock model of my roughly 30 x 60-foot multi-deck Nickel Plate Road layout before construction began, which resulted in some minor redesigns.
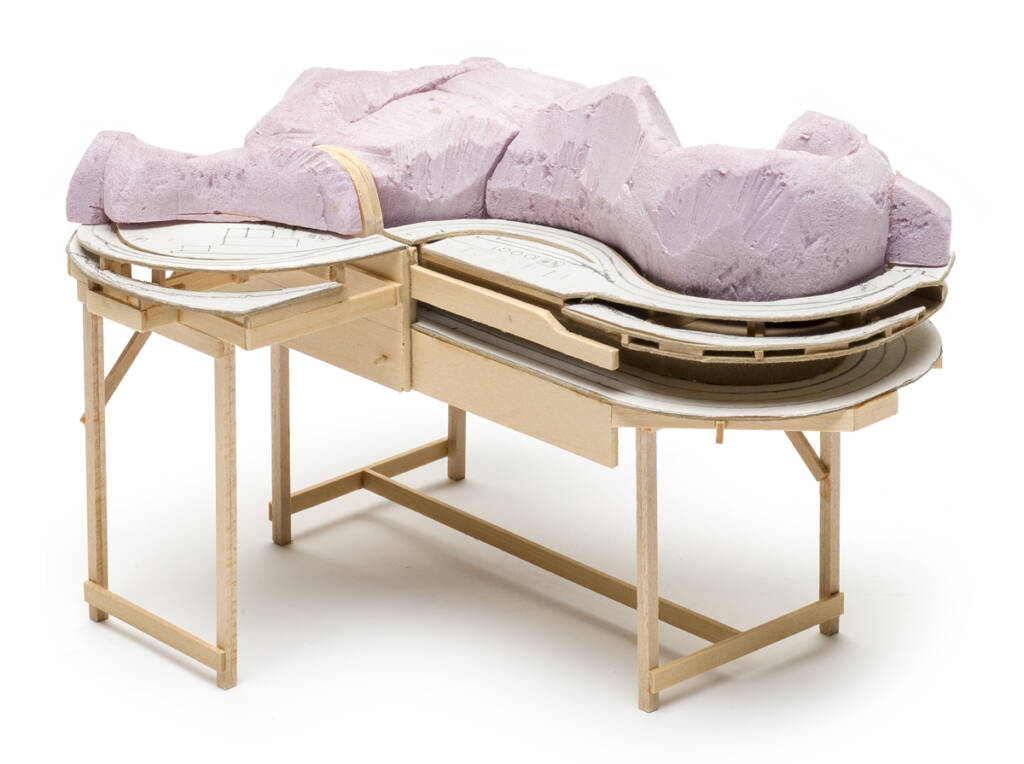
If you like what you see, you can then build a level platform using a grid of 1 x 3 or 1 x 4 lumber with the cross members set 16” apart. Draw a grid on the original track plan representing 6” squares, then transfer the plan using that grid as a guide to sheets of 3/4” birch plywood. (Or print out the plan full size, tape it to the plywood, and use the printed copy as a guide.) Use a saber saw to cut out the plywood subroadbed — make sure you wear hearing and eye protection while doing this. Leave enough width on either side of the centerline for the width of the ties plus the width of the roadbed (I use HomaRoad milled Homasote roadbed; cork also works fine) plus another 1/4” or so for a shelf to attach your scenery base.
Position the sections of subroadbed on the benchwork. Splice them together with foot-long pieces of 3/4” plywood. Then use 1 x 2 risers to raise the subroadbed to the desired elevation. Keep the subroadbed flat in towns and industrial areas so cars spotted there won’t roll away. Avoid sharp “vertical” curves where you transition from level areas to grades.
When the subroadbed looks good to your eye and checks out using a level where appropriate, glue down your roadbed and lay track, checking for unplanned dips and kinks as you go.
Send us your questions
Have a question about model trains, full-size trains, or toy trains? Send it to AskTrains@Trains.com.
Share this article