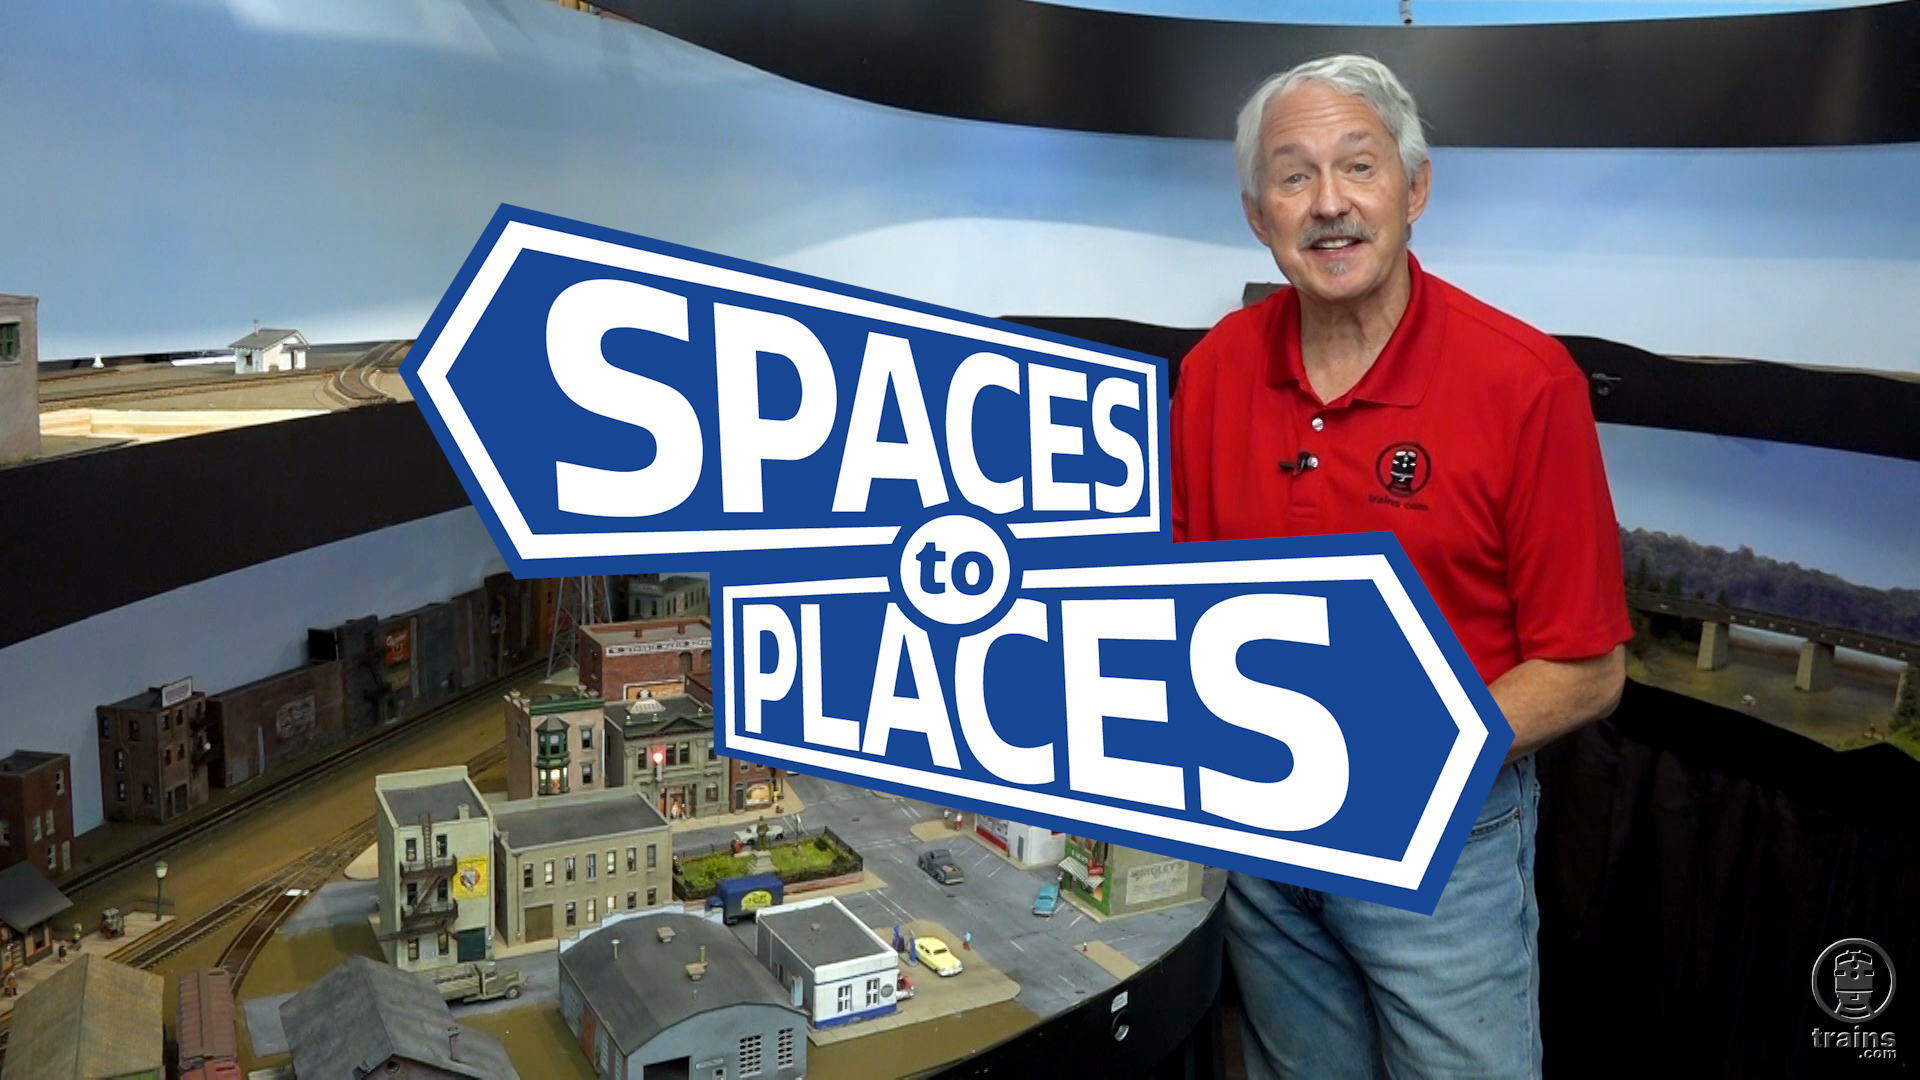
The town of Westcott on this HO scale model railroad is approaching completion! But not before host Gerry Leone shares his insights for adding subtle, but very effective weathering effects to the roadways. Follow along to learn how to fade stripes, draw cracks, create potholes, install manhole covers, and much more!
Want to see more of Gerry’s work in print? Be sure to pick up a copy of the latest special issue publication, Model Railroading: The Ultimate Guide 2023, available from the KalmbachHobbyStore.com!
Hey Gerry! I rewatched the “streets” video as a refresher as I’m currently adding some highway/street areas to part of my layout. Regarding your try at “denting” the asphalt surface. I use styrene for most of my streets, and I hit on the idea of adding “potholes” in some areas, which as you know are VERY common in Minnesota! I use a small Burr bit in a Dremel to remove small portions of the styrene, which leaves a nice 3-D pothole effect. The “hole” can be partially filled with N scale ballast, or left pitted with a touch-up of paint.
Gerry
I have been putting lights (LED’s) inside most of the buildings on my layout for a few years now. After the first ones I decided I needed a quick and simple way to disconnect the wires should I have to move or work on buildings. So since some buildings have multiple lights, I made up small PC boards where I could add resistors so some lights could be dimmer than others in the same building. Then noticed a neat connector at ‘JAMECO” p/n 2094485 that has a screw to tighten down on wires. Solder these connectors on the PC board then attach wires with the screws to the power sources. I build all of the power supplies.
Bill Shepard
More minute observational input. From local experience of driving, the manhole covers always seem to be in the lane, and not always on the line. This may be due to sanitary sewer lines vs. storm sewer lines in the roadway. But my tires always do seem to “slam” into the sunken or raised manhole covers in the streets!
Love your videos! You have really got me motivated on my layout.
While I’m being too helpful, Dullcote will also diffuse/dissolve the black Sharpie pen ink and make the once-thin tar patch lines on your streets bleed unrealistically wide (don’t ask me how I know this!)
I’ve also had great luck with a product from AK Terrains called, appropriately, Asphalt. I don’t use it to create entire streets or parking lots, but to create patches, repaired areas, etc. You can freehand it into patched spots, or use painters tape to mask off larger areas such as where the street surface has been replaced by pipe crews, etc.
No, you’re being VERY helpful, Jeffery. I’ll have to look for that asphalt stuff. Storm drains are also a good idea! As for stains and trash…it’s a slippery slope. Once you start you can keep adding and adding little details and never be done. Which is fine (and I’ve done some of that since I finished shooting this series), but just like the in-house MR staff, I’ve got deadlines, and there comes a point where you have to pull the plug and move on to something new. Which is what I’m working on now. Thanks for the thoughtful comments!
Another great how-to Gerry. I’ve always added manhole covers to all of my streets too. I started out using the thicker covers, as you’ve done, but it can be problematic either punching or drilling around existing scenery.
Now I use etched metal covers. They’re available from several different manufacturers, easily painted/weathered, then dropped on place with just a dab of CA on the back to secure in place. AND…most come with storm drains also, a nice feature you might want to add to the streets in Westcott? You can even add some SUBTLE bits of stains/debris/trash that often collects on or near the drains.
Perhaps it’s because I live in a different part of the US, but in streets, I have observed that where the tires actually run over/wear down the pavement, the pavement is subtly lighter in color that between the tires, which appears subtly darker. The outside edges are also very subtly darker than where the tire actually wear down the pavement. This may be because of the kind of gravel used in the asphalt. It may be a lighter shade of limestone than in other places in the US. Also the sun is brighter here in the Southwest, which may “bleach” the pavement more than elsewhere.
Good observation, Ronald. You may be right about the limestone color. My other thought is that different road crews lay down a different thickness of asphalt or seal coating, and the stuff in your area may wear off more quickly.
Thanks Gerry – I should have remembered about the reaction between the India ink wash and Dull Cote.
Just read your article in the May/June issue of the Roundhouse – inspiring article about the AP program and being an MMR – have 2 certificates but time to get some of your “tunnel vision” and have fun finishing/working on the others.
Thanks for your kind words on the Roundhouse article! Indeed, get started on those last 5 certificates. None of them are as difficult as you may think they are!
Another very informative video – some great new techniques. Question – although it wasn’t shown in the video did you or would you recommend “sealing” the finished roads with something like Dull Cote?
Thanks again
NO, Artie! I *think* I mentioned this in one of the episodes for this project, but the Dullcote and the alcohol in the India Ink wash will react and cause that white-ish coating. I *believe* I did it in a few places specifically to make that white coating, but they were mostly puddles. Thanks for watching!
Gerry, You are a Master! I really like how you have weathered and allowed to crack and shown how you do it. I can’t wait to see your finished Westcott. Thanks for sharing.
Thanks a million, Mark! Let me know next time you’re “in town” and you can see it in person!