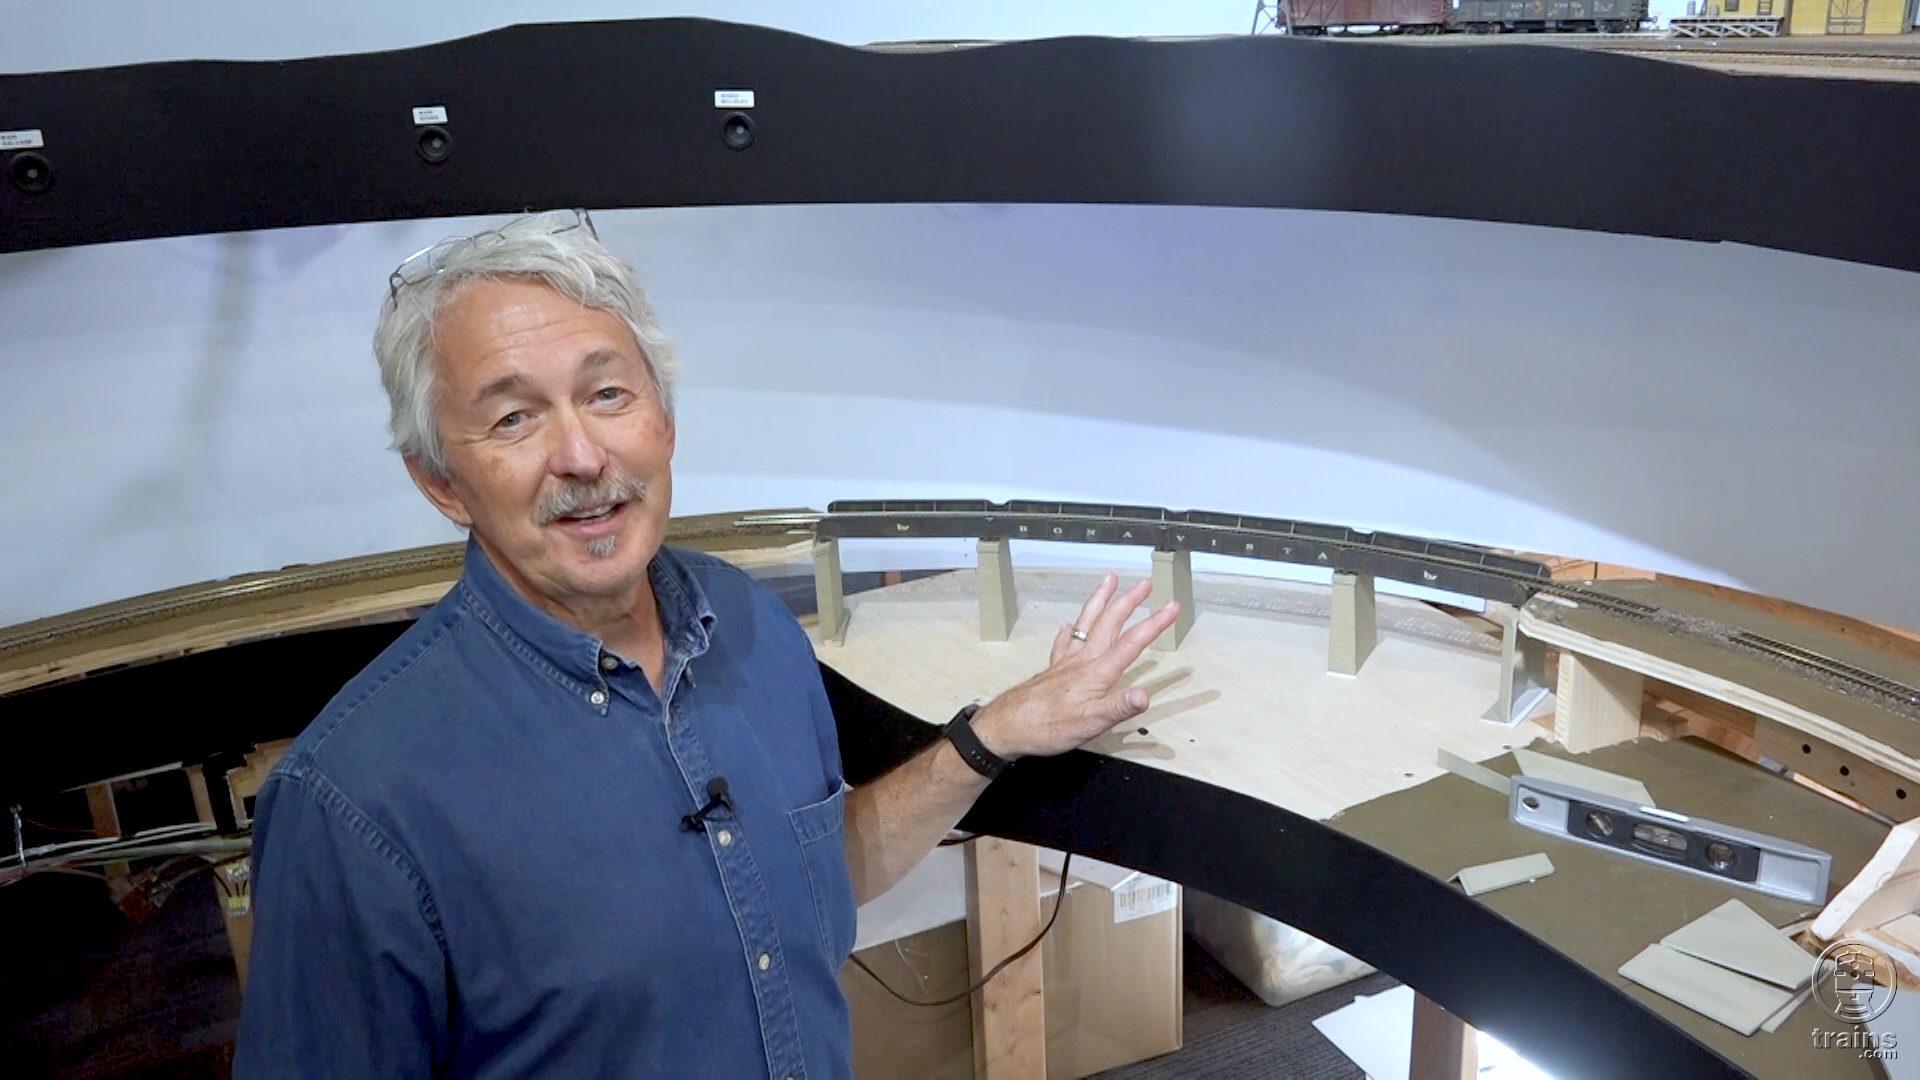
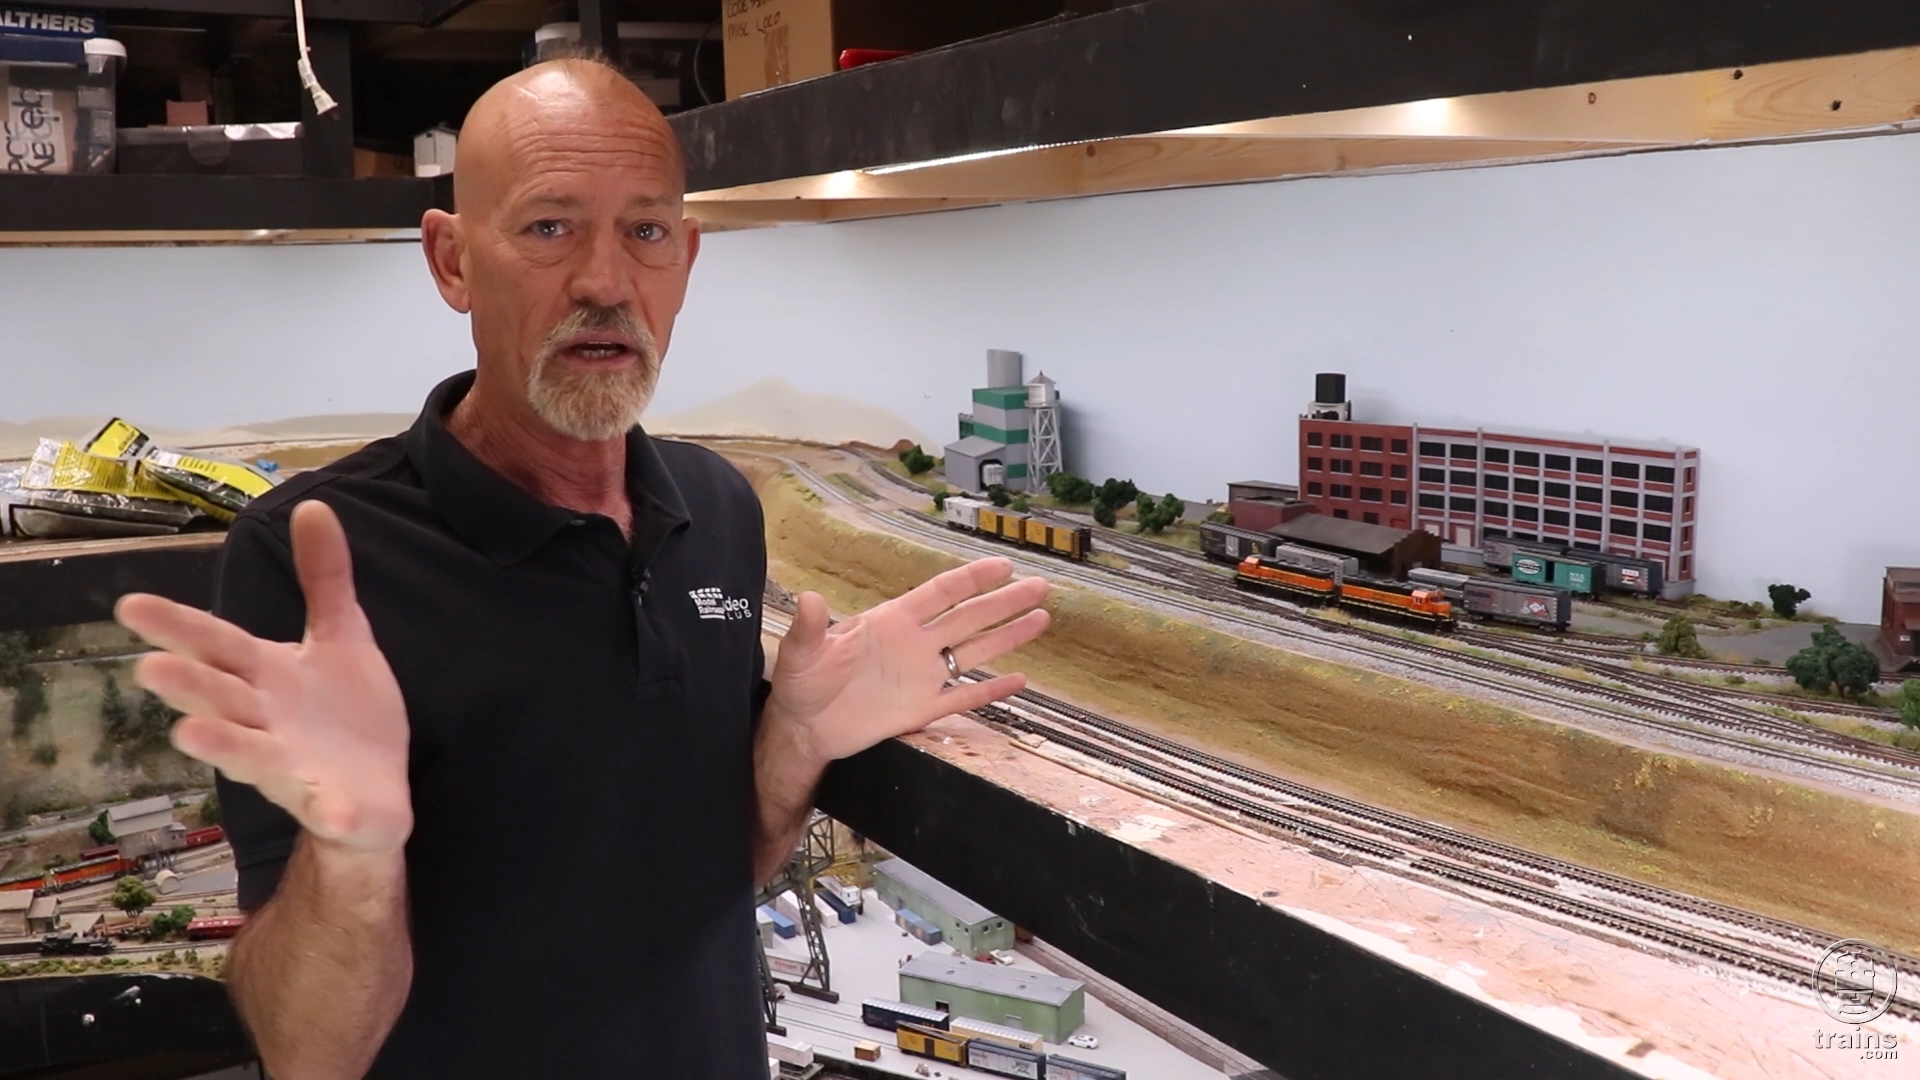
In this episode, host Gerry Leone gets back to the backdrop. Namely, he’s working to disguise those unpreventable seams that appear between sections of hardboard panels. Gerry shares his techniques for getting the job done in a satisfactory way, but without the painstaking efforts of a professional drywall installer!
Back on Track: How to hide backdrop seams, Episode 12
Thanks Gerry, Looking good.
I want to add my name to list of people that want to see a better quality, in this case, promptness, to Gerry’s videos. Of course, I want the videos and their may be a good reason why they are being delayed, but there is no good reason for not us not knowing when or why they are being delayed.
I thought this was a problem in December, and then I waited thru that month and now the month of January is also gone. Will the month of February past before MR tells us what is going on?
Almost 2 1/2 months since the last “Back on Track” installment without an explanation doesn’t seem to be a smart way to treat your customers. Maybe David Popp could address this in his next “Ask MRVP”.
Hi, folks!
William — no episode about turntable installation. As I believe I mentioned above, it’s a first generation Walthers indexed turntable. Installation is as easy as using the included template to make a hole in the subroadbed big enough for it, screwing it down, and plugging it in. It’s really painless and simple!
Jeffrey and Rod — I’m afraid I don’t have anything to do with scheduling or posting of my videos. I shoot ‘em, edit ‘em, and pass ‘em along to the staff, and after that the process is out of my hands. Rest assured there WILL be more because I’ve shot a boatload of them (including some episodes to accompany “Model Railroading: The Ultimate Guide 2022”). But I’m afraid all I can tell you is “sit tight.” Sorry I’m not more helpful in this!
Gerry, who at Model Railroad should I be talking to about what’s going on with your Back on Track video series?
Rod,
If you find someone to contact please post the information here. One member received a response from Steve Sweeney, Digital Editor Kalmbach Media. I sent a message to Mr. Sweeney, but never received a reply. His email address is ssweeney@kalmbach.com Perhaps you will have better luck than I.
OK, in 3 more days it will be 4 AND A HALF Months since the last episode!
What’s the deal? The first 12 episodes came out 3 at a time every 3 months, now nothing after 4-1/2 months?
Gerry, are you being held hostage and unable to post your update videos? ?
Seriously, when is the next episode(s) coming out?
I couldn’t agree more, I hope someone from Trains.com is reading these comments because I am seriously considering cancelling my membership when it expires. They took a great site in MRVP and destroyed it.
Gerry
Probably way too late for this, but when I was sanding drywall in my train room (before the painting) the noise the vacuum made forced me to purchase a different setup. A vacuum would connect to a 5 gallon bucket of water with an air space between the top of the can for the drywall dust to fall into the water yet maintain a vacuum in the hose. The hose was long enough I could put the vacuum in another room while sanding the drywall in the train room where there was less noise!
Hope I didn’t miss it, but Episode 11 you mentioned about putting a turntable in. Episode 12 I see the turntable is in. Will there be a episode devoted to the turntable installation?
Bill Shepard
Hi, gang — Happy holidays to everyone! Let’s hope that 2022 brings an end to the pandemic and a bit of “normalcy” again. *I* sure hope so!
As far as the next “Back on Track” episode(s), I got an anonymous tip that the schedule *could* be changing more to your liking. Perhaps that’s one of the good things to look forward to in 2022.
And I want to thank EVERYONE for watching “Back on Track” (and “Off the Rails,” too!). Making the episodes is a lot of fun when I know there are modelers out there who enjoy watching them!
Here’s to more progress on your layouts (and mine) in the year to come!
Happy holidays Gerry and family!. Entering the last week of December, the threatened next 3 episodes are nowhere to be found. I continue to miss MRVP. Cheaper and subscribers got new content on a regular basis!
I agree! It was also much easier to find the videos you wanted to view and review. I struggle to find anything here. It seems like nothing is updated and the series names haven’t changed. I’m patiently awaiting the return of the Olympus On30 series…it was mentioned Olympus would return in the fall of 2021 but I’m still waiting…that is unless it was posted and I missed it. If that occurred, I’ll never find it here. *sigh* I’d go back to MRVP in a heartbeat!
I couldn’t agree more, I hope someone from Trains.com is reading these comments because I am seriously considering cancelling my membership when it expires. They took a great site in MRVP and destroyed it.
Jeffrey, This situation seems hopeless. There are several threads in the forum discussing the Trains.com debacle. On 12/11 one member posted a response he recieved from his message to Steve Sweeney, Digital Editor Kalmbach Media. I also sent a message to Mr. Sweeney, but never recieved a reply. I emailed him at ssweeney@kalmbach.com The email wasn’t kicked back so I must assume it was recieved but ignored. Nice!
Hi Jerry, who on the Trains.com staff should I address my concerns about the schedule of your Back On Track episodes? I would like to see a new episode every month as opposed to 3 episode once every 3 months. It’s too long of a time between episodes. As soon as the 3 episodes come out, I view all 3 of them, one after the other. Then I have to wait for 3 months to pass before I can see what progress you have made on your layout. It seems like forever between posting of 3 episodes.
John — you have to ask the Trains.com staff. They’re the ones in charge of the schedule.
Mr. Pletcher — Things have changed since you were in the hobby! The idea of a “control panel” has really given way to walk-around layouts with walk-around throttles and turnout controls on the fascia. The only control panels used nowadays are for large, complex yard turnouts. I’m 100% wireless DCC, so I can follow my train along the whole layout. It really gives you a sense of being on the train, rather than just watching it from afar.
Gerry: as others have noted, a Well Done to you.
I have a control panel question. Given the size of the layout, what control panel will you use?
I am 80, just getting back into the hobby (albeit on a more manageable size), and am looking for ideas on making a control panel for my 15 X 6′ platform.
And really looking for your next installment !! Three months is too long for we old guys to wait!
Walt in Florida
when is next episode?
Hi Gerry: Regarding the rotary switch approach to your staging yards (or any other place that requires more than one turnout to activate at the same time).
I just wire the turnouts in parallel. Or call it a “daisy chain”. One switch on the control board (or where ever you choose to mount your D.P.D.T momentary center-off switches) flip one switch and all connected turnouts move.
This is a lot easier than the rotary switches and uses a lot less wire as wiring them in parallel just uses ‘jumpers’.
Sounds very interesting, Joe! Remember that the rotary switch is actually a route control for 4 turnouts to direct the train into one of 5 yard tracks. So I’m not quite following how the parallel wiring would work in that case. Tell me more!
Ira — still waiting to hear back from the Trains.com folks for your contact info. But I haven’t forgotten!
Thanks for your help. We are exploring several possible sites and the mainline alone would help. Particularly, we can bend the layout to fit. I have been following the series and I have seen your yard development; your design choices have been well thought out.
Pulling a two-level apart will hopefully be easier than what we did earlier this year wherein everything was hard connected to walls and floor, in random fashion, over a period of 30 years. Potentially, the lower deck and helix could be (mostly) preserved.
Hi, folks — A few replies:
Steve Weber & Kenneth Harris: The Trains.com staff has been posting “Back on Track” episodes in “threes” every 3 months. So Episodes 10, 11, and 12 were posted in September. My guess is that the next three episodes will be online sometime in December. Exciting stuff coming in the near future…just in time for binge watching during the holidays!
Ira Abramowitz — I’d be more than happy to send you my trackplan. Bear in mind that it’s only the mainline — no sidings or spurs are shown because I always decide those 1:1 on the actual layout when the mainline is in, tho I can fill in the details verbally. Also, I don’t know how you’d be able to cut up a two-deck layout, but harder things have happened. Let me figure out how to get in touch with you. Sit tight.
Gerry,
Any chance of getting a copy of your 3rd PlanIt track plan?
Back story is that our club, the Los Angeles Model Railroad Society (LAMRS) has lost its lease and your plan would be a great basis for our new layout. It is basically a stand-alone (compared to previous) and might be easier to cut up and move at a later time.
I have used the program for my last two layouts and for some re-design at LAMRS, but I admit to being rusty and a bit lazy.
Thanks
How come no video updates for October? There is still no “Back On Track” listed with the Videos drop down box on the Model Railroad site of Trains.com. I’m starting to get a bit worried about the way things are going. I know David and Cody have their hands full with the State Line project and the Rehab videos which have not been updated since this summer! Ken Harris.
Gerry
Use a damp foam brush when you put on joint mix
When is the next episode?
Steven — Good question and welcome back to the hobby! The answer is to make mock-ups. Use cheap cardboard or foam core and draw some windows and doors on them, then glue them together with hot glue. Most manufacturer models will give you the footprint size, and you can extrapolate from there. Or just “freelance” the buildings and scratchbuild them later. Many modelers also use household items to help visualize structures. Things like cardboard tubes from paper towels can represent grain elevators. Shoe boxes, soda cans, cut-down cereal boxes, old Athearn Blue Boxes and things like that can be used to represent all sorts of structures. Use them to get an idea of what you want your area to look like (“I think I’d like a taller building here”) then go to Walthers and see what kind of model would work. Hope that helps!
I was looking back at a previous episode on planning the track (and your spaces to places series). They all have great tips and I really enjoy them. You start with the space, pull out some already made buildings and components and shuffle them around until you get a scene the appeals to you. I restarting the hobby after a 50 year hiatus and I don’t have the supply of ready made buildings to draw from. Any suggestions on how to approach this process with nothing?
Steve Cleaves
Gerry:
They use to make a flexabile plastic joiner for joining two sheets of masonite panels, it should take paint and will hold the panels in place. I went one step further than you with my layout, i place two inches of extruded foam on my layout and used foam tape (Pam top tape) as track bed. Charles Moore
Great work. Depending on how you intend to light your lower deck, may not require such a greatly perfect job. Intense light will always show imperfections but this is your layout, remember?!?! Not like anyone else is watching, right? 🙂
Looking forward to more progress and heading to the archive that article about the rotary switch. Forgot about that idea and may use it for my small turntable.
Keep building…can’t wait for the upper deck to start.
Gerry,
As a building maintenance professional, I have used a “damp sponge”, to do what you have done with the wet paper towel to “feather” the edges of drywall patch work. I have used a “Grout sponge” to smooth and feather large patches and the “scubby” style sponge (green pad on one side) to also sand patches. One benefit is it does not create a lot of dust and the sheetrock compound that gathers on the sponge as you “sand” helps fill in some of the imperfections. You do not want the sponge dripping wet of course.
Perry
It would be a lot easier to
do the upper backdrop and the lower backdrop before the “decks” were installed.
Also, painting after the joints are done makes the job much easier and faster using an airless sprayer.
Applying the joint compound with vertical strokes is faster and reduces the amount of sanding.
Jim Kirwan
Steven — I’m not quite sure what you’re seeing, but I suspect the “circles” are just drywall screws driven down through the plywood into the 1×3 cross members below. Either that, or you’re seeing labels I put between the rails on each of the tracks, numbering them to correspond with the numbers on the rotary switch of the diode matrix. I manually uncouple cars using skewers.
I notice a lot of round circles on each of you classification tracks. I assume they are uncouplers. Is that correct? What do you use for uncoupling?
Steve Cleaves
avid follower of yours
Smoothing out the compound with a damp sponge will help cut down the sanding before the compound dries.
Hi, everyone — thanks for comments!
PJ — I paint the Masonite outside with an airless sprayer, so while your idea is great, it wouldn’t work for me. But thanks.
Donovan — never heard of a Switch-8. Tell me more! But there’s really no expense with the matrix — some diodes, a rotary switch, and a power supply.
Michael — “Off the Rails” is on hiatus. It was too difficult doing two shows a month and still being retired. 🙂 I honestly can’t answer your question about the Clear Gloss — I don’t know if there’s a difference or not. My GUESS would be that the Tamiya is a “finer” formula so as not to obscure model details (like rivets) when it’s sprayed on, much like model paints have finer pigments than craft paints or wall paints.
BRING BACK OFF THE RAILS!!!
Question for Jerry, please answer
Go to local hobby shop and buy a 3 oz can of Tamiya Clear Gloss for $8.30. Go next door to Hardware store and buy 12 oz can of 2X Clear Gloss for $4.00. Both are completely plastic compatible, is there a real difference in product?
Jerry, I understand you want to crank out the new Buena Vista, but please bring back the show.
Gerry,
Very entertaining and valuable. The joint compound is useful when you start scenery. It won’t be wasted – believe me, I use a lot of it.
If you use styrofoam landforms the joint compound is great smoothed over the landform to give the scenery a stronger base.
If you make structures on a base and then add to the layout the joint compound is great to run the land up to the structure.
Thanks Gerry. I look forward to each new release of Back on Track eagerly. As it happens my RR space pretty closely resembles yours, and your planning journey and execution have paved the way, reducing the avoidable errors of planning and visioning the actual possiblity of success — of course with serious commitment. Your ever friendly, positive, and welcoming presentation is a highlight. Thanks again for making this major effort in sharing education.
I may be strange, but instead of going to the expense and time to build a matrix at both ends of a yard, use a Switch-8 or similar control board and control your turnouts through DCC. The advantage is the ability to program the matrix quickly and can be changed easily if needed. Oh, and there’s no protrusions on the facia.
Nice work with that sponge. But i think the work would be easier if you cut down that sponge a bit so you got more rounded corners on it. That way the marks it left would be more natural. I recall Model Railroader magazine used sponges that had been torn in smaller pieces when painting clouds. That looked great. I am looking forward to your next episode. Thanks !
Gerry: I watch your new series to see what you do that is different than what I do. I would seal the seams and nail holes before I painted the backdrop. That way you wouldn’t have to try to match the paint after it dries for a while. Think about it when you do the upper level. P. J. Mattson MMR
Raccoon Valley Model Railroad Web Site:
https://raccoonvalleyrailroad.shutterfly.com/
Gerry
Trick I learned many years ago about painting latex paint. Normally all my painting is with artist oil paint. Someone told me you can extend the drying time of latex paint by mixing some liquid soap into the paint, make sure the soap is clear. Then you will have longer time to blend colors much like you do with oil paint. On the same thinking, you can speed up the drying time of oil paint by mixing in Japan Dryer, it don’t take but a few drops.
I put masonite in the 4 corners (3′ high) of my layout and had an 1/8″ edge where the ends met the rest of the drywall. Took about 3 levels of plaster allowing drying time between each application before I got to the point I was satisfied. They all look great now 12 years later. Well except one corner that a mountain completely hides the entire corner!